Advertisement
Quick Links
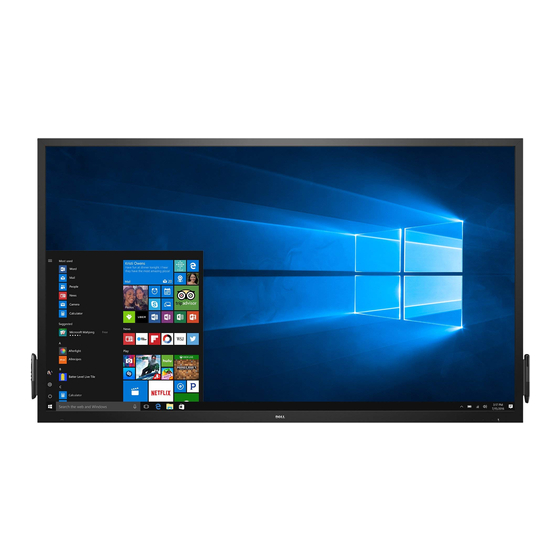
DELL C7017T (C7016H is applicable- exclude RJ45)
1. Disassemble Procedures
S1
Remove back cover screws
(1) Put large display monitor on the table.
(2) Use Philips head screwdriver Φ5 to remove 46pcs screws (M4*7). Torque: 5.5+/-0.5kgf.cm
S2
Unplug cable <1>
(1)
Unplug power cable from interface board & power board(A & B),
(2)
Open wire bucket D, E & J, and peel off aluminium foil at F area, peel off acetate tape G, H & I
\\
Fig: 1
A
1
3
C
2
E
4
B
F
D
Fig: 2
1
Advertisement

Summary of Contents for Dell C7017T
- Page 1 DELL C7017T (C7016H is applicable- exclude RJ45) 1. Disassemble Procedures Remove back cover screws (1) Put large display monitor on the table. (2) Use Philips head screwdriver Φ5 to remove 46pcs screws (M4*7). Torque: 5.5+/-0.5kgf.cm Unplug cable <1> (1) Unplug power cable from interface board & power board(A & B),...
- Page 2 DELL C7017T (C7016H is applicable- exclude RJ45) Unplug cable <2> (1)Peel off 2pcs aluminium foil. (2)Unplug Interface board cable, keypad cable & 2pcs Touch cables. RJ45 cable & speaker cable. (3)Peel off acetate tape from keypad cable, and speaker cable.
- Page 3 DELL C7017T (C7016H is applicable- exclude RJ45) Unplug cable <3> (1) Remove aluminium foil <fig 1> (2) Remove 41P & 51P cables <fig 2> (3) Peel off 4pcs aluminium foil <fig 3> (4) Remove wire buckle as Fig 4. Remove cable from and peel off acetate tape. <fig 4>...
- Page 4 DELL C7017T (C7016H is applicable- exclude RJ45) Dismantle Power Board (1)Use Philips head screwdriver Φ5 to remove 6pcs screws as (M3*6) <fig 2>. Torque: 4.5+/-0.5kgf .cm (2)Remove power board shield cover 4pcs screws in the red as fig 1. Torque: 4.5+/-0.5kgf .cm (3)Remove 4pcs power spacer <fig 1>...
- Page 5 DELL C7017T (C7016H is applicable- exclude RJ45) Remove Power Interface: (1)Use Philips-head screwdriver Φ5 to remove power interface screw *2pcs M3*5. Torque: 4.5+/-0.5kgf .cm <fig 1 as red> (2)Use Philips-head screwdriver Φ5 to remove ground screw M3*6 <fig 1as blue>. Torque: 4.5+/-0.5kgf .cm...
- Page 6 DELL C7017T (C7016H is applicable- exclude RJ45) Dismantle Interface Board (1)remove interface board chassis protector screws *2pcs M3*6. Torque: 4.5+/-0.5kgf.cm. And remove chassis protective <fig 2> (2)remove interface board from chassis *5pcs M3*6. Torque: 4.5+/-0.5kgf .cm. And remove interface board <fig 2>.
- Page 7 DELL C7017T (C7016H is applicable- exclude RJ45) Dismantle Interface board shield & RJ45 plate (1)Use Philips head screwdriver to remove 3pcs screws M3*6 from RJ 45 board. Torque: 4.5+/-0.5kgf .cm <fig 4>. At the same time remove 1pc RJ45 cable <fig 3>...
- Page 8 DELL C7017T (C7016H is applicable- exclude RJ45) Dismantle Speaker (1) Use Philips screwdriver to remove 2 sets speaker screws M3*5. Torque: 4.5+/-0.5kgf .cm <fig 3>. (2) Remove 6 screws M3*6 from speaker brackets. Torque: 4.5+/-0.5kgf .cm <fig 4> Dismantle wall mount Use Philips head screwdriver to remove A/B/C/Ds crews,Each area 4 screws, total 16 screws M3*6.
-
Page 9: Tools Required
DELL C7017T (C7016H is applicable- exclude RJ45) 2. Product Material Information The following substances, preparation, or components should be disposed of or recovered separately from other WEEE in compliance with Article 4 of EU Council Directive 75/422/EEC. Capacitors / Condensers (containing PCB/PCT)


