Table of Contents
Advertisement
Quick Links
Advertisement
Table of Contents

Summary of Contents for AEG SWB66001DG
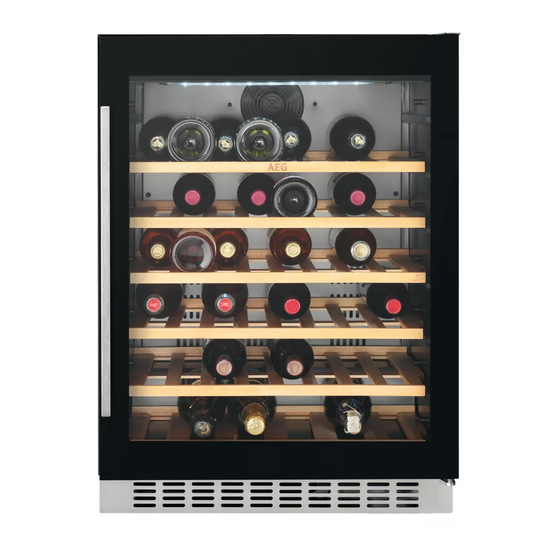
- Page 1 SWB66001DG User Manual Wine Cabinet USER MANUAL...
-
Page 2: Table Of Contents
13. ENVIRONMENTAL CONCERNS..............15 FOR PERFECT RESULTS Thank you for choosing this AEG product. We have created it to give you impeccable performance for many years, with innovative technologies that help make life simpler – features you might not find on ordinary appliances. Please spend a few minutes reading to get the very best from it. - Page 3 ENGLISH responsible for any injuries or damage that are the result of incorrect installation or usage. Always keep the instructions in a safe and accessible location for future reference. 1.1 Children and vulnerable people safety This appliance can be used by children aged from 8 •...
-
Page 4: Safety Instructions
To avoid contamination of food respect the following • instructions: do not open the door for long periods; – clean regularly surfaces that can come in contact – with food and accessible drainage systems; WARNING: Keep ventilation openings, in the •... - Page 5 ENGLISH • At first installation or after reversing • The mains cable must stay below the the door wait at least 4 hours before level of the mains plug. connecting the appliance to the power • Connect the mains plug to the mains supply.
-
Page 6: Installation
• Please note that self-repair or non- humidity, or are intended to signal professional repair can have safety information about the operational consequences and might void the status of the appliance. They are not guarantee. - Page 7 ENGLISH 3.1 Dimensions 90° space necessary for free circulation of the cooling air, plus the space necessary Overall dimensions ¹ to allow door opening to the minimum angle permitting removal of all internal equipment 3.2 Location To ensure appliance's best functionality, ¹...
- Page 8 It must be possible to disconnect the appliance from the mains power supply. The plug must therefore be easily accessible after installation. 3.3 Electrical connection • Before plugging in, ensure that the voltage and frequency shown on the rating plate correspond to your domestic power supply.
-
Page 9: Product Description
ENGLISH 7. Screw the top hinge on the left side of the appliance. 8. Set the door into its new place. 9. Secure the lower hinge and do not tighten the screws, until the door is in the closed position and levelled. 5. -
Page 10: Operation
5. OPERATION 5.1 Control panel Temp. Power button Temperature warmer button Light button Temperature colder button Temperature indicator Display 5.2 Switching on 5.5 Temperature regulation 1. Insert the plug into the wall socket. The default set temperature 2. Press the power button if the display for the wine cabinet is 12°C. - Page 11 ENGLISH already aged or if it will improve over Full shelf levels 2,3,4,5 time. Recommended storage temperatures: • For champagne and sparkling wines, between +6°C and +8°C. • For white wines, between +10°C and +12°C. • For rose and light red wines, between +12°C and +16°C.
-
Page 12: Hints And Tips
1. Open the wine cabinet doors completely. 2. Pull the wooden shelf until its notch is under the wine cabinet plastic post. 3. Lift slightly the front of the shelf and detach it from the appliance. To put the shelf back into its... -
Page 13: Troubleshooting
ENGLISH accessories should be washed with 4. Regularly check the door seals and lukewarm water and some neutral soap wipe them clean to ensure they are to remove the typical smell of a brand- clean and free from debris. new product, then dried thoroughly. 5. - Page 14 Problem Possible cause Solution The room temperature is Refer to "Installation" chapter. too high. The door is opened too of‐ Do not keep the door open ten. longer than necessary. The door is not closed cor‐ Refer to "Closing the door"...
-
Page 15: Noises
ENGLISH 10. NOISES SSSRRR! BRRR! CLICK! HISSS! BLUBB! 11. TECHNICAL DATA The technical information is situated in the rating plate on the internal side of the Frequency 50 Hz appliance and on the energy label. Voltage 220-240 V 12. INFORMATION FOR TEST INSTITUTES Installation and preparation of the clearances shall be as stated in this User appliance for any EcoDesign verification... - Page 16 office.
- Page 20 www.aeg.com/shop...


