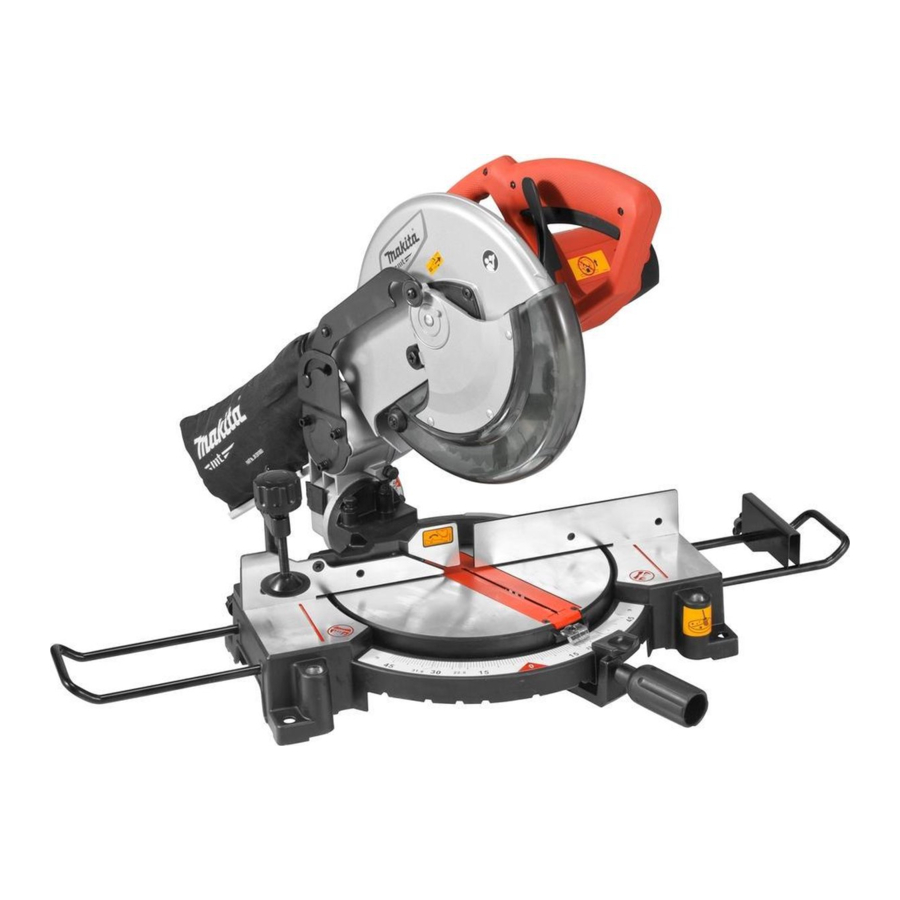
Makita M2300 Instruction Manual
Hide thumbs
Also See for M2300:
- Instruction manual (105 pages) ,
- Instruction manual (77 pages) ,
- Instruction manual (97 pages)
Table of Contents
Advertisement
Quick Links
Advertisement
Table of Contents

Summary of Contents for Makita M2300
- Page 1 INSTRUCTION MANUAL Compound Miter Saw M2300 DOUBLE INSULATION Read before use.
-
Page 2: Specifications
EC Declaration of Conformity To loosen the bolt, turn it clockwise. For European countries only Makita declares that the following Machine(s): Only for EU countries Do not dispose of electric equipment Designation of Machine: Compound Miter Saw together with household waste material! In Model No./ Type: M2300... -
Page 3: General Power Tool Safety Warnings
Yasushi Fukaya will reduce personal injuries. Director Prevent unintentional starting. Ensure the Makita, Jan-Baptist Vinkstraat 2, 3070, Belgium switch is in the off-position before connecting General power tool safety warnings to power source and/or battery pack, picking up or carrying the tool. Carrying power tools with... - Page 4 Service 22. Never cut so small workpiece which cannot be Have your power tool serviced by a qualified securely held by the vise. Improperly held work- piece may cause kickback and serious personal repair person using only identical replacement injury. parts.
-
Page 5: Installation
• Your risk from these exposures varies, Installing auxiliary plate depending on how often you do this type of work. To reduce your exposure Installing the auxiliary plate using the hole in the tool's to these chemicals: work in a well venti- base and secure it by tightening the screw. -
Page 6: Functional Description
Do not remove spring holding blade guard. If guard becomes discolored through age or UV light exposure, contact a Makita service center for a new guard. DO NOT DEFEAT OR REMOVE GUARD. 6 ENGLISH... -
Page 7: Adjusting The Bevel Angle
CAUTION: When turning the turn base, be sure to raise the handle fully. CAUTION: After changing the miter angle, always secure the turn base by tightening the grip firmly. Adjusting the bevel angle Fig.9 ► 1 . Adjusting bolt With the tool unplugged, rotate the blade by hand while holding the handle all the way down to be sure that the blade does not contact any part of the lower base. -
Page 8: Switch Action
"OFF" position removing the blade. when released. Operating a tool with a switch that CAUTION: Use only the Makita wrench pro- does not actuate properly can lead to loss of control vided to install or remove the blade. Failure to and serious personal injury. - Page 9 Return the blade guard and center cover to its original position. Then tighten the hex bolt clockwise to secure the center cover. Lower the handle to make sure that the blade guard moves prop- erly. Make sure shaft lock has released spindle before making cut. Sub-fence For European countries only CAUTION:...
-
Page 10: Securing Workpiece
If some part contacts the vise, re-position the vise. NOTE: If you connect a Makita vacuum cleaner to Press the workpiece flat against the guide fence and the your saw, more efficient and cleaner operations can turn base. Position the workpiece at the desired cutting be performed. - Page 11 Press cutting CAUTION: Always be sure that the blade will move down to bevel direction during a bevel cut. Keep hands out of path of saw blade. CAUTION: During a bevel cut, it may create a condition whereby the piece cut off will come to rest against the side of the blade.
- Page 12 In the case of left bevel cut (a) (b) (c) (d) (a) (b) (c) (d) Fig.30 ► 1 . Inside corner 2. Outside corner Fig.33 ► 1 . Inside corner 2. Outside corner Table (A) – Molding Bevel angle Miter angle position 52/38°...
-
Page 13: Carrying Tool
Cutting aluminum extrusion NOTICE: When the wood facing is attached, do not turn the turn base with the handle lowered. The blade and/or the wood facing will be damaged. NOTE: The maximum cutting width will be smaller by the width of wood facing. Cutting repetitive lengths When cutting several pieces of stock to the same length, ranging from 240 mm to 380 mm, use the set... -
Page 14: Maintenance
Loosen the grip which secures the turn base. Turn the turn base so that the pointer points to 0° on the miter scale. Tighten the grip and loosen the hex bolts secur- ing the guide fence using the wrench. If the pointer does not point to 0°... -
Page 15: Replacing Carbon Brushes
Fig.44 To maintain product SAFETY and RELIABILITY, ► 1 . 45° bevel angle adjusting bolt 2. Pointer repairs, any other maintenance or adjustment should Adjust the 45° bevel angle only after performing 0° be performed by Makita Authorized or Factory Service bevel angle adjustment. Centers, always using Makita replacement parts. To adjust left 45° bevel angle, loosen the knob and tilt the blade to the left fully. Make sure that the pointer on the arm points to 45° on the bevel scale on the arm. - Page 16 Makita Jan-Baptist Vinkstraat 2, 3070, Belgium Makita Corporation Anjo, Aichi, Japan JM23080113 www.makita.com 20151106...


