
Related Manuals for Makita 9558NBR


Summary of Contents for Makita 9558NBR
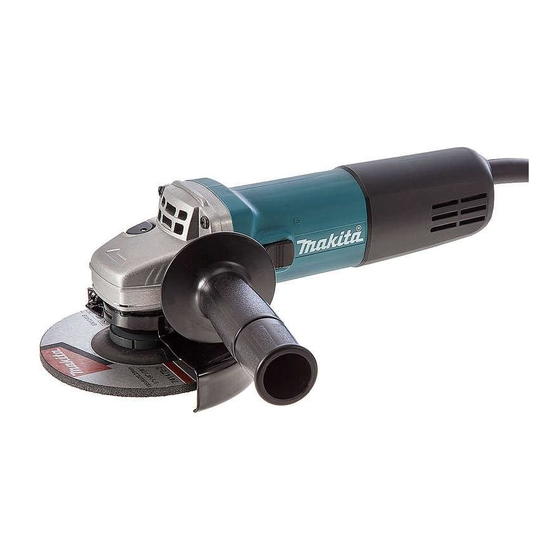
- Page 1 INSTRUCTION MANUAL Angle Grinder 9557NBR 9558NBR DOUBLE INSULATION Read before use.
-
Page 2: Specifications
Wear safety glasses. Vibration emission (a ) : 2.5 m/s or less h, DS Uncertainty (K) : 1.5 m/s Model 9558NBR DOUBLE INSULATION Work mode: surface grinding Vibration emission (a ) : 8.5 m/s h, AG Uncertainty (K) : 1.5 m/s... -
Page 3: Ec Declaration Of Conformity
For European countries only electric shock. Makita declares that the following Machine(s): Designation of Machine: Angle Grinder If operating a power tool in a damp location Model No./ Type: 9557NBR, 9558NBR... -
Page 4: Grinder Safety Warnings
Maintain power tools. Check for misalignment accessory is dropped, inspect for damage or or binding of moving parts, breakage of parts install an undamaged accessory. After inspect- and any other condition that may affect the ing and installing an accessory, position your- power tool’s operation. - Page 5 The wheel may either jump toward or away from the Additional Safety Warnings Specific for Abrasive operator, depending on direction of the wheel’s move- Cutting-Off Operations: ment at the point of pinching. Abrasive wheels may also Do not “jam“ the cut-off wheel or apply exces- break under these conditions.
-
Page 6: Shaft Lock
Be careful not to damage the spindle, the Shaft lock flange (especially the installing surface) or the lock nut. Damage to these parts could result in Press the shaft lock to prevent spindle rotation when wheel breakage. installing or removing accessories. Make sure the wheel is not contacting the workpiece before the switch is turned on. - Page 7 that it can protect the operator according to work. Be NOTE: Wait more than one second before restarting sure to tighten the screw securely. the tool when unintentional restart proof functions. To remove wheel guard, follow the installation proce- dure in reverse. NOTE: When the tool is overloaded and the tool temperature reaches a certain level, the tool may automatically stop.
-
Page 8: Operation
Installing or removing abrasive disc Optional accessory ► 1. Lock nut wrench 2. Shaft lock To remove the wheel, follow the installation procedure in reverse. ► 1. Sanding lock nut 2. Abrasive disc 3. Rubber pad Super flange Mount the rubber pad onto the spindle. Optional accessory Fit the disc on the rubber pad and screw the sand- Only for tools with M14 spindle thread. - Page 9 Grinding and sanding operation ► 1. Lock nut 2. Abrasive cut-off wheel / diamond wheel 3. Inner flange 4. Wheel guard for abrasive cut-off wheel / diamond wheel Turn the tool on and then apply the wheel or disc to the As for the installation, follow the instructions for workpiece.
-
Page 10: Maintenance
► 1. Exhaust vent 2. Inhalation vent To maintain product SAFETY and RELIABILITY, repairs, any other maintenance or adjustment should be performed by Makita Authorized or Factory Service Centers, always using Makita replacement parts. 10 ENGLISH... -
Page 11: Optional Accessories
The use of any other accessories or attachments might present a risk of injury to persons. Only use accessory or attachment for its stated purpose. If you need any assistance for more details regarding these accessories, ask your local Makita Service Center. 115 mm (4-1/2″) model 125 mm (5″) model... - Page 12 Makita Jan-Baptist Vinkstraat 2, 3070, Belgium Makita Corporation Anjo, Aichi, Japan 885463-225 www.makita.com 20150812...