Table of Contents
Advertisement
Advertisement
Table of Contents

Related Manuals for Casio KL-120


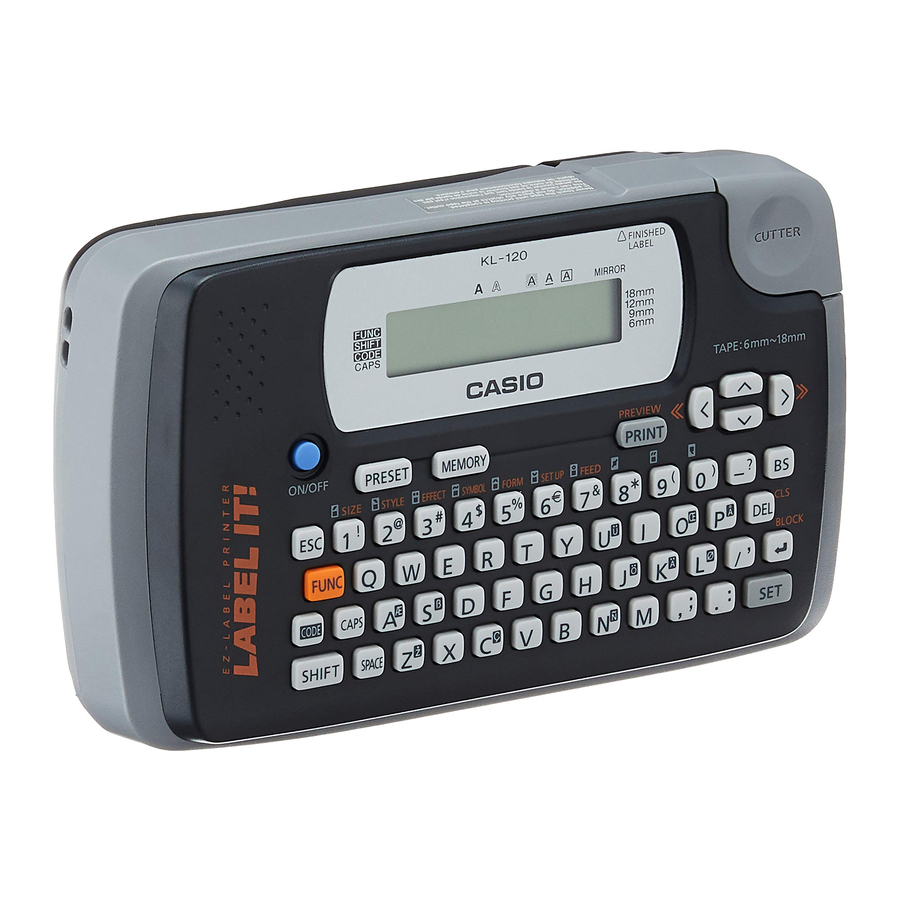
Summary of Contents for Casio KL-120
- Page 1 KL-120 User’s Guide RJA518623-001V01...
-
Page 2: Safety Precautions
Read This First! • CASIO COMPUTER CO., LTD. shall not be held liable for any loss or claims by you or any other person or entity that may arise through the use of this printer. • Reproduction of this manual in any form, either in part or its entirety, is forbidden without the express permission of CASIO COMPUTER CO.,... - Page 3 Danger Alkaline Batteries Perform the following steps immediately if fluid leaking from alkaline batteries ever gets into your eyes. 1. Do not rub your eyes! Rinse them with water. 2. Contact your physician immediately. Leaving alkaline battery fluid in your eyes can lead to loss of sight. Warning Smoke, abnormal odor, overheating, and other abnormalities...
- Page 4 Warning Do not affix labels to a container to be used in a microwave oven. Do not affix labels to any container you plan to use in a microwave range. The label material contains metal, which creates the risk of fire and burn injury when heated in a microwave oven.
-
Page 5: Operating Precautions
• Layout Printing • Mirror image printing • 5-language display messages (English, German, French, Italian, Spanish) All of this makes the CASIO Label Printer the perfect tool for just about all of your labeling needs! Important! • Contact a nearby dealer whenever you require servicing. -
Page 6: Table Of Contents
Part 8 Layout Printing ... E-20 Using Layout Printing ... E-20 Part 9 Memory ... E-21 Part 10 Configuring the Printer Setup ... E-22 Part 11 Reference ... E-23 Cleaning the Printer Head and Roller ... E-23 Initializing the Label Printer ... E-24 Troubleshooting ... -
Page 7: Part 1 Getting Acquainted
This part of the manual provides you with important information you need to know in order to use the Label Printer to its full potential. Be sure to read it carefully before using the Label Printer for the first time. -
Page 8: Part 2 Getting Ready
• Be sure that the plus (+) and minus (–) sides of each battery are facing correctly. • Never mix batteries of different types. • Never leave dead batteries in the Label Printer. • Remove the batteries if you do not plan to use the Label Printer for a long time. Warning! •... -
Page 9: Turning Power On And Off
Important! • If you are using the Label Printer for the first time, you should reset it first. Resetting the Memory You should reset the memory of the Label Printer before using it for the first time, after you have not used it for a long time, or if nothing happens when you turn power on, even after you change the batteries. -
Page 10: Display Language Setting
3. Release the PRINT, SPACE, and ON/OFF keys. 4. Press SET to initialize the Label Printer or ESC to abort the reset operation without initializing anything. The tape width selection screen appears after initialization is complete. 5. Use z and x to select the width of the tape you will use and then press SET. -
Page 11: Part 3 Inputting Characters And Symbols
This indicates there is no slack in the ribbon. 6. Load the tape cartridge into the Label Printer, making sure that the tape and ink ribbon pass between the head and roller. -
Page 12: Basic Alpha-Numeric Input
All letters you input in the caps mode are upper-case. When the caps mode indicator is not shown on the display, all letters are input as lower-case. Note that the Label Printer stays in the caps mode until you press the CAPS key again. -
Page 13: About The Code Key
• A newline operation is indicated on the display by the where you changed lines. • The maximum number of lines you can input depends on the width of the tape you have loaded in the Label Printer. Tape Width Maximum Number of Lines •... -
Page 14: Using Text Blocks
Using Text Blocks In the example label shown below, “Promotion Plan” and “Retail Package Sample Data” are independent units called “text blocks,” or simply “blocks.” You can divided your tape label text into blocks and then apply the following settings on a block-by-block basis. -
Page 15: Part 4 Deleting And Inserting Characters
To delete characters using the BS key Example: To change the word “CASSSIO” to “CASIO”. 1. Use c and v to move the cursor under “I”. C A S S S I O 2. -
Page 16: Character Size
You cannot make multiple specifications for specific characters. • The maximum character size you can print depends on the size of the tape you have loaded in the Label Printer and the number of lines of text you are Actual Size printing. - Page 17 6mm (1 line) Horizontal 1 × 1 1 × 2 1 × 3 1 × 1 1 × 2 1 × 3 1 × 1 1 × 2 1 × 3 1 × 1 1 × 2 1 × 3 9mm (1 line) Horizontal 1 ×...
-
Page 18: Text Effects
(You also can enter a value using the number keys. ) • Remember that the dimensions you can specify depend on the width of the tape loaded in the label printer (see table, above). 5. When the character size you want to specify is on the display, press SET to select it and return to the text display. -
Page 19: Character Styles
• Never turn power off while printing is being performed. • Make sure that the tape outlet is not blocked before you start printing. • Never operate the tape cutter while printer is being performed (indicated by the message “NOW PRINTING” on the display). -
Page 20: Print Preview
• An easy way to remove the backing from a tape and expose the adhesive surface is to bend the tape near one of its ends. This should cause the tape and its backing to separate, allowing you to pull them apart. Print Preview You can use the print preview screen to get an idea of what the printout will look like without actually printing it. -
Page 21: Part 8 Layout Printing
Part 8 Layout Printing Using Layout Printing The printer comes with a Layout Printing feature with preset formats for CD/ DVD labeling, video tape labeling, and other applications. 1. While the text input screen is displayed, press PRESET. C / D V D 2. -
Page 22: Part 9 Memory
5. Enter the text you want and then press SET. Here we will input text for three items. • You also can specify style (bold, outline) settings, if you want. • You also can select the “Boxed Text” effect. The following screen appears after input of all the label data is complete. P I N T 6. -
Page 23: Part 10 Configuring The Printer Setup
5. Press SET to delete the data. E-22 Part 10 Configuring the Printer Setup The printer has a SET UP screen that you can use to configure a variety of basic settings. To configure the printer setup 1. Press ON/OFF to turn on the printer. -
Page 24: Part 11 Reference
2. Turn over the Label Printer, and open the back cover while pressing down on its lock. • If a tape cartridge is loaded in the printer, remove it. 3. Use a cotton swab dipped in alcohol to clean the printer head and roller as shown in the illustration. Printer head 4. -
Page 25: Initializing The Label Printer
I N I I T A 3. Release the PRINT, SPACE, and ON/OFF keys. 4. Press SET to initialize the Label Printer or ESC to abort the reset operation. The tape width selection screen appears after initialization is complete. 5. Use z and x to select the width of the tape you will use and then press SET. - Page 26 Page E-10 Action Page E-22 E-23 Printer powers down while printing is in progress. Action Load a fresh set of AA-size alkaline batteries (supplied by you). Action Remove the tape cartridge and check to make sure the ink ribbon is not broken.
-
Page 27: Error Messages/Display Messages
• • • • • Tape Cutting Cannot cut tape. Possible Causes Tape cutter blade is dull. Take the label printer to the dealer from whom you purchased it to have the tape cutter blade replaced. Printed text is cut off by tape cut operation. - Page 28 Next, remove the jammed tape. * If the steps described above do not clear the error message, contact your retailer or your nearest CASIO service center. • Reduce the number of characters in the sentence. Possible Causes Action •...
-
Page 29: Alpha Characters
Alpha Characters Symbols E-28... -
Page 30: Layout Formats
Layout Formats Type Format Input Item CD/DVD TITLE TITLE COMMENT TITLE COMMENT1 COMMENT2 TITLE TITLE COMMENT TITLE COMMENT1 COMMENT2 mini DV TITLE TITLE COMMENT TITLE COMMENT1 COMMENT2 MD/FD/MO TITLE TITLE COMMENT TITLE COMMENT1 COMMENT2 Maximum TAPE Width (mm) Type Number 18 12 CASSETTE –... -
Page 31: Specifications
Specifications Model: KL-120 Input Keyboard Layout: Typewriter (QWERTY) Character Types Alpha (English and other languages): 151 Numbers: 10 Symbols: 87 Display Type: Liquid crystal display Character matrix: 96 × 16 dots, 16 columns × 2 lines Printing Resolution: 200dpi Type: Thermal transfer... - Page 32 CASIO COMPUTER CO., LTD. 6-2, Hon-machi 1-chome Shibuya-ku, Tokyo 151-8543, Japan MO0805-A Printed in China/Imprimé en Chine...