
Related Manuals for Casio KL-120TH


Summary of Contents for Casio KL-120TH
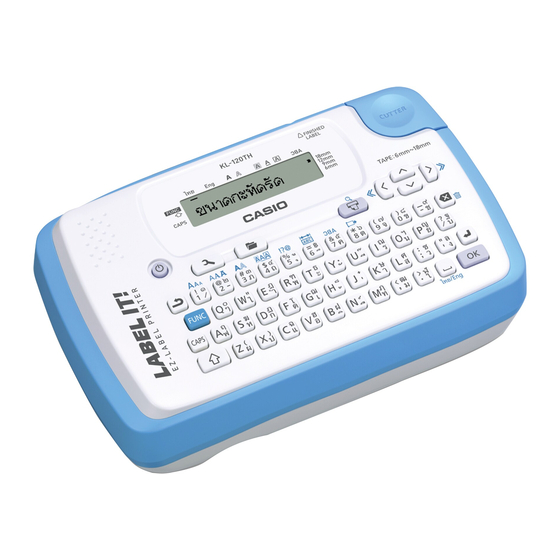
- Page 1 KL-120TH User’s Guide Supported Tape Widths RJA532638-001V01...
-
Page 2: Table Of Contents
Read This First! Contents CASIO COMPUTER CO., LTD. shall not be held liable for any loss or claims Read This First! ................1 by you or any other person or entity that may arise through the use of this printer. -
Page 3: Safety Precautions
Safety Precautions Warning Smoke, abnormal odor, overheating, and other Thank you for purchasing this quality CASIO product. abnormalities Before using it, be sure to read the following Safety Precautions. Keep the manual in a convenient location for future reference when necessary. - Page 4 Warning Warning AC Adaptor Disassembly and Modifi cation Before going out, be sure to unplug the power cord/AC adaptor Never try to take this product apart or modify it in any way. from the power outlet and put it in a place away from objects Doing so creates the risk of electric shock, burn injury, or other used by animals and pets.
- Page 5 Caution Caution AC Adaptor Batteries Misuse of the AC adaptor creates the risk of fire and electric Misuse of batteries can cause them to leak, resulting in damage shock. Make sure you observe the points below. to nearby objects, or to explode, creating the risk of fire and ...
-
Page 6: Operating Precautions
Operating Precautions Caution Locations to be Avoided Observe the following precautions to ensure that the printer provides you with Never leave this product in any of the types of locations the years of trouble-free operation for which it is designed. ... -
Page 7: Part 1 Getting Acquainted
Mirror image printing Tape cutter button Function key 2-language display messages (Thai and English) All of this makes the CASIO Label Printer the perfect tool for just about all of your labeling needs! Letter keys Important! Contact a nearby dealer whenever you require servicing. -
Page 8: Part 2 Getting Ready
Label Printer Menus Part 2 Getting Ready Label Printer operation is designed to be as simple as possible, thanks to on- screen menus that you can use to select the settings you need. Each menu is described in detail in the sections that follow in this manual, but note the This part of the manual tells you how to load batteries and the tape cartridge, following general points when using them. - Page 9 To load the batteries Turning Power On and Off Press to turn power on and off. Caution Power On Power Off Do not touch the springs inside the battery compartment cover with your T A P E I W D T H ? fingers while loading or replacing batteries.
-
Page 10: Tape Cartridges
To initialize memory Tape Cartridges 1. Make sure that Label Printer power is off. Use the procedures described below to load a tape cartridge into the Label Printer. 2. While holding down the keys, press to turn power on. A message appears to confirm whether you want to initialize memory. Important! ... -
Page 11: Part 3 Inputting Characters And Symbols
4. Pull the tape out about 3cm. Tape Part 3 Inputting Characters and Symbols Ink ribbon Important! (under the tape) You can input up to 50 characters per label. Important! Once tape is pulled out, there is no way to get it back into the cartridge. Main Key Functions ... -
Page 12: Display Symbols And Indicators
In the case of alphabetic input, upper-case characters are input while the Display Symbols and Indicators shift indicator is displayed. The number keys input the symbols marked in the Before getting into actual input, you should first become acquainted with the upper left corners of the keys. - Page 13 Mirror image printing indicator To input Thai characters This indicator appears when the Label Printer is set up for mirror image 1. Input the base character. printing. Normal (non mirror image) printing is performed when this indicator 2. Input symbols as required in the sequence: Lower Upper Top is not shown.
-
Page 14: Special Symbols
Sample Print 4. To print the text that you input, press . For details on printing, see page Sample Print Basic Alpha-Numeric Input Before inputting alpha-numeric characters, check to make sure that English is displayed for the language indicator. Special Symbols Pressing FUNC and then toggles the input language between Thai and English. -
Page 15: Part 4 Deleting And Inserting Characters
To delete characters Part 4 Deleting and Inserting Characters Example: To change the word “CASSSIO” to “CASIO”. 1. Use to move the cursor to the left of the letter “I”. This section describes everything you need to know about deleting and editing characters you have already input. -
Page 16: Part 5 Fonts, Character Sizes, Text Effects And Character Styles
Character Size Part 5 Fonts, Character Sizes, Text Effects There are two methods you can use to set the character size: AUTO and MANUAL. With AUTO, character size is set automatically in accordance with and Character Styles the tape size you are using and the number of lines you are printing. MANUAL lets you set the character size manually within the range of 1×1 to 4×6. -
Page 17: Text Effects
Using Auto Sizing (AUTO) Text Effects 1. Press FUNC and then to display the size setting menu. There are three text effects that you can assign: shading, underlining, and boxed text. The following shows examples of each. A T O Shading: 2. -
Page 18: Part 6 Printing
Character Styles Part 6 Printing There are three character styles that you can assign; normal, bold, and outline. The following shows examples of each. This part of the manual includes all the information you need to print tapes. Style Indicator Sample Printing Precautions Normal... -
Page 19: Print Preview
To affix a tape to a surface Print Preview 1. Use scissors or some other implement to trim the tape to the required You can use the print preview screen to get an idea of what the printout will size, if necessary. look like without actually printing it. -
Page 20: Part 7 Configuring Form Settings
Mirror Image Text Part 7 Configuring Form Settings This setting makes it possible to print a mirror image of text. Select mirror image text when printing with an iron-on transfer cartridge (sold separately) for transfer to a handkerchief, T-shirt, etc. ... -
Page 21: Part 8 Memory
To recall text from memory Part 8 Memory 1. While the input screen is on the display, press Note that text recalled from memory will replace any text currently on the display. This part of the manual tells you how to store text data in memory for instant 2. -
Page 22: Part 9 Configuring The Printer Setup
Part 9 Configuring the Printer Setup Part 10 Reference The printer has a SET UP screen that you can use to configure a variety of This section contains information about the Label Printer that you can use as basic settings. reference when you need it. -
Page 23: Cleaning The Printer Head And Roller
Important! On either end of the power cord, avoid excessive bending, twisting, and pulling. Do not store the power cord with either end bend. The above conditions can cause the power cord to break and lead to printer malfunction. ... -
Page 24: Troubleshooting
Printing Troubleshooting Tape does not come out when is pressed. Power Supply Possible Causes Action Page Nothing appears on the display. Tape cartridge Securely close the cover. Possible Causes Action Page compartment cover is not closed completely. Battery power is low Load a fresh set of AA-size alkaline or the wrong type of batteries (supplied by you). - Page 25 Using Labels Printer powers down while printing is in progress. Possible Causes Action Page Label will not adhere to a surface. Battery power is low Load a fresh set of AA-size alkaline Possible Causes Action Page or the wrong type of batteries (supplied by you).
- Page 26 12mm tape...Up to 2 lines error message, contact using. 18mm tape...Up to 2 lines your retailer or your Data in memory has Press any key to initialize nearest CASIO service INITIALIZE! center. become corrupted for the Label Printer. some reason. This message appears To print, press OK.
- Page 27 ● DINGBAT Symbols ● SYMBOL ● ILLUST...
- Page 28 Power supply: 6 AA-size alkaline batteries (commercially available) Specified AC adaptor (AD-A95100: separately available) Rated consumption current: 1A (9W) Model: KL-120TH Auto Power Off: Approximately 6 minutes Dimensions: 54.5 (H) × 189 (W) × 115 (D)mm (2 " (H) × 7 "...
- Page 29 CASIO COMPUTER CO., LTD. 6-2, Hon-machi 1-chome Shibuya-ku, Tokyo 151-8543, Japan MO1504-B Printed in China © 2015 CASIO COMPUTER CO., LTD.