Philips AVENT SCF293 User Manual
Hide thumbs
Also See for AVENT SCF293:
- Manual (213 pages) ,
- User manual (22 pages) ,
- User manual (116 pages)
Table of Contents
Advertisement
Quick Links
Advertisement
Table of Contents

Related Manuals for Philips AVENT SCF293


Summary of Contents for Philips AVENT SCF293
- Page 1 SCF293 User manual...
-
Page 2: Table Of Contents
Table of Contents Important � � � � � � � � � � � � � � � � � � � � � � � � � � � � � � � � � � � � � � � � � � � � � � � � � � � � � � � � � � � � � �3 Danger �... -
Page 3: Important
- Do not use the appliance if the plug, the power cord or the appliance itself is damaged� - If the power cord is damaged, it must be replaced by Philips, a service centre authorized by Philips or similarly qualified persons in order to avoid a hazard�... - Page 4 - Beware of hot steam that comes out of the vent in the lid or when you remove the lid� Steam can cause burns� - Do not touch the base, the baskets and the lid during or shortly after operation because they are very hot� Only lift the lid by its grip�...
-
Page 5: Caution
- Do not use the appliance if it has fallen or is damaged in any way� Take it to an authorized Philips service centre for repair� - Always place and use the appliance on a dry, stable, level and horizontal surface�... -
Page 6: Introduction
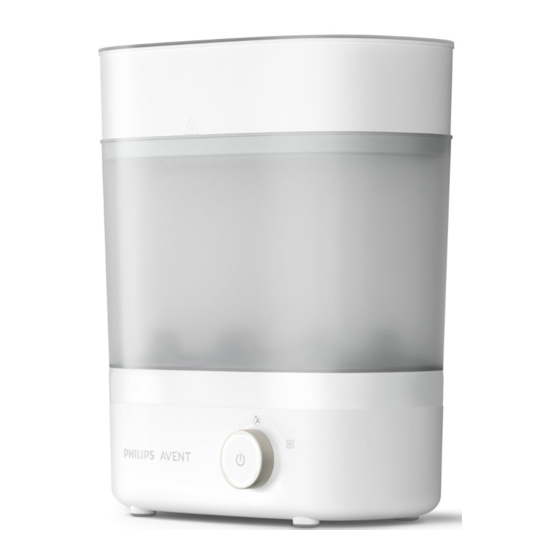
Introduction Congratulations on your purchase and welcome to Philips! To fully benefit from the support that Philips offers, register your product at www.philips.com/welcome� General description 130ml A Lid with grip Tongs Small basket Filter cover Bottom plate for large basket... -
Page 7: Things To Note
Things to Note • Don’t pour water into the air outlet� • Don’t immerse the base unit in water� • Don't put any object under the base unit when in use, e�g, towel, cleaning cloth etc� • Use 130 ml water� 130ml •... - Page 8 • Disassemble all bottle parts completely and place them in steriliser with openings pointing down to prevent from filling up with water. • Pour out the remaining water from large basket after each use� • Clean the filter every 4 weeks. •...
-
Page 9: Getting To Know The Settings
Getting to know the settings Note: Before you sterilise bottles and other items, clean them first. Only place items in the steriliser which are suitable for sterilising� Do not sterilise items that are filled with liquid, e.g. a teether with cooling fluid. •... -
Page 10: Before First Use
Before first use When you use the appliance for the first time, we advise you to let it complete one sterilisation process with empty baskets� Use a clean baby bottle and pour exactly 130 ml water directly into the water reservoir of the base�... - Page 11 Place the lid on top of the small basket� Put the plug in the wall socket� Turn the on/off button to “Sterilise” mode. Then press it to switch on the appliance� Caution: The base, the baskets and the lid become hot during or shortly after operation.
-
Page 12: Preparing For Use
Preparing for use Preparing for sterilising Before you put the items to be sterilised in the steriliser, clean them thoroughly in the dishwasher or clean them by hand with hot water and liquid dishwashing detergent� Assembling the steriliser There are several ways to assemble the steriliser� With only the small basket on the base to sterilise small items such as soothers�... -
Page 13: Using The Appliance
Using the appliance Sterilising The steriliser’s thorough and chemical-free cleaning will keep its contents sterile for up to 24 hours with the lid on� After sterilisation, the water left on the baby items is sterile and will not collect germs� Pour water directly into the water reservoir of the base (see section “Before first use”). -
Page 14: Auto - Sterilising And Drying
Remove the bottles and other items from the basket� Use the tongs to remove the smaller items� Be careful� The sterilised items may still be hot� Note: Make sure you wash your hands thoroughly before you touch the sterilised items. Unplug the appliance and wait until the appliance has cooled down completely�... - Page 15 Turn the on/off button to “Auto” mode. Then press it to switch on the appliance� • The appliance starts sterilising first. The entire progress indicator lights flash to show the appliance is sterilising. • After that, drying will start automatically� The progress indicator lights flash and off gradually to show the appliance is drying�...
-
Page 16: Drying
Drying Assemble the steriliser (see section “Assembling the steriliser”) and place the items to be dried in it� Note: Make sure all the items are completely disassembled and placed in the basket with their openings pointing down for effective drying. Be careful. -
Page 17: Cleaning
Cleaning Do not use abrasive or aggressive cleaning agents (e�g� bleach) or a scouring pad to clean this appliance� Never immerse the base and the power cord in water or any other liquid� Note: The steriliser is not dishwasher-proof. The baskets, the bottom plate and the lid can be cleaned with hot water and liquid dishwashing detergent. -
Page 18: Descaling
Let the filter air dry thoroughly. Put it back to the base and close the filter cover. Note: Clean the filter at least every 4 weeks to ensure that it continues to filter effectively. Descaling The sterilisation process is extremely important to ensure the most hygienic standards for your baby�... - Page 19 Place the small basket on the base� Place the lid on top of the small basket� Turn the on/off button to “Sterilise” mode. Then press it to switch on the appliance� Note: Place the small basket on the base to prevent hot liquid from splashing out.
-
Page 20: Ordering Accessories
Ordering accessories To buy accessories or spare parts, visit www.philips.com or go to your Philips dealer� You can also contact the Philips Consumer Care Centre in your country (see the worldwide guarantee leaflet for contact details). Recycling This symbol means that this product shall not be disposed of with normal household waste (2012/19/EU)�... - Page 21 Problem Solution Why is there a burning You may not have poured out the remaining water from the smell and burnt mark large basket drip tray regularly� Water accumulates on the on the base? large basket drip tray after each sterilising cycle� Pour out any remaining water from large basket after each use�...
- Page 22 © 2022 Koninklijke Philips N�V� All rights reserved� 03/03/2022...