Advertisement
Quick Links
Advertisement

Related Manuals for Honeywell Q4000


Summary of Contents for Honeywell Q4000
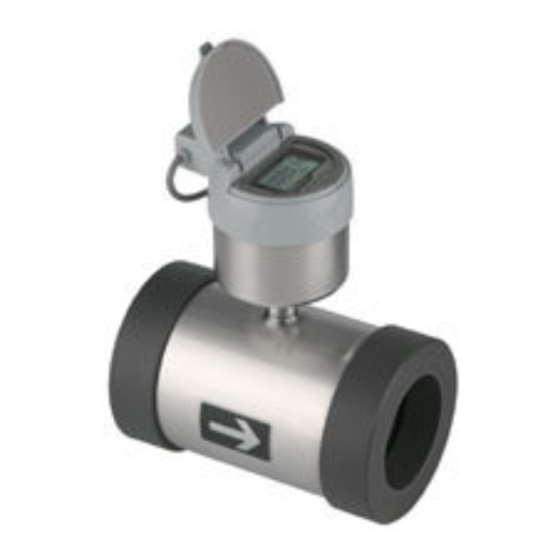
- Page 1 W ater Metering Q4000 Installation Instructions Electromagnetic Water Meters...
- Page 2 10- year battery life and an innovative flangeless • Observe the provision for submergence depth design, the Q4000 is ideal for a wide when installing in flooded chambers. variety of bulk flow metering applications, such as network management, leakage...
-
Page 3: Installation
Installation 1) Insert the studding in the lower two bolts 2) Place the electromagnetic meter on the and fix the bolts to the flanges. studs and set it in the desired position, taking care not to subject it to damage. 3) Insert the remaining studs and slightly 4) After you check the displacement of the tighten all bolts. - Page 4 Precautions on piping Pipes, especially newly installed ones, often have foreign matter (such as oil) on the inside. • • Be sure to clean the pipe before installing the electromagnetic meter. • For optimum meter performance, follow the precautions given below and install the meter where it can be easily accessed for maintenance purposes.
- Page 5 WARNING: No solid substances must be inside the pipe. Be sure to mount the meter on a vertical section of pipe in which the fluid flows upwards. Also install a shut-off flange for cleaning. Shut-off flange Precipitation WARNING: A straight section of the pipe is recommended for meter installation.
-
Page 6: Declaration Of Conformity
Elster Water Metering Limited, 130 Camford Way, Sundon Park, Luton, Bedfordshire, LU3 3AN UK We hereby declare that the meter type: Q4000 Conforms with the essential requirements of: Directive 2014/32/EU and, where applicable, with the essential requirements of: Directive 2014/30/EU and 2014/53/EU Our Notified Body for the purpose of Module D...