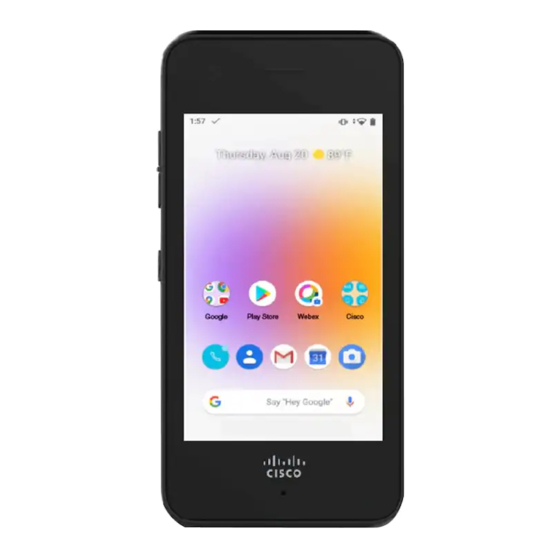
Cisco Webex Wireless Phone 840 Manual
Hide thumbs
Also See for Webex Wireless Phone 840:
- Quick reference manual (3 pages) ,
- Setup (10 pages)
Advertisement
Quick Links
Phone Setup
•
•
•
•
Phone Battery Installation
You must read the information in the Product Safety and Security chapter of the User Guide, before you install
or charge the battery, or use the phone.
Before you can use your phone, you must install and charge the battery. The battery may already be installed
in your phone, or you may have to install it yourself.
To maximize the battery storage capacity and lifespan, fully charge the battery before you turn on and set up
the phone.
Related Topics
Install the Battery
Don't install the battery in a dusty or wet environment.
The steps to install the battery are the same for both the Webex Wireless Phone 840 and Webex Wireless
Phone 860. However, the battery contacts are in different locations on these models, as shown in the following
illustration. The illustrations in the steps are of the Webex Wireless Phone 860.
Figure 1: Battery Contact Location on the Webex Wireless Phone 840 and Webex Wireless Phone 860
Phone Battery Installation, on page 1
Battery Contact Damage Prevention, on page 5
Phone Battery Charging, on page 6
Phone Configuration, on page 8
Product Safety and Security
Phone Setup
1
Advertisement

Summary of Contents for Cisco Webex Wireless Phone 840
- Page 1 Don't install the battery in a dusty or wet environment. The steps to install the battery are the same for both the Webex Wireless Phone 840 and Webex Wireless Phone 860. However, the battery contacts are in different locations on these models, as shown in the following illustration.
- Page 2 Warning Use only the Cisco-branded batteries for this phone. If you attempt to use a third-party battery, you will receive an error and the battery will not work. We don't support damage from attempting to use third-party batteries.
-
Page 3: Remove The Battery
Phone Setup Remove the Battery Step 4 Insert the two plastic battery tabs directly into the two battery compartment slots. Step 5 Use the tab and slot contact point as a pivot to lower the battery into the compartment. Step 6 Use your finger to press down until you feel and hear the battery clip snap into place. - Page 4 Phone Setup Hot Swap the Battery for Webex Wireless Phone 860 and 860S Procedure Step 1 To disengage the battery clip, gently use a fingernail to depress the clip towards the top of the phone. Caution Don’t pull up on or twist the clip. Don't use a tool, such as letter opener or screwdriver, to pry the clip open.
- Page 5 Note The Webex Wireless Phone 840 and 840S don't have an internal battery, so they don't support the hot swap feature. Before you begin •...
- Page 6 In these failure scenarios, remove the battery from the phone and examine the battery contact fingers and pads. Note The battery contacts are in different locations on the Webex Wireless Phone 840 and Webex Wireless Phone 860. • Check that the contacts aren’t dirty or covered with any substances, or it may prevent a proper electrical connection.
- Page 7 If you don't have a desktop charger or multicharger, you can charge your phone battery using the USB cable and AC power adapter. Caution Use only the approved USB cable and power adapter for the Webex Wireless Phone 840 and 860. Procedure Step 1 Plug the USB cable into the bottom of the phone with the pins aligned.
-
Page 8: Phone Configuration
Phone Setup Phone Configuration Caution Use only the approved USB cable for the Webex Wireless Phone 840 and 860. Procedure Step 1 Plug the USB cable into the bottom of the phone with the pins aligned. Step 2 Plug the USB cable into a USB port on a computer. - Page 9 Phone Setup Add the Phone to a Broadcasted Wi-Fi Network Add the Phone to a Broadcasted Wi-Fi Network You add the phone to a broadcasted Wi-Fi network through the startup wizard, or offline through the Settings app. Before you begin Get the following information about the Wi-Fi network from your administrator: •...
- Page 10 Phone Setup Add the Phone to a Nonbroadcast Wi-Fi Network Before you begin Get the following information about the Wi-Fi network from your administrator: • Network name or Service Set Identifier (SSID) • Network security mode: • None • Wi-Fi Protected Access II (WPA2)-Personal: Pre-shared key (PSK) •...
- Page 11 Phone Setup Configure a TFTP Server Configure a TFTP Server You must configure a TFTP server if your network doesn't provide DHCP option 150 or 66 for the Cisco Unified Communications Manager that you want to register to. Note Configure the DHCP pool with option 150 or 66 if you want to use the automatic configuration method.
- Page 12 Phone Setup Configure a TFTP Server Phone Setup...


