Makita HR3011FC Instruction Manual
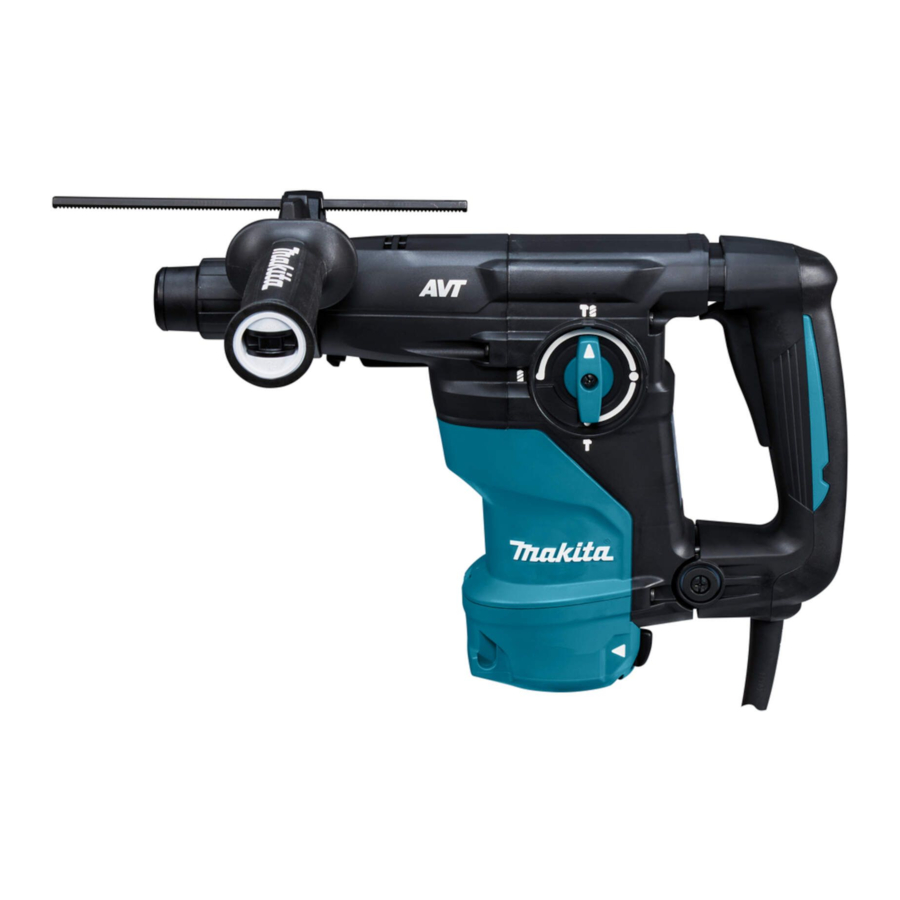
Combination hammer
Hide thumbs
Also See for HR3011FC:
- Instruction manual (109 pages) ,
- Instruction manual (53 pages) ,
- Instruction manual (104 pages)

Related Manuals for Makita HR3011FC


Summary of Contents for Makita HR3011FC
- Page 1 INSTRUCTION MANUAL Combination Hammer HR3011FC HR3012FC HR3001C DOUBLE INSULATION Read before use.
-
Page 2: Specifications
The tool is intended for hammer drilling and drilling in Uncertainty (K) : 3 dB(A) brick, concrete and stone as well as for chiselling work. Model HR3011FC with DX10 It is also suitable for drilling without impact in wood, Sound pressure level (L ) : 96 dB(A) metal, ceramic and plastic. -
Page 3: Ec Declaration Of Conformity
Model HR3011FC Work mode Vibration Uncertainty (K) Applicable... - Page 4 Electrical safety Dress properly. Do not wear loose clothing or jewellery. Keep your hair and clothing away Power tool plugs must match the outlet. Never from moving parts. Loose clothes, jewellery or modify the plug in any way. Do not use any long hair can be caught in moving parts.
-
Page 5: Functional Description
Keep cutting tools sharp and clean. Properly 12. Do not point the tool at any one in the area maintained cutting tools with sharp cutting edges when operating. The bit could fly out and injure someone seriously. are less likely to bind and are easier to control. Use the power tool, accessories and tool bits 13. - Page 6 Lighting up the front lamp Changing the quick change chuck for SDS-plus For HR3011FC, HR3012FC only For HR3012FC only CAUTION: Do not look in the light or see the The quick change chuck for SDS-plus can be easily source of light directly.
-
Page 7: Electronic Function
Constant speed control The speed control function provides the constant rotation speed regardless of load conditions. Air duct For HR3011FC, HR3012FC only CAUTION: Do not put your finger into the air duct or do not insert any other object into the air duct. - Page 8 The air duct is to connect to the dust collection system. Attach the side grip while pressing the thumb When using the dust collection system, read the section screw so that the grooves on the grip fit in the protru- about the dust collection system.
-
Page 9: Depth Gauge
Insert the drill bit into the tool. Turn the drill bit and push Depth gauge it in until it engages. After installing the drill bit, always make sure that the The depth gauge is convenient for drilling holes of drill bit is securely held in place by trying to pull it out. uniform depth. - Page 10 For Models HR3011FC, HR3001C NOTICE: When using the dust cup set in HR3011FC, HR3001C, the spacer is also requied. Before installing the dust cup set, remove the bit from the tool if installed. Attach the spacer to the dust cup set.
- Page 11 To remove the dust cup set, remove the bit while pulling the chuck cover in the direction of the arrow. Tool hanger ► 1. Bit 2. Chuck cover Optional accessory Hold the root of dust cup and pull it out. WARNING: Do not use damaged tool hanger and screw.
-
Page 12: Dust Collection System
DUST COLLECTION collection system SYSTEM NOTICE: Before installing the dust collection For HR3011FC, HR3012FC only system, clean the joint parts of the tool and the dust collection system. Optional accessory Foreign matters on the joint parts may cause it difficult to The dust collection system is designed to collect dusts install the dust collection system. - Page 13 Adjusting the nozzle position of the Beating dust on the filter dust collection system CAUTION: Do not turn the dial on the dust case while the dust case is removed from the CAUTION: Do not point the nozzle at yourself dust collection system.
- Page 14 Remove the dust case while pressing down the Replacing filter of dust case lever of the dust case. Remove the dust case while pressing down the lever of the dust case. (Refer to the section for dispos- ing of dust.) Open the filter cover of the dust case.
-
Page 15: Operation
Pressing very hard on the tool will not increase the even the bit gets stuck. Loss of control may efficiency. cause injury. CAUTION: For HR3011FC, HR3012FC only Before using the dust collection system with the tool, read the section about the dust collection system. Drilling in wood or metal... - Page 16 Blow-out bulb Set the action mode changing knob to the symbol. Optional accessory For Models HR3011FC, HR3001C After drilling the hole, use the blow-out bulb to clean the dust out of the hole. Optional accessory Attach the chuck adapter to a keyless drill chuck to which 1/2"-20 size screw can be installed, and then...
-
Page 17: Maintenance
Use only with lanyards appropriate for this tool repairs, any other maintenance or adjustment should type and rated for at least 7.5 kg. be performed by Makita Authorized or Factory Service Do not anchor the tool lanyard to anything on Centers, always using Makita replacement parts. - Page 20 Makita Europe N.V. Jan-Baptist Vinkstraat 2, 3070 Kortenberg, Belgium Makita Corporation 3-11-8, Sumiyoshi-cho, Anjo, Aichi 446-8502 Japan 885772A222 www.makita.com 20200627...