Advertisement
Quick Links
Download this manual
See also:
Manual
This product can be set up
using Internet Explorer 5.x
or above
Before You Begin
You must have at least the following:
• Windows XP/2000/ME/98SE
• Wired or Wireless Ethernet Adapter
• CD-ROM Drive
Check Your Package Contents
These are the items included with your purchase:
If any of the below items are missing, please contact your reseller.
©2003 D-Link Systems, Inc. All rights reserved. Trademarks or registered trademarks are the property of their
respective holders. Software and specifications subject to change without notice. DCS-5300W. 12292003
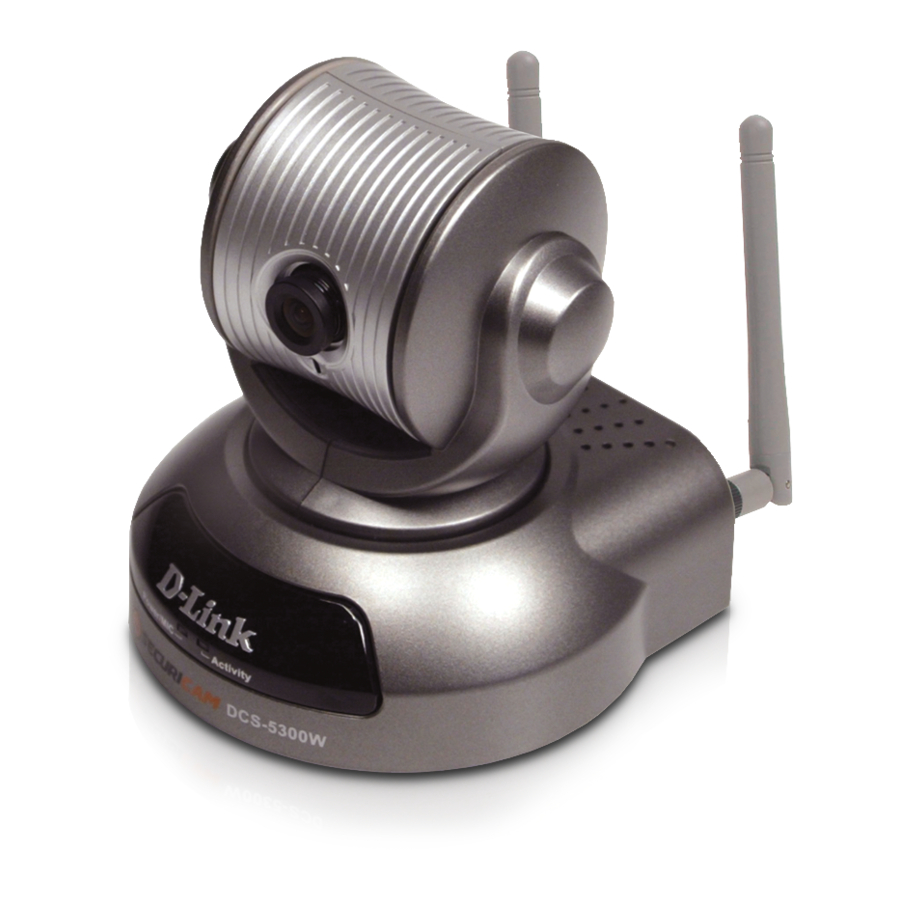
DCS-5300W Wireless Internet Camera
with 2 detachable antennas and 1 remote
controller
One Installation CD (containing Drivers,
Software, Quick Installation Guide and
Manual)
A/V Cable
&
Category 5 Ethernet Cable
Stand & Mounting bracket
12V AC Power
Adapter
DCS-5300W
Wireless Internet Camera
with Pan and Tilt
Using a power supply
with a different voltage
rating will damage this
product and void the warranty.
Advertisement

Related Manuals for D-Link DCS-5300W


Summary of Contents for D-Link DCS-5300W
-
Page 1: Before You Begin
If any of the below items are missing, please contact your reseller. ©2003 D-Link Systems, Inc. All rights reserved. Trademarks or registered trademarks are the property of their respective holders. Software and specifications subject to change without notice. DCS-5300W. 12292003... -
Page 2: System Requirements
Attach the Antennas to the Camera If you will be using the DCS-5300W in a wireless network, attach the antennas to the back of the camera by turning the antennas in the clockwise direction until snug, do not... - Page 3 LED Power Indicator on the Internet Camera is illuminated. Attach the A/V cable to the A/V out connec- tor if you wish to connect the DCS-5300W to your TV set. Attach the red RCA connector to the “video” connector on your TV...
- Page 4 Configuring your camera with IP Installer Attach the black RCA cable to the “audio” connector on your TV set. Insert the DCS-5300W CD into the CD-ROM drive of your PC. Click on IP Installer This is the first screen that will appear.
- Page 5 LED starts to flash the second time. The IP Installer will now show a MAC address of the DCS-5300W and an IP Address (which may or may not be correct depending on what you have your DCS-5300W connected to.) If...
- Page 6 Leave the box titled This camera can be found by installer whenever it starts up unchecked to avoid running this install application each time you boot up the DCS-5300W. Check this box if you need to change IP address the next time the DCS-5300W boots up.
- Page 7 Installer (continued) Setting up your wireless configuration for the DCS-5300W The DCS-5300W is pre-configured to connect to any D-Link wireless routers and adapters by default. If the settings are changed on the other devices, then the DCS- 5300W will need to be configured to match those settings also.
-
Page 8: Viewing Your Internet Camera
Switching to wireless mode - To switch to wireless mode, simply disconnect the Ethernet cable and reboot the DCS-5300W by removing and reconnecting the power supply either from the back of the unit or from the wall power outlet. - Page 9 NOTES:...
- Page 10 You can find software updates and user documentation on the D-Link website. D-Link provides free technical support for customers within the United States and within Canada for the duration of the warranty period on this product. U.S. and Canadian customers can contact D-Link Technical Support through our website, or by phone.