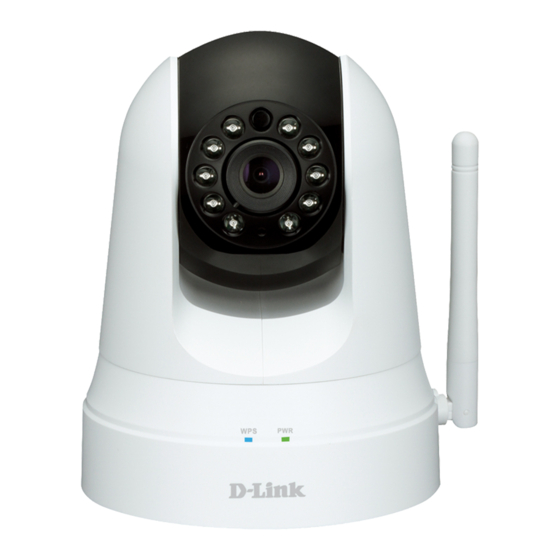
D-Link DCS-5020L Technical Support Setup Procedure
Hide thumbs
Also See for DCS-5020L:
- Quick installation manual (97 pages) ,
- User manual (76 pages) ,
- Manual (67 pages)
Advertisement
Quick Links
Technical Support Setup Procedure
How to Change the DCS-5020L Login Password
Step 1: Run the CD Set-Up that came with the DCS-5020L. On the Set-Up Wizard screen click on Set
up your Could Camera button.
Step 2: Click on Start button on the next window that comes up.
Advertisement

Related Manuals for D-Link DCS-5020L


Summary of Contents for D-Link DCS-5020L
- Page 1 Technical Support Setup Procedure How to Change the DCS-5020L Login Password Step 1: Run the CD Set-Up that came with the DCS-5020L. On the Set-Up Wizard screen click on Set up your Could Camera button. Step 2: Click on Start button on the next window that comes up.
- Page 2 Step 3: Under End User License Agreement, put a check mark on I accept these Terms and Conditions, then click on Next button. Step 4: Plug the included Ethernet cable into the port on the back of the Cloud Camera, then Click on Next button to continue.
- Page 3 Step 5: Plug the other end of the cable into the LAN port on your router. Click Next button to continue. Step 6: Connect the power adapter to the power connector on the back of the DCS-5020L, then plug the adapter into a power outlet. Click Next button.
- Page 4 Step 7: The LED on the cloud camera will turn solid green when it is ready, Click Next button to proceed. Step 8: Click on the button Yes if the LED at the back of your camera is lit solid green.
- Page 5 Step 9: You will now see the camera device information with its corresponding IP Settings and MAC Address. Create a password for your camera then, Click on the Next button. Step 10: Open up a browser and on the address bar type in the IP address of the camera, then Login page of the camera comes up.
- Page 6 Step 11: Click on MAINTENANCE Tab then, Click on Admin on the left hand side. Under the ADMIN page, Type in the Old Password, New Password and Retype the New password. Click on Apply to save the settings.