Draytek VigorSwitch G2280x Quick Start Manual
L2+ managed switch
Hide thumbs
Also See for VigorSwitch G2280x:
- Quick start manual (12 pages) ,
- Quick start manual (9 pages)
Advertisement
Quick Links
Advertisement

Related Manuals for Draytek VigorSwitch G2280x


Summary of Contents for Draytek VigorSwitch G2280x
- Page 2 Intellectual Property Rights (IPR) Information © All rights reserved. This publication contains information that is protected Copyrights by copyright. No part may be reproduced, transmitted, transcribed, stored in a retrieval system, or translated into any language without written permission from the copyright holders. Trademarks The following trademarks are used in this document: Microsoft is a registered trademark of Microsoft Corp.
-
Page 3: Table Of Contents
VigorSwitch G2280x L2+ Managed Switch Quick Start Guide t ....................1 n ....................2 n ................... 3 n ........................3 n ......................4 n ..................5 e ....................6... -
Page 4: P A C K A G E C O N T E N T
Take a look at the package content. If there is anything missed or damaged, please contact DrayTek or dealer immediately. Vigor switch Quick Start Guide Rack mount kit (brackets) Console cable Power cord... -
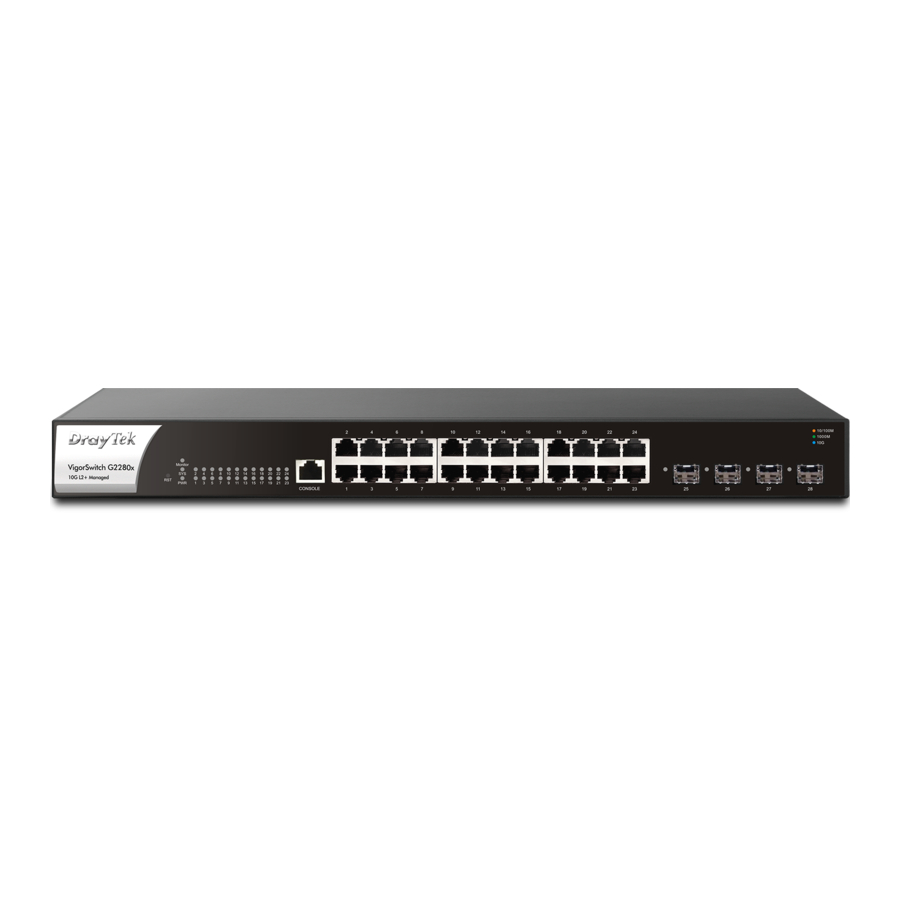
Page 5: P A N E L E X P L A N A T I O N
Status Explanation An alert for system failure due to overheating or On (Red) wrong voltage. Monitor The device is in normal condition and running normally. The switch finishes system booting and the On (Green) system is ready. Blinking The switch is powered on and starts system (Green) booting. -
Page 6: H A R D W A R E I N S T A L A T I O N
This section will guide you to install the router through hardware connection. Use a twisted-pair cable to connect a device to the port (1~24) of this switch. -
Page 7: R A C K - M O U N T E D I N S T A L A T I O N
The VigorG2280x can be mounted on the shelf by using standard brackets shown below. Attach the brackets to the chassis of a rack. The second bracket attaches the other side of the chassis. After the bracket installation, the VigorG2280x chassis can be installed in a rack by using four screws for each side of the rack. -
Page 8: S O F T W A R E C O N F I G U R A T I O N
To access Internet, please finish basic configuration after completing the hardware installation. Before using the switch, perform the following steps: 1. Set up a physical path between the configured the switch and a PC by a qualified UTP Cat. 5e cable with RJ-45 connector. If a PC directly connects to the switch, you have to setup the same subnet mask for PC and the Default values of the managed switch are listed as follows: switch. -
Page 9: C U S T O M E R S E R V I C E
If the router cannot work correctly after trying many efforts, please contact your dealer/DrayTek for further help right away. For any questions, please feel free to send e-mail to support@draytek.com.