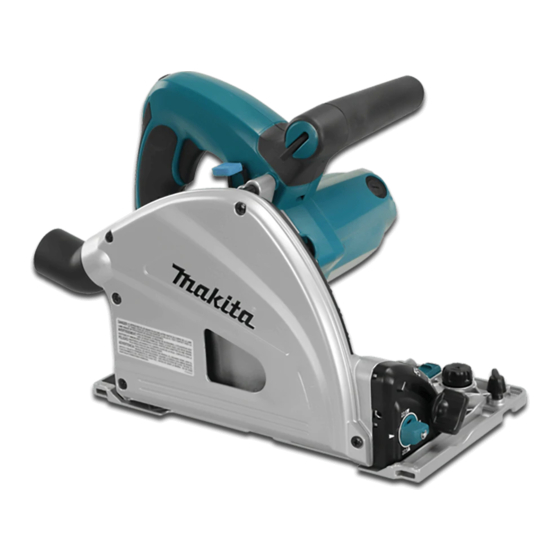
Makita SP6000 Instruction Manual
Plunge cut circular saw
Hide thumbs
Also See for SP6000:
- Instruction manual (89 pages) ,
- Instruction manual (68 pages) ,
- Instruction manual (73 pages)
Summary of Contents for Makita SP6000
- Page 1 INSTRUCTION MANUAL Plunge Cut Circular Saw SP6000 DOUBLE INSULATION Read before use.
-
Page 2: Specifications
SPECIFICATIONS Model SP6000 Blade diameter 165 mm Max. cutting depth at 90° 56 mm at 45° 40 mm at 48° 38 mm No load speed (min 2,200 - 6,400 Overall length 341 mm Net weight 4.1 kg Safety class •... -
Page 3: Circular Saw Safety Warnings
Power tools can produce electromagnetic fields It is an employer's responsibility to enforce (EMF) that are not harmful to the user. However, the use of appropriate safety protective equip- users of pacemakers and other similar medical ments by the tool operators and by other per- devices should contact the maker of their device and/ sons in the immediate working area. - Page 4 Adjust the cutting depth to the thickness of When blade is binding, or when interrupting a the workpiece. Less than a full tooth of the blade cut for any reason, release the trigger and hold teeth should be visible below the workpiece. the saw motionless in the material until the blade comes to a complete stop.
- Page 5 Never force the saw. Push the saw forward at a Before setting the tool down after completing a speed so that the blade cuts without slowing. cut, be sure that the guard has closed and the Forcing the saw can cause uneven cuts, loss of blade has come to a complete stop.
-
Page 6: Functional Description
Quick stop button for 2 to 3 mm WARNING: DO NOT let comfort or familiarity depth of cut when using guide rail with product (gained from repeated use) replace strict adherence to safety rules for the subject (accessory) product. MISUSE or failure to follow the safety rules stated in this instruction manual may cause serious personal injury. -
Page 7: Switch Action
Tilting to the right tool handle to the left while pushing these two levers at the same time. Secure the base with the clamping screws. NOTE: • Returning the blade to the right angle makes the shifting lever return to 0° by itself. Sighting ► 1 . Positive stopper Turn the positive stopper so that the arrow on it points one of two positions (vertical for 22.5°, horizontal for 45°). -
Page 8: Overload Protector
The speed adjusting dial is not for using low up at the front of the tool. speed rated saw blades but for obtaining a • Use only the Makita wrench to install or remove speed which is suitable to material of workpiece. the blade. Use only saw blades which are rated for at least the maximum no load speed stated in the To remove the blade, push in the lock-off button to SPECIFICATIONS. -
Page 9: Operation
When you wish to perform clean cutting operation, scale plate. Make sure that the lock pin fits in the groove. connect a Makita vacuum cleaner to your tool. Connect Press the shaft lock fully so that the blade cannot revolve a hose of the vacuum cleaner to the dust port as shown and use the wrench to loosen the hex bolt counterclock- in the figure. - Page 10 Rip fence (guide rule) (Optional accessory) When using with guide rail (accessory) ► 1 . Rip fence (Guide rule) The handy rip fence allows you to do extra-accurate straight cuts. Simply slide the rip fence up snugly against the side of the workpiece and secure it in position with the screws on the front and the back of the base.
-
Page 11: Maintenance
NOTE: • The markings on the side of the blade guard show the front and rear cutting points of the saw blade (A for diameter 160 mm and B for diame- ter 165 mm) at the maximum cutting depth and using the guide rail. ► 1 . Adjusting screw for 90° Guide device (accessories) Use of the miter gauge (accessory) allows exact miter cuts with angles and fitting works. -
Page 12: Optional Accessories
The use of any other accessories or attach- ments might present a risk of injury to persons. Only use accessory or attachment for its stated purpose. If you need any assistance for more details regarding these accessories, ask your local Makita Service Center. • Saw blades • Guide rail ► 1 .


