Advertisement
Quick Links
TABLE OF CONTENTS
1 Warning......................................................... 1
2 Specifications................................................1
3 Troubleshooting Guide.................................... 2
4 Disassembly and Assembly instructions............ 4
5 Wiring Connection Diagram.............................. 9
6 Schematic Diagram.......................................... 9
7 Explode View and Replacement Part List......... 10
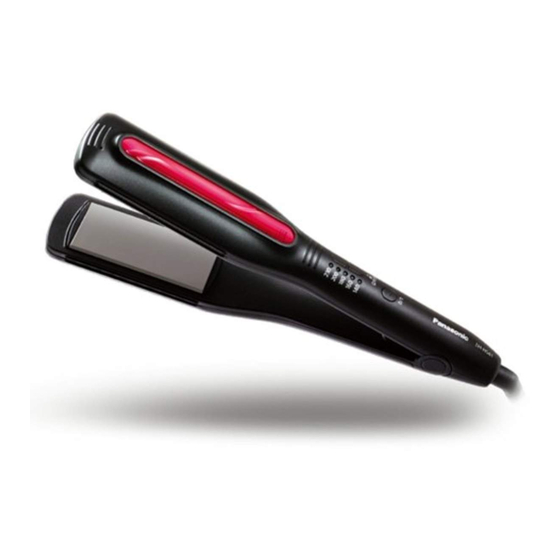
(Household) Hair Straightener
Model No. EH-HS41
CIS
Middle East
Asia
Page
© Panasonic Corporation 2015 Unauthorized
copying
and distribution is a violation of law.
Order Number PEWT1512A04CE
Advertisement

Related Manuals for Panasonic EH-HS41


Summary of Contents for Panasonic EH-HS41
-
Page 1: Table Of Contents
3 Troubleshooting Guide……………………………… 2 4 Disassembly and Assembly instructions………… 4 5 Wiring Connection Diagram………………………… 9 6 Schematic Diagram…………………………………… 9 7 Explode View and Replacement Part List……… 10 © Panasonic Corporation 2015 Unauthorized copying and distribution is a violation of law. -
Page 2: Warning
Please use soldering iron with temperature control and adjust it to 750 ±20°F (400 ± 10℃). In case of using high temperature soldering iron, please be careful not to heat too long. - Pb free solder will tend to splash when heated too high (about 1100°F / 600℃). 2. Specifications EH-HS41 Model Sales Area Asia... -
Page 3: Troubleshooting Guide
3. TROUBLESHOOTING GUIDE Refer to WIRING CONNECTION DIAGRAM. < CHECKING PROCEDURE > < CHECKING METHOD > < REMEDY > No operation (LED does not light) Check the conductivity Check the Power cord. Replace the Power Cord of Power cord. Check the operation of On/off Switch Check the Power Switch Replace the Housing A button of Housing side. - Page 4 < CHECKING PROCEDURE > < REMEDY > < CHECKING METHOD > All LEDs blinks. Check Heater A Replace Heater A : Check connecting of Thermistor : Housing side Housing side LED lights, but the Iron plate (Heater A,B) dose not become hot. Replace Circuit assembly Check Circuit assembly b/k Temperature dose not...
-
Page 5: Disassembly And Assembly Instructions
4 Disassembly and Assembly instructions 4.1 Disassembly instruction (1) Remove Shaft Cover from Main Body (4) Remove Pivot spring by gripping by Slotted screw driver (Minus Driver.) and pulling it out from the Main body (2) Remove Torx screws at Shaft position. by Phillips screw driver (Plus driver). - Page 6 (7) Take off Iron Plate from Hook of Press Plate (10) Remove 6 Screws by Phllips screw driver by slide. (Plus Driver). Iron Plate Slide Screws (11) Remove Housing A from Housing B in Grip follow as below drawing. (8) Take off Press Plate (9) Remove 2 screws of the Housing side by Phllips screw driver (Plus Driver).
- Page 7 (12) Take off Iron Plate and Circuit assembly b/k from Housing B. ① Take off Iron Plate from Hook of Housing B by slide. ② Take off Circuit by push at Hook of Housing B Hooks...
- Page 8 4.2 ASSEMBLY instruction (1) Shaft Cover fixing point. (2) Housing B Assembly Point.
- Page 9 4.3 Lead wire of Iron Plate(Heater A , Heater B) and Circuit arrangement poi (1) Lead wire of Iron Plate(Heater A assembly b/k) and Circuit assembly b/k arrangement follow as below. White White Blue Blue Gree White Violet Black (2) Lead wire of Iron Plate(Heater B assembly b/k) arrangement follow as below. Blue White Black...
-
Page 10: Wiring Connection Diagram
5. WIRING CONNECTION DIAGRAM Iron Plate (Heater A side Iron Plate (Heater B side 6. SCHEMATIC DIAGRAM... -
Page 11: Explode View And Replacement Part List
7 EXPLODED VIEW & REPLACEMENT PARTS LIST 7.1 Model No. : EH-HS41 Exploded View... - Page 12 Model No. : EH-HS41 Parts List Safety Ref. No. Part No. Parts Name & Descriptions Q'ty Remarks EHHS41HSABW HOUSING A BLOCK (BLACK) EHHS41HABW HEATER A ASSEMBLY BLOCK (FOR OTHERS) EHHS41HAB8W HEATER A ASSEMBLY BLOCK (FOR RUSSIA,UKRAINE,KAZAKHSTAN) EHHS41PKW PACKING EHHS41CCAW CIRCUIT ASSEMBLY BLOCK...