Advertisement
Quick Links
MT12 Installation Guide - Water Detection
Overview
The Cisco Meraki MT12 is a cloud managed Water Leak Detection sensor that is exceptionally simple to configure and deploy due to its integration with the
Meraki dashboard and the use of BLE technology. The MT family eliminates the complex and costly setup required by traditional solutions by removing the
limitations of placement of these sensors.
About this Guide
This guide provides instructions on how to install and configure your MT12 Environmental Sensors.
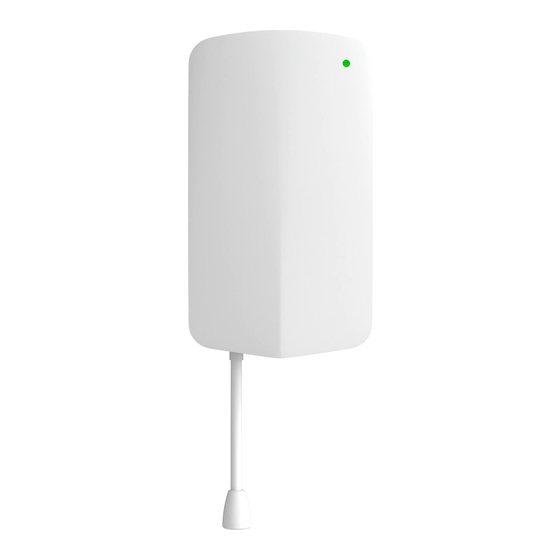
Product Overview
Physical Specifications
Dimensions
Protection
Power
Operating Environment
Hardware
117.1x65.7x23.3 mm (LxWxH)
IPX5 Rated
•
2x AA Alkaline Battery
•
Permanent DC Power: 5V;0.2A USB-C (Sold separately)
•
Temperature: 0°C - 55°C (32F - 131F)
•
Relative Humidity: 0 - 95% RH
•
Multicolor, multifunction status LED
•
General purpose button
•
Reset button
•
USB-C port
•
Water Leak Detection Plug(Female)
1
Advertisement

Related Manuals for Cisco Meraki MT12

Summary of Contents for Cisco Meraki MT12
- Page 1 Overview The Cisco Meraki MT12 is a cloud managed Water Leak Detection sensor that is exceptionally simple to configure and deploy due to its integration with the Meraki dashboard and the use of BLE technology. The MT family eliminates the complex and costly setup required by traditional solutions by removing the limitations of placement of these sensors.
-
Page 2: Led Indicators
LED Indicators • Rainbow - MT is initializing or looking for a gateway. • Solid Green(for n seconds) - Connected to a gateway. • Solid Amber(for n seconds) - MT could not find a gateway to connect • Flashing Green - MT is upgrading its firmware •... -
Page 3: Pre-Installation Preparation
Package Contents Unit MT12-HW Guides Quick Installation Guide Battery 2x AA Batteries Leak Detection Cable 1x MA-CBL-LEAK-1 (8ft/2.4m) Wall Mount Backplate 4x Screws Mounting equipment 1x Magnet 1x VHB Tape 8x VHB Cable anchors 1 x Rubber cap Pre-Installation Preparation You should complete the following steps before going on-site to perform an installation Configure Your Network in Dashboard The following is a brief overview of the steps required to add an MT12 to your network. - Page 4 1. Login to http://dashboard.meraki.com. If this is your first time, create a new account. 2. Find the network to which you plan to add your sensor or create a new network. the sensors to your network. You will need your Meraki order number (found on your invoice) or the serial number of each sensor, which looks like Qxxx-xxxx-xxxx, and is found on the back of the unit or included in the box.
-
Page 5: Installation Instructions
MR 27.5.1 release DOES NOT SUPPORT MT sensors. The network HAS to be running 27.5.11 for MT sensors to be connected to the eligible MR gateways. MR 27.5.11 version will only show up on Organization that has at least 1 MT sensor claimed in a network. Installation Instructions NOTE: Each MT12 comes with an instruction guide within the box. - Page 6 For most mounting scenarios, the MT12 has flexible options to provide quick and simple mounting. The instructions are as follows: 1. Start by removing the battery compartment cap and inserting the 2 AA battery into the battery compartment. 2. In order to mount the sensor on different locations, there are 3 options a.
- Page 7 4. Plug in the Water Leak detection cable to the female jack on the MT12 sensor and lead the cable to the area where you need to monitor the presence of water. The packaging also includes 8x VHB sticky pads that can be used to keep the cable in the desired place. Every leak detection cable also has a female jack on the other end.
-
Page 8: Testing The Connection
WARNING: To avoid water incursion on the female connector of the cable, make sure to use the supplied rubber caps to seal it off. In case the open end of the cable gets wet, it might take a long time for the cable to be detected as Dry. Please leave the cable in a dry area for up to 2 hours and then reconnect it to the sensor.