
Related Manuals for Zenith ChillTap Residential


Summary of Contents for Zenith ChillTap Residential
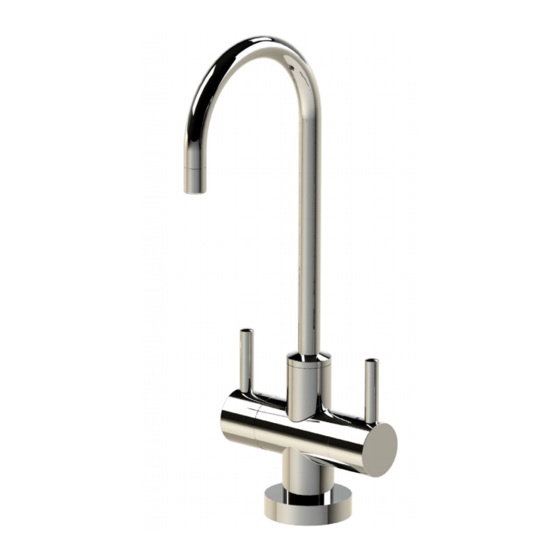
- Page 1 Installation instructions & user manual Zenith ChillTap Filtered, chilled water on tap. AFFIX PRODUCT LABEL HERE 806143NZ v1.06 07.19 CW ChillTap UCCT...
-
Page 2: Table Of Contents
Table of contents WARNINGS AND PRECAUTIONS ................03 Technical specification ..................04 Before installation ....................04 Installation instructions ..................05 Tap installation ....................05 Ventilation ......................06 Command centre installation ................08 Commissioning ....................09 Operation & Maintenance ..................10 Operation ......................10 Water filter ...................... -
Page 3: Warnings And Precautions
5. This appliance must be earthed. 6. The power cord and general power outlet must be in a safe and accessible position after installation. If the power supply cord is damaged it must be replaced by a Zenith Service Provider or a qualified electrician. -
Page 4: Technical Specification
Power Rating Dimensions Dry Weight* Model Water supplied Refrigerant (kW) W x D x H (mm) (kg) ChillTap Residential Chilled R134a 280 x 475 x 335 ChillTap Extra Residential Chilled, Ambient R134a 280 x 475 x 335 ChillTap 140 glass... -
Page 5: Installation Instructions
Installation instructions Tap installation In addition to common tools, the following will be required: • 25mm (ChillTap Standard/Heavy Duty) OR 35mm (ChillTap O-RING Extra) diameter sheet metal hole punch for sink tops (not supplied) • 25mm (ChillTap Standard/Heavy Duty) OR 35mm (ChillTap Extra) diameter hole saw for timber bench tops (not supplied) Blue and Red... -
Page 6: Ventilation
Installation instructions Ventilation When installing air flow ducts, the following tools will be required: • Jigsaw and 12 mm drill. • Keyhole or Wall Board saw. IMPORTANT! Allow clearance of 50 mm around and 200 mm above the command centre. Proper air circulation must be provided for the system to operate correctly. - Page 7 Installation instructions 285.00 A - KICKBOARD CUT-OUT 1.Drill 4 pilot holes Ø12 in corners 2.Finish cut-out using Jigsaw and Keyhole or Wall Board saw B - CABINET FLOOR 314.00 CUT-OUT 1.Drill two pilot holes Ø12 326.00 2.Finish cut-out using Jigsaw C - CABINET FLOOR CUT-OUT 1.Drill 4 pilot holes Ø12 in corners...
-
Page 8: Command Centre Installation
Installation instructions Command centre installation Place the command centre in the cupboard as closely as possible to the outlet tap position. Arrange tubes in the most direct route between tap outlet and command centre, to minimise the length of tubing. The tube length is limited to 1000 mm. -
Page 9: Commissioning
Installation instructions ChillTap Standard ChillTap Heavy Duty Hose connections Note: To avoid water leaks, be careful not to damage the tubes. The tube must not be kinked around a bend, as the tube may contain water under pressure. If shortening the hoses, ensure ends are cut clean and square. -
Page 10: Operation & Maintenance
2. ROTATE may cause the water to become biologically unsafe. If the Zenith ChillTap is switched off for a long period of time (e.g. more than 2-3 days), run water through the chilled water outlet for at least 5 minutes before consumption. -
Page 11: Troubleshooting
Also ensure that all electrical connections are secure and that the command centre has had adequate time to cool down. Call a licenced electrician, plumber, or Zenith free call in New Zealand on 0800 558 055, for assistance, service, spare parts, or enquiries. - Page 12 Products described in this publication are manufactured under one or more patents and further patent applications are pending. As Zenith’s policy is one of continuous product improvement, changes to specifications may be made without prior notice. Images in this booklet have been modified and may not be true representations of the finished goods.