
Related Manuals for Philips CED232


Summary of Contents for Philips CED232
- Page 1 Always there to help you Register your product and get support at www.philips.com/welcome CED232 Question? Contact Philips User manual...
-
Page 3: Table Of Contents
Contents 1 Important 7 Adjust sound Safety Adjust volume Notice Mute Dynamic Bass Boost MAX sound 2 Your car audio system Select equalizer settings Introduction Select listening zone What's in the box Other sound settings Overview of the main unit Overview of the remote control 8 System settings Adjust general settings... -
Page 4: Important
1 Important of children at all times! If swallowed, the battery can cause serious injury or death. Severe internal burns can occur within two hours of ingestion. Safety • If you suspect that a battery has been swallowed or placed inside any part of the •... - Page 5 The correct disposal of batteries helps prevent potentially negative consequences on the environment and human health. Please visit www.recycle.philips.com for additional information on a recycling center in your area. Any changes or modifications made to this device that are not expressly approved by...
-
Page 6: Your Car Audio System
What's in the box system Congratulations on your purchase, and welcome to Philips! To fully benefit from the support that Philips offers, register your product at www.Philips. com/welcome. Read this user manual carefully before you install and use the unit. Save it for future reference. a Main unit (with a sleeve) -
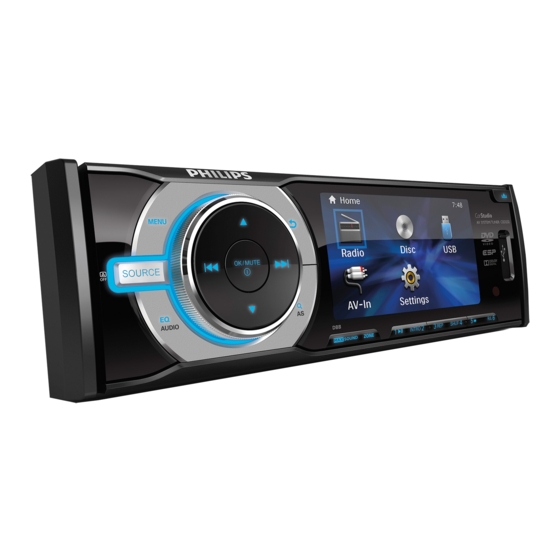
Page 7: Overview Of The Main Unit
Overview of the main unit a SOURCE • Unlock the front panel. • Press to select source. f USB socket • Pres and hold to change the brightness g Remote control sensor of the display or turn off the display. h R/L, 6 b MENU • Select preset station no. -
Page 8: Overview Of The Remote Control
• Stop playback. Overview of the remote j SHUF, 4 control • Turn random play on or off. • Select preset station no. 4 k 3, REP • Select repeat play mode. • Select preset station no. 3 l INTRO, 2 • Turn scan play on or off. -
Page 9: Dvd Audio
g EQ • Press repeatedly to select a preset • Start, pause, or resume the play. sound equalizer. h Numeric buttons • Skip to the previous or next track, • Enter numbers. chapter, or file. • Navigate through on-screen menus. i GOTO • Skip to a chapter/title/track/file or a point of a video/audio directly. -
Page 10: Install The Car Audio
• Make sure that all loose leads are insulated with your Philips car audio dealer. electrical tape. • Make sure that the leads do not get caught under screws iron parts that will move (e.g. - Page 11 Video Out Camera In Rear Audio In ISO male Connect to connectors Green strip, black- Rear left speaker edged green strip White strip, black- Front left speaker edged white strip Gray strip, black- Front right speaker edged gray strip a b c d e f Purple strip, black- Rear right speaker edged purple strip...
-
Page 12: Mount Into The Dashboard
Remove the mounting sleeve with the Sockets or External sockets or supplied disassembly tools. connectors on connectors rear panel VIDEO IN (Black Video output socket strip) of an external video player REVERSE Reverse camera (B+) CAMERA (Orange strip) PARKING Parking brake (-) BRAKE (Pink Install the sleeve into the dashboard and strip) -
Page 13: Attach The Front Panel
Attach the trim plate. Detach the front panel Note • Before you detach the front panel, make sure that the system is turned off. Press to release the front panel. Pull the front panel leftward to release it from the chassis of the main unit. Reconnect the negative terminal of the car Pull the front panel outwards to remove it. -
Page 14: Get Started
4 Get started Turn on and turn off Turn On Press the power button ( Turn Off Prepare the remote control Press and hold the same power button for 3 seconds. For the first time use Set clock Pull the protective sheet out. »... -
Page 15: Play Audio/Video/Picture
5 Play audio/ You can play DVD discs with the following region codes:Press to open the front panel. video/picture Russia, India Make sure that the disc or device contains Insert the disc into the disc slot with label playable music or video. side facing up. -
Page 16: Skip/Search
» The unit starts playing from the USB Select Language device automatically. To remove the USB device, press You can select the subtitle language if the DVD turn off the unit. or DivX discs contain two or more subtitle languages. Remove the USB device. -
Page 17: Random Play
6 Radio Random play There are different modes of random play for audio and MP3/WMA. Manual tune to a radio Press the button repeatedly to select. station [SHUFFLE]:[ON] - start random play for • all tracks. Press [RANDOM DIR]: start random play in •... -
Page 18: Store Stations Automatically
Select a channel. Store stations automatically RDS program types You can store up to 6 stations in each band. Item Program Description type Press NEWS News services » The six strongest stations of the selected band are saved in preset AFFAIRS Politics and current affairs... -
Page 19: Adjust Sound
7 Adjust sound Activate AF/TA/REG/CT functions Press and hold MENU. » The setting menu is displayed. Press the navigation buttons to select [Radio] > [LOC_DX] >[DX], then press Adjust volume to select an option. • TA (traffic announcement): allows To adjust volume, rotate knob on the front you to receive traffic announcements panel or press VOLUME +/- on the remote... -
Page 20: Select Listening Zone
[ROCK] • [CLASSIC] • • [JAZZ] [OPTIMAL] • [FLAT] • [POP] • Note Press to select one of the • preset zone settings: Only when you select [USER], then you can adjust the sound value of [BASS], [MID], and [TREBLE] . • [ALL] - all speakers are in same volume level. -
Page 21: System Settings
8 System settings Press to change the value, and then press to confirm. • You can also turn the control knob to select a value. Within system settings, there are: Press to exit. • General settings, • DVD settings, • Language settings, and •... -
Page 22: Select Video Settings
[BEEP] [ON]/[OFF] [PAL] Turn on or Used in the off the beep United States, sound. When Canada, Japan, it turned on, Mexico, the each time you Philippines, press a button, South Korea, the device Taiwan, and beeps some other countries. [LOUDNESS] [ON]/[OFF] [AUTO] The correct... -
Page 23: Select Language Settings
• [SUBTITLE LANG] [4 PG Unsuitable for • [MENU LANG] children under age 13 • [DivX[R] VOD] [5 PGR] Recommend • [DEACTIVATION] parents to Press to confirm restrict children under 17 to view. [6 R] Restricted. Adjust turner settings Recommend parent to guide Press children under 17 to view. -
Page 24: Other Settings
9 Other settings Press by using a ball-point pen or similar tool. » All settings are erased except clock. Turn on or off the screen backlight To change screen backlight of the system, press and hold • Dimmer High • Dimmer Low •... -
Page 25: Product Information
10 Product Tuner information Frequency range - FM 87.5 - 108.0 MHz (50kHz per step) Frequency range - AM 520 - 1710 kHz (MW) (9kHz per step) Note Usable sensitivity - FM 8 uV • Usable sensitivity - AM 30 uV Product information is subject to change without prior notice. -
Page 26: Unsupported Formats
.m4p, .mp4, .aac) requesting service. If the problem remains • WMA files in Lossless format unsolved, go to the Philips web site (www. • ISO9660, Joliet philips.com/support). When you contact Philips, • Maximum title number: 512 (depending on... - Page 27 • Disc rating exceeds the restrict setting. Change the rating settings to lower one. • Disc region code is not compatible with the unit. Use disc with proper region code. Disc is blocked in the disc compartment • Press and hold until the disc comes out. No image •...
- Page 28 WOOX Innovations, and is the manufacturer of the product. WOOX Innovations is the warrantor in relation to the product with which this booklet was packaged. Philips and the Philips Shield Emblem are registered trademarks of Koninklijke Philips N.V.”...