Canon imageCLASS MF4770n Manuals
Manuals and User Guides for Canon imageCLASS MF4770n. We have 6 Canon imageCLASS MF4770n manuals available for free PDF download: Service Manual, Basic Operation Manual, Starter Manual
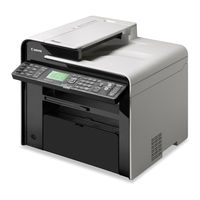
Canon imageCLASS MF4770n Service Manual (511 pages)
Brand: Canon
|
Category: All in One Printer
|
Size: 54.44 MB
Table of Contents
-
-
Features23
-
-
-
-
Overview49
-
-
-
-
-
Overview64
-
Delay Jams66
-
Other Jams69
-
Maintenance70
-
-
-
Consumables73
-
Consumables74
-
-
Cleaning75
-
Printer75
-
Reader ADF76
-
-
-
-
Main Unit79
-
-
-
DADF Unit87
-
SADF Unit87
-
Reader Unit88
-
-
-
-
Mf4880Dw)225
-
Mf4712/Mf4710)317
-
-
-
Fixing System365
-
-
5 Adjustment
470 -
-
Test Print472
-
-
Image Faults474
-
Smudged/Streaked474
-
-
-
Version Upgrade475
-
Overview475
-
-
Log Collector478
-
Outline478
-
What to Prepare478
-
Troubleshooting479
-
-
-
7 Error Codes
480-
Overview480
-
-
8 Service Mode
484-
Overview484
-
Copier486
-
Feeder491
-
Fax492
-
List of SSSW492
-
List of Menu493
-
List of NUM494
-
List of NCU494
-
Tone/Pulse494
-
Busy Tone0495
-
Busy Tone1495
-
Auto496
-
Cng Detect496
-
Reorder Tone496
-
Rkey496
-
Pbx Busy Tone497
-
Pbx Dial Tone497
-
-
-
Testmode498
-
-
Appendix
501-
Service Tools501
-
Solvent/Oil List501
-
-
Mf4830D/Mf4820D505
-
Mf4730507
-
L418S/L410/L190509
-
D530510
-
Advertisement

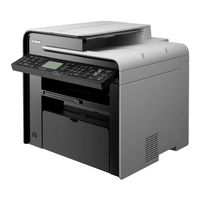
Canon imageCLASS MF4770n Basic Operation Manual (116 pages)
Brand: Canon
|
Category: All in One Printer
|
Size: 8.03 MB
Table of Contents
-
-
-
Front Side10
-
Output Tray11
-
Power Button11
-
-
Interior12
-
Back Side13
-
-
Enter Text17
-
Load Paper22
-
-
Copy
29 -
Print
39 -
Fax
47-
Send a Fax55
-
Redialing57
-
Scan
73 -
-
-
Clear Jams94
-
Faq105
-
Power Supply110
-
Legal Notices111
-
Laser Safety114
-

Canon imageCLASS MF4770n Basic Operation Manual (116 pages)
Table of Contents
-
-
-
Front Side10
-
Output Tray11
-
Power Button11
-
-
Interior12
-
Back Side13
-
-
Enter Text17
-
Load Paper22
-
-
Copy
29 -
Print
39 -
Fax
47-
Send a Fax55
-
Redialing57
-
Scan
74 -
-
-
Clear Jams94
-
Faq105
-
Legal Notices111
-
Users in Canada112
-
Laser Safety114
-
Advertisement
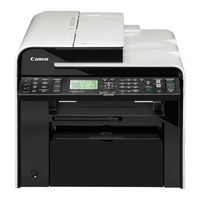
Canon imageCLASS MF4770n Service Manual (52 pages)
Table of Contents
-
Cleaning18
-
Consumables19
-
E-Tag35
-
Rush Orders43
-
Appendix45
-
Warranty50
Canon imageCLASS MF4770n Starter Manual (60 pages)
Brand: Canon
|
Category: All in One Printer
|
Size: 5.66 MB
Table of Contents
-
Contents
8-
Power Supply17
-
-
Contenido
34 -
Índice
46
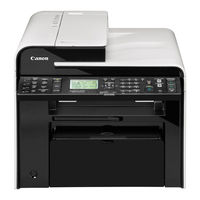
Canon imageCLASS MF4770n Starter Manual (37 pages)
Starter Guide
Brand: Canon
|
Category: All in One Printer
|
Size: 2.6 MB
Table of Contents
Advertisement