Table of Contents
Advertisement
Quick Links
Advertisement
Table of Contents

Related Manuals for PowerXL Power AirFryer Oven Delux CM002


Summary of Contents for PowerXL Power AirFryer Oven Delux CM002
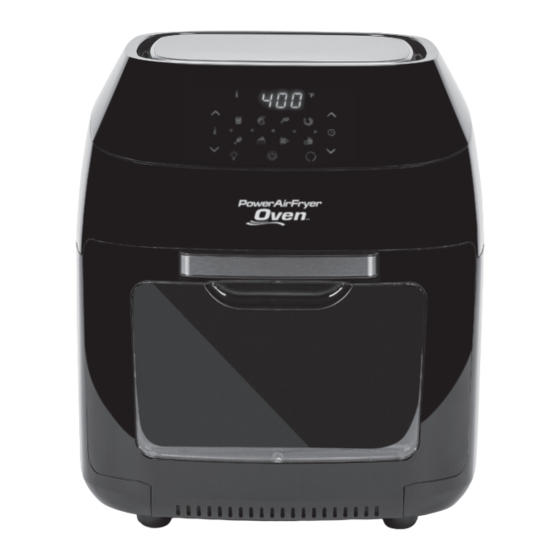
- Page 1 DELUXE Owner’s Manual Save These Instructions - For Household Use Only MODEL: CM002 When using electrical appliances, basic safety precautions should Warranty Information Inside always be followed. Do not use The Power AirFryer Oven until you have read this manual thoroughly.
- Page 2 AirFryer, Rotisserie, Dehydrator & More The Power AirFryer Oven is the first all-in-one unit that air fries, roasts, grills, and bakes all your favorite foods with little or no oil. Before You Begin It is very important that you read this entire manual, making certain that you are totally familiar with the Unit's operation and precautions.
-
Page 3: Table Of Contents
Table of Contents IMPORTANT SAFEGUARDS Parts & Accessories Using the Accessories Using the Digital Control Panel Cooking Presets General Operating Instructions Cooking Chart Cleaning & Storage Troubleshooting Frequently Asked Questions Warranty Power AirFryer Oven™ | Model: CM002... -
Page 4: Important Safeguards
IMPORTANT SAFEGUARDS When using electrical appliances, basic safety precautions should always be followed, including: • NEVER IMMERSE the Main Unit Housing, which • When cooking, DO NOT PLACE the appliance contains electrical components and heating against a wall or against other appliances. elements, in water. - Page 5 IMPORTANT SAFEGUARDS • The Unit’s outer surfaces may become hot during • This appliance is intended for normal household use use. The Rotating Mesh Basket WILL BE HOT. only. It is not intended for use in commercial or retail WEAR OVEN MITTS or use the Fetch Tool when environments.
-
Page 6: Parts & Accessories
Parts & Accessories NOTE: Unpack all listed contents from packaging. Varies by model. Please remove any clear or blue protective film on the components. Main Unit Rotating Mesh Basket Rotisserie Shaft, Forks & Set Screws Control Panel Drip Tray 10. Rotisserie Fetch Tool Air Intake Vents 8a*. - Page 7 Parts & Accessories 5. Air Flow Racks (5) 10. Rotisserie Fetch Tool Can be used not only for dehydration but also Use to remove cooked roasts and chicken to cook crispy snacks or reheat items like pizza. that have been prepared using the rotisserie or skewer methods.
-
Page 8: Using The Accessories
Using the Accessories Placing Air Flow Racks into Unit 1. Insert Drip Tray into bottom of the Unit. 2. Place Air Flow Racks into Unit by sliding through the side grooves and onto the back lip (FIG. A). 3. Place Air Flow Racks closer to the top heating element for faster cooking and added crisp (FIG. - Page 9 Using the Accessories Rotisserie Spit Assembly 1. Insert each Skewer point through holes on the left 4. Repeat steps 3–6 in a uniform manner around the Skewer Rack (FIG. C). Skewer Rack. Make sure Skewers are evenly spaced. 2. Squeeze the clip end of each Skewer as you insert 5.
-
Page 10: Using The Digital Control Panel
Using the Digital Control Panel FIG. G 1. Power/Start-Stop Button 4. Temperature Control Buttons - Once the Unit - These is plugged in, the Power Button will light up. buttons enable you to raise or lower cooking Selecting the Power Button once will cause temperature by 5° F (2.7 ) intervals ranging ° C... -
Page 11: Cooking Presets
Cooking Presets Preset Button Preset Button Temperature Time Cooking Chart 7. French Fries 400° F (200° C) 15 mins. 8. Steaks/Chops 370° F (185° C) 25 mins. * Cooking time for whole 9. Fish 390° F (200° C) 15 mins. roasted chicken will vary with weight. -
Page 12: General Operating Instructions
General Operating Instructions Before using 1. Read all material, warning stickers and labels. the Power AirFryer 2. Remove all packing materials, labels, and stickers. 3. Wash all parts and accessories used in the cooking process Oven for the first time with warm soapy water. - Page 13 General Operating Instructions Cooking with the Power AirFryer Oven 1. Place the ingredients on an Air Flow Rack, 5. The Unit will automatically start the cooking cycle on one of the Rotisserie accessories, or in a few seconds after a preset function is selected the Rotating Mesh Basket.
-
Page 14: Cooking Chart
Cooking Chart Food Item Min–Max Time Temperature Comments Thin Frozen Fries 1 1/4–3 cups 15–16 mins. 400° F (200° C) Thick Frozen Fries 1 1/4–3 cups 15–20 mins. 400° F (200° C) Homemade Fries 1 1/4–3 1/4 cups 10–16 mins. 400°... -
Page 15: Cleaning & Storage
Cooking Chart Settings The table on page 14 will help you select the correct NOTE: Keep in mind that these settings are temperature and time for best results. As you become indications. Since ingredients differ in origin, size, more familiar with the Power AirFryer Oven cooking shape, and brand, we cannot guarantee the best process, you may adjust these settings to suit settings for your ingredients. -
Page 16: Troubleshooting
Troubleshooting Problem Possible Cause Solution 1. The appliance is not plugged in. 1. Plug power cord into wall socket. The Power AirFryer 2. You have not turned the Unit on 2. With basket in place, set the temperature Oven does not work by setting the preparation time and time. -
Page 17: Frequently Asked Questions
Frequently Asked Questions 1. Can I prepare foods other than fried dishes with 8. Is the Power AirFryer Oven dishwasher safe? my Power AirFryer Oven? Only the accessories are dishwasher safe. You can prepare a variety of dishes, including The Unit itself containing the heating coil steaks, chops, burgers, and baked goods. -
Page 18: Warranty
Manufacturer’s 60-Day Limited Warranty The manufacturer warrants that all parts and components are free of defects in materials and workmanship for 60 days. This warranty is valid only in accordance with the conditions set forth below: 1. The warranty extends only to the original consumer purchaser and is not transferable. In addition, proof of purchase must be demonstrated. - Page 20 We are very proud of the design and quality of our Power AirFryer Oven This product has been manufactured to the highest standards. Should you have any problem, our friendly customer service staff is here to help you. 973-287-5197 Distributed by: Tristar Products, Inc.
Need help?
Do you have a question about the Power AirFryer Oven Delux CM002 and is the answer not in the manual?
Questions and answers