Advertisement
- 1 Case components
- 2 Hardware list
- 3 Remove front panel
- 4 Remove the side panel
- 5 Motherboard installation
- 6 PSU installation
- 7 2.5"SSD / 3.5"HDD installation
- 8 2.5"SSD installation
- 9 LED control installation
- 10 Cable installation guide
- 11 I/O ports function
- 12 120 mm fan installation
- 13 Remove the fan tray
- 14 Radiator & cooling support
- 15 The fan is installed in the middle of the top cover
- 16 Cable management
- 17 Remove the magnetic dust filters
- 18 Remove cover
- 19 Hardware clearance
- 20 Optional kits
- 21 Videos
- 22 Documents / Resources
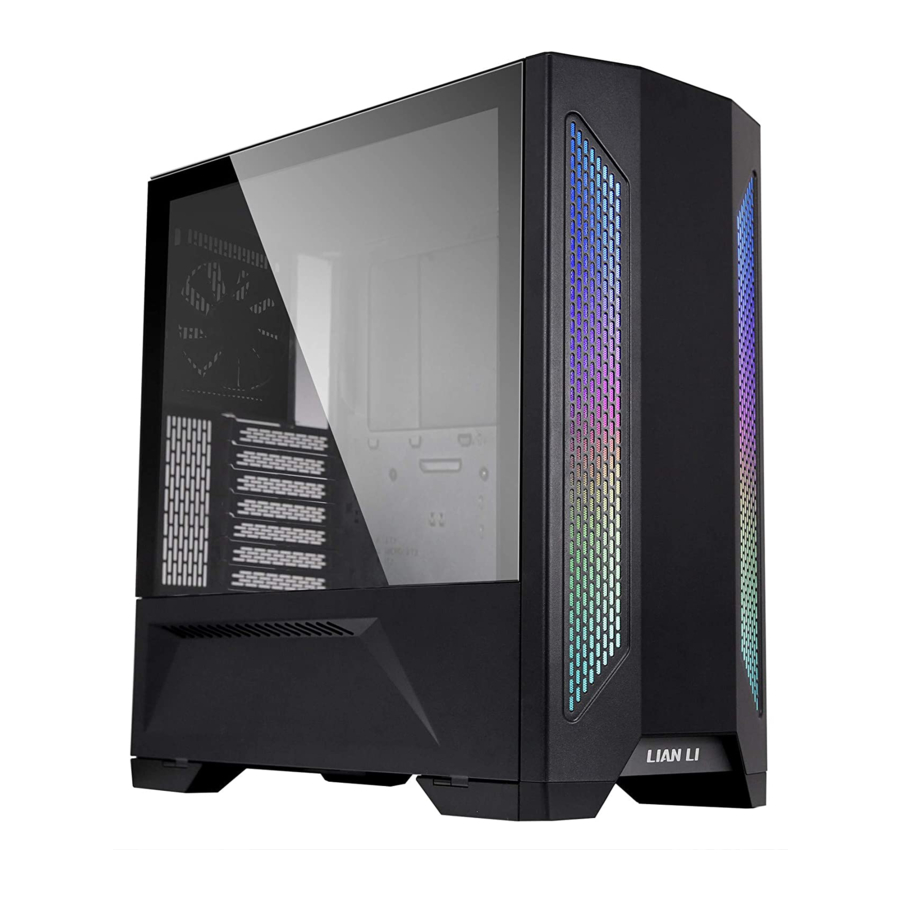
Case components


- IO ports: 1 x AUDIO / Microphone Combo Jack, 2 x USB 3.0, 1 x USB 3.1 Type C (Optional) Power Button, Reset Button
- 120 mm fan x 1, Supporting 120 mm fan x 2 or 140 mm fan x 2 or 120 mm radiator x 1, or 240 mm radiator x 1, Removable dust filter
- 120 mm fan x 1
- Supporting 120 mm fan x 2
- Removable HDD tray: Supporting 3.5" HDD x 3 or 2.5" SSD x 3
- Removable fan tray: Supporting 120 mm fan x 3 or 140 mm fan x 2 or 360 mm radiator x 1 or 280 mm radiator x 1
- 120 mm fan x 1 (Removable dust filter in front panel)
- Removable HDD tray: Supporting 2.5" SSD x 2
- PSU tray: Supporting ATX PSU x 1 (Removable dust filter in bottom)
- Removable HDD tray: Supporting 2.5" SSD x 2
Hardware list
- Screws for mother board and 2.5" SSD mount

- Screws for PSU mounting

- Screws for 3.5" HDD mount

- Cable ties for cable management

- Screws / Anti-vibration rings for 2.5" SSD mount

- Tool for Stand off bolt

- Screws for 120 mm fan

- Velcro for cable management


 Exceeded quantity are spare parts.
Remove front panel


Remove the side panel

First remove the front panel and then open the side panels.

 Without removing the front panel.


Attention:
Peel off the protective film
Motherboard installation

PSU installation


2.5"SSD / 3.5"HDD installation


The HDD tray needs to be pushed in before closing the handle.


Note: HDD rack position can be adjusted
2.5"SSD installation


LED control installation

Cable installation guide

I/O ports function
HD AUDIO

USB 3.0
Supports motherboard USB 3.0 20 Pin header

USB 3.1 GEN.2 (Optional)
")
M-Mode
8 Lighting Effects:
1. 1st-7st: MCU Built-in Lighting Mode
2. 8st: Sync Up the ARGB Lighting With The Motherboard
(1) Connecting The Header To The Motherboard
(2) To Turn Off The Lighting, Press The Button For 3 Sec. To Turn It On, Press Again For 3 Sec
C-Color
Press C To Control The 7 Built-in Static Colors
120 mm fan installation

Remove the fan tray


Attention:
The fan tray can be reversed and has four styles


Radiator & cooling support


Remove the cover to install the 360 mm radiator
The fan is installed in the middle of the top cover

Cable management


Remove the magnetic dust filters


Remove cover


Hardware clearance
- CPU air cooler
- GPU
- PSU
- Radiator clearance


Optional kits
| Model: | Product name: |
| LANCOOL II - 1X | Vertical GPU kit |
| LANCOOL II - 2X | Side Diffused LEDs strip |
| LANCOOL II - 3X | Hot swappable back plate |
| LANCOOL II - 4X | 3.1 type C cable |
| GB-001X | Graphic card anti-sag bracket |

LANCOOL II - 1X Vertical GPU kit

LANCOOL II - 2X Side Diffused LEDs strip

LANCOOL II - 3X Hot swappable back plate

LANCOOL II - 4X 3.1 type C cable

GB-001X Graphic card anti-sag bracket

VideosLian Li Lancool II Case Review Video: Thermals, Build Quality, & Noise
Documents / ResourcesDownload manual
Here you can download full pdf version of manual, it may contain additional safety instructions, warranty information, FCC rules, etc.
Advertisement


Need help?
Do you have a question about the LANCOOL II and is the answer not in the manual?
Questions and answers