Advertisement
Table of Contents
Contents
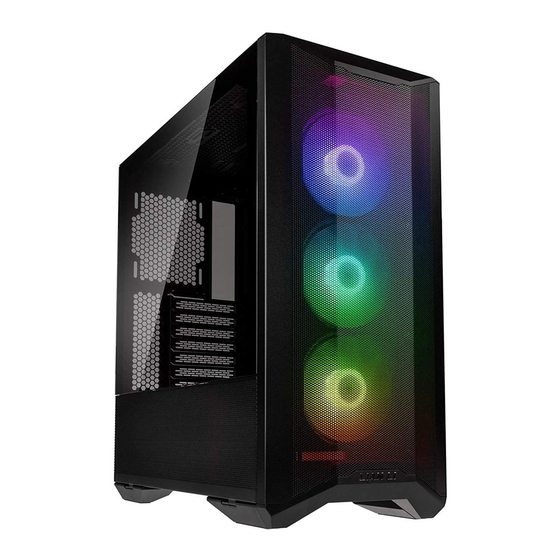
Lian-Li LANCOOL II MESH Manual
Case components


| A | RGB: | IO ports: 1 x AUDIO / Microphone Combo Jack, 2 x USB 3.0, 1 x USB 3.1 Type C (Optional) Power Button, Reset Button, C button for color control, M button for lighting mode control |
| PERFORMANCE: | IO ports: 1 x AUDIO / Microphone Combo Jack, 2 x USB 3.0, 1 x USB 3.1 Type C (Optional) Power Button, Reset Button, 1 x Fan speed control button | |
| B | 120 mm fan x 1, Supporting 120 mm fan x 2 or 140 mm fan x 2 or 120 mm radiator x 1, Removable dust filter or 240 mm radiator x 1, | |
| C | RGB: | NON |
| PERFORMANCE: | 120 mm fan x 1 | |
| D | Supporting 120 mm fan x 2 or 2.5" SSD x 2 | |
| E | Removable HDD tray: Supporting 3.5" HDD x 3 or 2.5" SSD x 3 | |
| F | Removable fan tray: Supporting 120 mm fan x 3 or 140 mm fan x 2 or 360 mm radiator x 1 or 280 mm radiator x 1 | |
| G | RGB: | 120 mm fan x 3 (Removable dust filter in front panel) |
| PERFORMANCE: | 140 mm fan x 2 (Removable dust filter in front panel) | |
| H | Removable HDD tray: Supporting 2.5" SSD x 2 | |
| I | PSU tray: Supporting ATX PSU x 1 (Removable dust filter in bottom) | |
| J | Removable HDD tray: Supporting 2.5" SSD x 2 | |
Hardware list
- Screws for mother board and 2.5" SSD mount

- Screws for PSU mounting

- Screws for 3.5" HDD mount

- Cable ties for cable management

- Screws / Anti-vibration rings for 2.5" SSD mount

- Tool for Stand off bolt

- Screws for 120 mm fan

- Velcro for cable management


Exceeded quantity are spare parts.
Installation
- The fan is installed in the middle of the top cover

- Remove front panel


Handle, Pull to release
- Remove the side panel

First remove the front panel and then open the side panels.
Move up to release the side panel
![warning]() Without removing the front panel.
Without removing the front panel.
![warning]() Attention: Peel off the protective film
Attention: Peel off the protective film - Motherboard installation

- PSU installation


- 2.5"SSD / 3.5"HDD installation


![]()
The HDD tray needs to be pushed in before closing the handle.


![warning]() Note: HDD rack position can be adjusted
Note: HDD rack position can be adjusted - 2.5"SSD installation


- 120 mm fan / 2.5"SSD installation


- Cable management


- I/O ports function

- LED control installation

- I/O ports function

- Remove the fan tray


![warning]() Attention: The fan tray can be reversed and has four styles
Attention: The fan tray can be reversed and has four styles


- Radiator & cooling support


Remove the cover to install the 360 mm radiator

- Remove the magnetic dust filters


- Remove cover


- Hardware clearance
- CPU air cooler
- GPU
- PSU
- Radiator clearance


- Optional kits
LANCOOL II - 1X | Vertical GPU kitModel: Product name: LANCOOL II - 1X Vertical GPU kit LANCOOL II - 2X Side Diffused LEDs strip LANCOOL II - 3X Hot swappable back plate LANCOOL II - 4X 3.1 type C cable GB-001X Graphic card anti-sag bracket 
LANCOOL II - 2X | Side Diffused LEDs strip
LANCOOL II - 3X | Hot swappable back plate
LANCOOL II - 4X | 3.1 type C cable
GB-001X | Graphic card anti-sag bracket


 Without removing the front panel.


VideosLian Li Lancool II Mesh Case Review Video
Documents / ResourcesDownload manual
Here you can download full pdf version of manual, it may contain additional safety instructions, warranty information, FCC rules, etc.
Advertisement


Need help?
Do you have a question about the LANCOOL II MESH and is the answer not in the manual?
Questions and answers