
Related Manuals for Aqualisa Quartz QZ.A1.BR.05


Summary of Contents for Aqualisa Quartz QZ.A1.BR.05
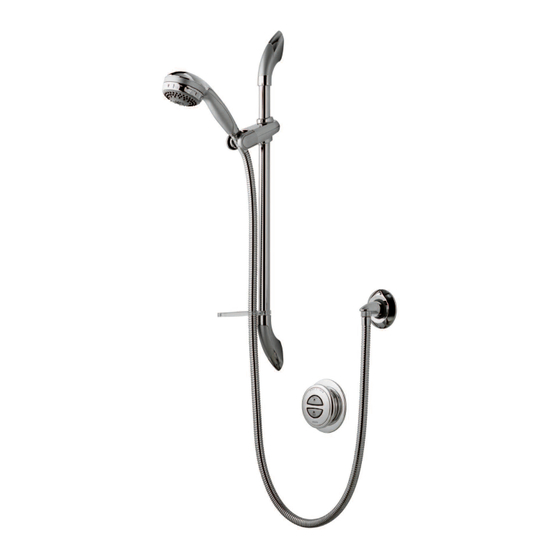
- Page 1 Quartz Digital Concealed with adjustable height and fixed head Installation guide Quartz Digital Concealed installation instructions Page 1...
- Page 2 Quartz Digital Concealed Quartz Digital concealed Quartz Digital concealed standard with fixed head standard with adjustable head QZ.A1.BR.05 QZ.A1.BV.05 Quartz Digital concealed Quartz Digital concealed pumped with adjustable head pumped with fixed head QZ.A2.BR.05 QZ.A2.BV.05 Quartz Digital Concealed installation instructions Page 2...
- Page 3 Components Components (HP/Combi) (Gravity) Components Components (HP/Combi) (Gravity) Quartz Digital Concealed installation instructions Page 3...
-
Page 4: Safety Information
Important information Safety information This product must be installed by a competent person in accordance with all relevant current Water Supply Regulations. ALL SHOWERS REQUIRING AN ELECTRICAL CONNECTI0N MUST BE INSTALLED BY A QUALIFIED PERSON FOLLOWING THE LATEST REVISION OF BS 7671 (WIRING REGULATIONS) AND CERTIFIED TO CURRENT BUILDING REGULATIONS. - Page 5 Installation of Digital pumped processor (for gravity stored systems) The Quartz Digital pumped shower system is designed to operate up to maximum static pressure of 100kPa ((1 bar)(10 metres head)(14.5psi)). Under no circumstances must the pumped processor be connected directly to the water main or in line with another booster pump.
-
Page 6: Pipe Sizing
Regulations prior to connection of the product. After installation Familiarise the end user with the Quartz Digital operation and hand them this guide. Complete and post the guarantee card or register online at www.aqualisa.co.uk Quartz Digital Concealed installation instructions Page 6... - Page 7 Installation instructions In addition to the guide below it is essential that the written instructions overleaf are read and understood and that you have all the necessary components (shown overleaf) before commencing installation. The Quartz Digital shower system is supplied with universal fixings intended to secure it to a suitable wall.
- Page 8 Choose the position for your Digital processor as close to the shower control as possible. The processor may be sited in the roof space above the proposed shower site, in the airing cupboard or behind a screwed bath panel if more convenient. If siting in the roof space, ensure that freezing cannot occur and that no insulation material is placed under or over the processor.
- Page 9 Attach the supply pipes to the Digital processor, ensuring that the cold and hot feeds are fitted into the appropriately marked inlets. DO NOT SOLDER NEAR TO PLASTIC COMPONENTS. Run a pipe from the mixed water outlet on the Digital processor through the wall to the proposed siting for the shower hose outlet, fixed head or diverter depending on the system purchased.
- Page 10 Feed the control connection end of the data cable through the centre hole in the mounting template. Run a bead of silicone sealant in the mastic groove on the back of the mounting plate and press into position onto the finished wall surface.
-
Page 11: This Appliance Must Be Earthed
Connect the processor power lead to a double pole 3 amp fuse switched spur incorporated in the fixed wiring circuit, in accordance with current wiring rules. Ensure that this is located in an accessible, dry location and not in the bathroom. - Page 12 Connect the power to the processor and press the ‘start/stop’ button on the controller to turn the shower on. Ensuring the hose washers are fitted at either end of the shower hose, attach the hose and flush the system through for 15 seconds to clear any debris before fitting the shower head.
- Page 13 Re-instate the electricity supply to the processor. Press the ‘start/stop’ button on the controller to turn the shower on. The processor will start in the highest flow rate or ‘boost mode’. Press the ‘boost’ button to revert to the ‘normal’ flow rate. The processor will now provide both ‘normal’...
- Page 14 Current water supply regulations state the handset should not be allowed to pass a point 25mm above the spill over level of the bath or shower tray. If this cannot be achieved, the hose must be passed through the gel hanger which has been designed to also be utilised as a hose restraint.
- Page 15 Trim the projecting pipe to a length of 15-22mm measured from the finished wall surface, using a rotary type cutter. If a hacksaw is used, the pipe end must be carefully de-burred and chamfered. Clean and lubricate the pipe using a suitable (silicone based) lubricant. Remove the wall outlet cover plate and carefully slide the wall outlet onto the projecting pipe.
- Page 16 Connect the hose to the wall outlet assembly after passing it through the gel hanger / hose restraint (if required) and run the shower for 15 seconds without the handset attached to clear any internal debris, which may be present. Attach the conical end of the hose to the shower handset, taking care not to twist the hose, and place in the handset holder.
- Page 17 Slide the fixed head arm over the fixing bush flush with the wall surface and mark the four fixing points. Carefully remove the fixed head arm and drill and prepare the fixings using the fixings provided, if suitable. Ensuring the fixing bush is clean and free of dust, fit the 15mm O ring against the end of the fixing bush.
- Page 18 Check for leaks and if all is sound refit the shower head to the fixed arm and push the cover plate into position flush with the finished wall surface. Quartz Digital Concealed installation instructions Page 18...
- Page 19 Part No: 293401 Issue 04 Jun 10 Please note that calls may be recorded for training and quality purposes The company reserves the right to alter, change or modify the product specifications without prior warning ® Registered Trademark Aqualisa Products Limited...
Need help?
Do you have a question about the Quartz QZ.A1.BR.05 and is the answer not in the manual?
Questions and answers