Table of Contents
Advertisement
Quick Links
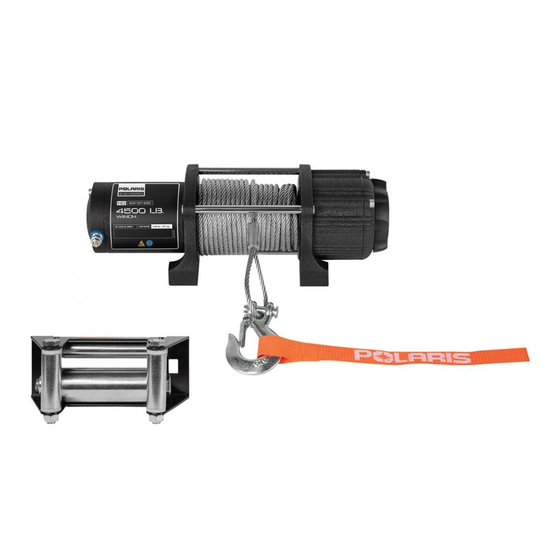
4500 HD WINCH KIT
P/N 2881667
APPLICATION
Verify accessory fitment at Polaris.com.
BEFORE YOU BEGIN
Read these instructions and check to be sure all parts and tools are accounted for. Please retain these
installation instructions for future reference and parts ordering information.
KIT CONTENTS
This kit contains parts for installation of the winch only. Prior installation of a Battery Connection Kit (PN
2879388, 2879685, or equivalent) is also required (sold separately).
This Kit includes:
REF
QTY
PART DESCRIPTION
1
1
Winch, 4500 HD
1.1
1
- Cam, Rotary, Winch Freespool (not shown)
2
1
Hook
Instr 9926739
Rev 02 2018-09
Page 1 of 9
PART NUMBER
2207537
5633169
2411836
Advertisement
Table of Contents

Related Manuals for Polaris 2881667


Summary of Contents for Polaris 2881667
- Page 1 4500 HD WINCH KIT P/N 2881667 APPLICATION Verify accessory fitment at Polaris.com. BEFORE YOU BEGIN Read these instructions and check to be sure all parts and tools are accounted for. Please retain these installation instructions for future reference and parts ordering information.
-
Page 2: Tools Required
PART DESCRIPTION PART NUMBER Roller-Fairlead 2411847 Cable, Steel - 7/32 inch 2878889 Contactor 4015095 Remote Switch 4013466 Power Cable, Winch, Black 6 GA, 250 mm 4013470-250 Power Cable, Winch, Red 6 GA, 250 mm 4013471-250 Remote Socket 4014228 Plate, Mounting 5439929 Cable Tie 7080492... -
Page 3: Installation Instructions
INSTALLATION INSTRUCTIONS 1. Shift vehicle transmission into “PARK”. Turn 5. Remove four push pin rivets from center floor ignition switch to “OFF” position and remove key. console, and one on each side by foot pedal. Remove floor console. Retain fasteners. 2. -
Page 4: Winch Installation
2. Install contactor to underhood liner using four 6. Torque nuts on terminal block (red and black wire screws . Tighten screws. posts) to specification. TORQUE 20–25 in. lbs. (2.3–2.8 Nm ) WINCH INSTALLATION CAUTION Bumper is heavy. Provide adequate support for bumper before removing final screws in next step. - Page 5 3. Install mounting plate (with winch) to vehicle as b. Route opposite end of cables up through follows: under-hood liner towards contactor. Ensure routing prevents contact with hot components, a. Upper holes: two screws installed from sharp edges, or moving parts (including FRONT to REAR.
- Page 6 5. Route winch cable through roller fairlead , then 2. Feed wiring on remote socket through hole, install fairlead to front bumper using two each then install socket to dash panel using two each screws and nuts . Screws are installed from screws , washers , and nuts...
-
Page 7: Final Installation
FINAL INSTALLATION 4. Route remote socket wiring forward through firewall accessory grommet . Ensure routing 1. Carefully examine all harness routing. Ensure prevents contact with hot components, sharp harnesses are routed and secured to prevent edges, or moving parts. contact with hot components, sharp edges, or Connect wires as follows: moving parts. -
Page 8: Operational Check
OPERATION GEAR SELECTION OPERATIONAL CHECK WARNING Wired remote allows winch operation from outside the Do NOT attempt to change gear setting while the vehicle. If winch does not operate as described, refer cable is under tension. Failure to relieve cable to the TROUBLESHOOTING section. -
Page 9: Troubleshooting
TROUBLESHOOTING SYMPTOM POSSIBLE CAUSES RECOMMENDED SOLUTION Dead vehicle Incorrect, damaged, or Verify all winch electrical connections are per instruction battery corroded electrical manual and free of damage and/or corrosion. connections Winch will not Contactor not receiving Turn vehicle key on. operate power Incorrect, damaged, or...