Table of Contents
Advertisement
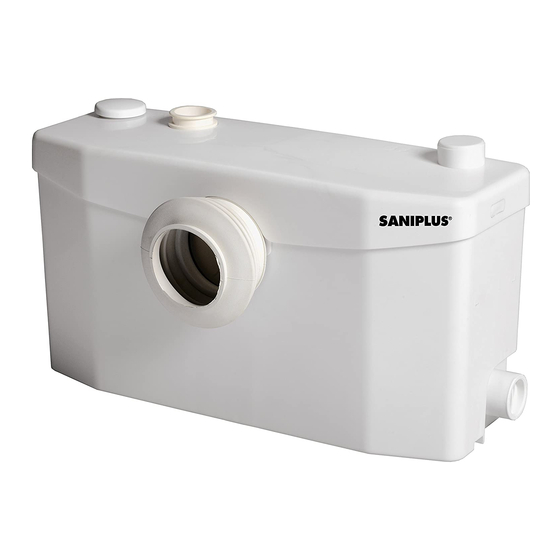
1. Description
The macerating system of this unit is installed in a case, specifically designed for horizontal outlet spigots. This macerator is manufactured in a
factory which is quality certified to ISO 9001(2000) accredited by AFAQ. The correct operation of your unit depends on correct installation and
usage.
Please pay particular attention to the following:
Possible danger to personnel
"ATTENTION" This is a general warning that failure to follow instructions could result in poor functioning of the unit.
This equipment benefits from the latest technological innovations concerning soundproofing. To benefit fully from the advantages provided by
this new generation of appliances, it is important to comply with the installation instructions in section 5.
Please also see "10 golden rules" for correct Saniflo installation on www.saniflo.co.uk
2. List of Accessories included
A
Discharge elbow
I
Discharge hose
x1
B
Hose clip for discharge elbow
x1
J
Floor mounting bracket
Warning of possible electrical hazard
x1
C
32 x 50
Hose clip for WC pan spigot
x2
K
Discharge hose clip
x1
H
90 x 110
Optional Euro 22-32mm reducer
x2
M
20 x 32
Rubber feet
x1
x4
Advertisement
Table of Contents

Related Manuals for Saniflo Saniplus


Summary of Contents for Saniflo Saniplus
- Page 1 This equipment benefits from the latest technological innovations concerning soundproofing. To benefit fully from the advantages provided by this new generation of appliances, it is important to comply with the installation instructions in section 5. Please also see “10 golden rules” for correct Saniflo installation on www.saniflo.co.uk 2. List of Accessories included...
- Page 2 Installed and used correctly, this unit will give consistent and reliable service. You can find the technical data in step 8. 4. Performance Curve & Height and Length of the discharge pipe ø The discharge pipe size for Saniflo can be 22mm or 32mm. EN 12050-3 litre/min...
- Page 3 WARNING! There should be no water dripping from the WC cistern. If there is, this will cause the unit to activate repeatedly as it pumps the water away. The Saniflo unit and all its connections should be easily accessible for possible maintenance / removal.
- Page 4 7. Connection of discharge pipework Insert the discharge elbow (A) into the rubber discharge pipe which raises up through the lid, turn to the desired direction and secure with the metal hose clip provided (32-50mm) (B). Then connect the hose to it using the 20-32mm metal hose clip (K), making sure the hose is not kinked.
- Page 5 AC 50 Hz supply (UK specification). Do not connect the Saniflo to a conventional plug and socket. It must be wired into a fused, unswitched, fixed wiring connector fitted with a 5 amp fuse. The Saniflo has an earth wire.
- Page 6 In order to remove scale and clean the macerator and the bowl, use a household descalent (like SANIFLO descaler). As a general rule, household disinfectants and bleaches designed for a normal WC are suitable for use with a Saniflo unit.
- Page 7 15. Fault Finding / Remedies For the most past, any inconsistencies in the operation of the unit will be minor and easily rectified. Please refer to the chart below. IN ALL CASES, YOU MUST DISCONNECT THE MACERATOR FROM THE POWER SUPPLY If the problem cannot be easily remedied in this way, please call our Service organisation.
- Page 8 16. Removal DISCONNECT THE ELECTRICAL POWER SUPPLY BEFORE ANY SERVICE REMOVING THE UNIT FROM THE WC SUITE Disconnect the electrical power supply. Turn off the water feed to the WC cistern. Bail out as much water as possible from the cistern. Drain down any vertical discharge pipework and remove discharge hose from elbow.
- Page 9 18. Parts...
Need help?
Do you have a question about the Saniplus and is the answer not in the manual?
Questions and answers
How do I descale my SFA Saniflo toilet
To descale the Saniplus Saniflo toilet, follow these steps:
1. Disconnect the macerator power supply.
2. Pour a household descaler (like SANIFLO descaler) or bleach into the toilet pan.
3. Flush the toilet once.
4. Let it stand for 1 to 2 hours.
5. Reconnect the macerator power supply.
6. Flush the toilet twice to rinse.
Perform this descaling process every three months, adjusting the frequency based on water hardness.
This answer is automatically generated