Advertisement
This instruction is applicable to the following EV Commercial Charge Superfast range of products:
EVWP2096, EVWP2156, EVWP2036, EVWP2046, EVWP2056 & EVWP2066.
INSTALLATION INSTRUCTIONS
NOTE: WallPods must always be installed on a flat and smooth surface. When installing a Wallpod
always remove the unit from the wall before drilling to avoid any brick dust contaminating the
internal components.
All installation work is to be carried out by a competent and suitably qualified engineer.
1.
Establish a suitable mounting location for the WallPod that is both secure and environmentally safe.
2.
Carefully remove the WallPod from its packaging and check that it is undamaged.
3.
Open the front of the unit by unscrewing the six screws that secure the front cover to the base (retain
the screws).
4.
Drill out the four oval shaped mounting points, located at the rear of the base unit.
5.
Cut a suitably sized hole in the base unit to receive the supply cable.
6.
Whilst supporting the front of the unit, carefully place the base unit in the desired location and mark
the four fixing points.
7.
Remove the WallPod from the wall and drill the wall to receive the fasteners.
8.
Using the four fixing points and suitable fasteners, screw the base unit into position.
9.
Using an appropriate and water resistant method of cable entry into the unit, connect the supply cable
to the 3 Phase, Neutral and Earth terminals.
10.
For models EVWP2056 & EVWP2066 fit the supplied switchgear at source in compliance with current
regulations and then connect to the appropriate terminals within the WallPod.
11.
Switch on the overload/fault current device(s).
12.
Refit and secure the front cover, ensuring no cables are trapped beneath it.
13.
Switch on the power to the unit and test in accordance with current regional electrical regulations.
14.
Secure the IP65 cover.
OPERATING INSTRUCTIONS
Status Indicator Guide
Flashing blue light - Ready for Charge (IEC socket only)
Fixed blue light - Cable plugged in but not charging
Fixed green light - Charging in progress
Flashing red light - Fault indicated - Switch off unit at source and switch back on after 20 secs to
clear fault. If fault persists, contact your installer
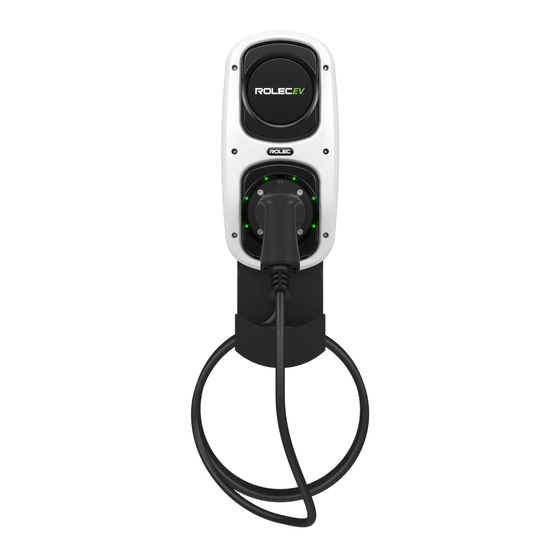
WALLPOD: EV COMMERCIAL
CHARGE SUPERFAST
Doc No.: EVWPI-003 Rev: 01
Advertisement
Table of Contents

Related Manuals for ROLEC WallPod Series


Summary of Contents for ROLEC WallPod Series
- Page 1 WALLPOD: EV COMMERCIAL CHARGE SUPERFAST This instruction is applicable to the following EV Commercial Charge Superfast range of products: EVWP2096, EVWP2156, EVWP2036, EVWP2046, EVWP2056 & EVWP2066. INSTALLATION INSTRUCTIONS NOTE: WallPods must always be installed on a flat and smooth surface. When installing a Wallpod always remove the unit from the wall before drilling to avoid any brick dust contaminating the internal components.
- Page 2 WALLPOD: EV COMMERCIAL CHARGE SUPERFAST Vehicle Charging Ensure the status indicator shows a flashing blue light Insert your charging cable into the vehicle first and then insert the other end into the charging point Ensure the status indicator changes to a fixed green light ...
Need help?
Do you have a question about the WallPod Series and is the answer not in the manual?
Questions and answers