Table of Contents
Advertisement
Available languages
Available languages
DA T I T E C NIC I / T E C HNIC A L DA T A / T E C HNIS C HE DA T E N
DONNE E S T E C HNIQ UE S / DA T O S T E C NIC O S
V
l o
a t
g
g
o i
/
V
l o
a t
g
e
/
S
p
a
M
a
. x
p
o
e t
n
a z
a
s s
r o
i b
a t
S E ZIO NE C A F F E ' / C O F F E E S E C T IO N
S
o
n
d
a
t
r e
m
i
a c
/
T
e
m
p
e
a r
F
u
s
b i
e l i
t
r e
m
i
o c
T
C
O
/
T
R
s e
s i
e t
n
a z
i r
c s
a
d l
a
m
e
n
o t
P
o
m
p
a
/
P
u
m
p
MA C C HINE DA C A F F E ' A UT OMA T IC A
n
n
u
n
g
/
V
l o
a t
g
e
/
V
l o
a t
/
M
a
. x
n i
p
t u
p
o
w
r e
u t
e r
p
o r
b
e
h
r e
m
l a
u f
e s
T
C
O
A UT OMA T IC C OF F E E MA C HINE S
e j
T
1
SCHEDA TECNICA ST1517/ 2009
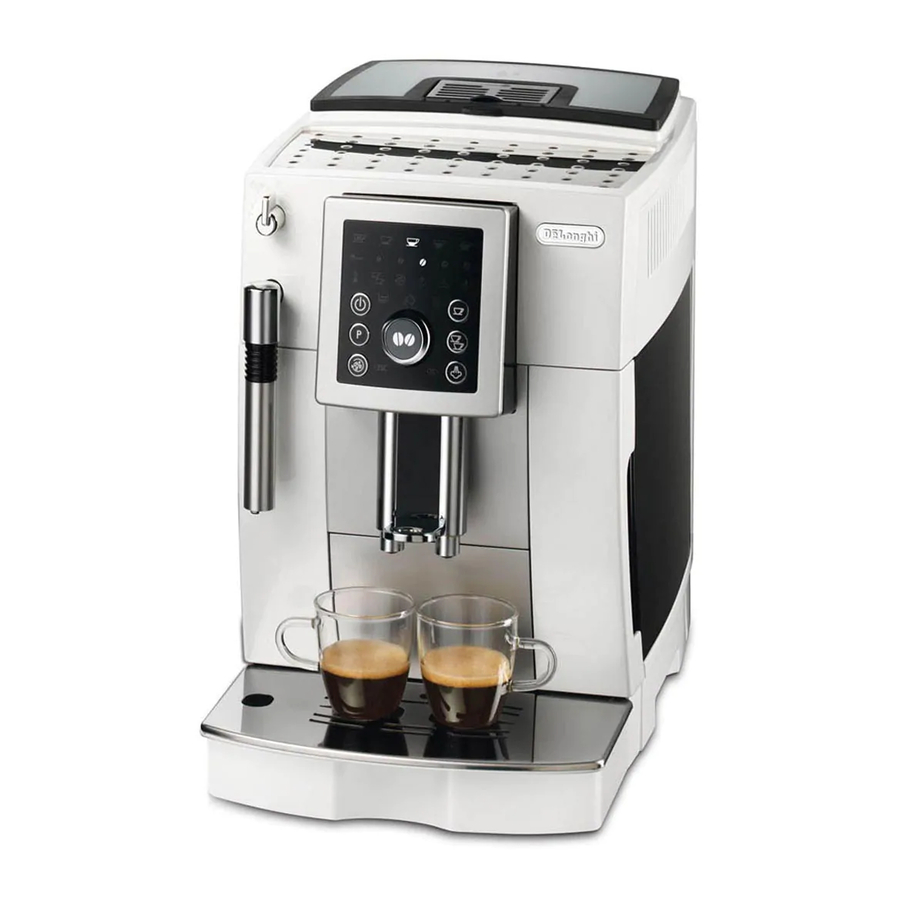
DE LONGHI ECAM23.420
(INT/CH/ATE/DE/IT)
V
/
H
z
2
2
0
-
2
4
0
/
5
0
W 1450
°
C
9
8
C (
affè / Acqua calda)
(Coffee / Hot water)
°
C
192
W
1400
Y
P
E
/
W
ULKA EP5W / 48
-
6
0
Advertisement
Table of Contents

Related Manuals for DeLonghi ECAM23.420


Summary of Contents for DeLonghi ECAM23.420
- Page 1 MA C C HINE DA C A F F E ' A UT OMA T IC A A UT OMA T IC C OF F E E MA C HINE S DE LONGHI ECAM23.420 (INT/CH/ATE/DE/IT) DA T I T E C NIC I / T E C HNIC A L DA T A / T E C HNIS C HE DA T E N...
- Page 2 BIANCO/WHITE BIANCO/WHITE ROSSO/RED ROSSO/RED VERDE/GREEN POMPA/PUMP PUMP THERMAL PROTECTOR MOTOPROTETTORE POMPA MARRONE/BROWN MARRONE/BROWN SCHEDA DISPLAY DISPLAY PCB MOTORE TRASMISSIONE BIANCO/WHITE TRANSMISSION MOTOR SCHEDA POTENZA POWER BOARD ROSSO/RED NERO/BLACK ROSSO/RED MARRONE/BROWN SENSORE REED BLU/BLUE REED SENSOR MARRONE/BROWN BLU/BLUE ROSSO/RED INTERRUTTORE ON/OFF ON/OFF SWITCH SONDA TEMP.
- Page 3 SCHEMA ELETTRICO / ELECTRICAL DIAGRAM MOTORE TRASMISSIONE TRANSMISSION MOTOR SCHEDA DISPLAY DISPLAY PCB SONDA TEMP. TEMP. PROBE FLUSSIMETRO FLOWMETER CELLA DI HALL HALL SENSOR SCHEDA POTENZA POWER BOARD POMPA/PUMP INTERRUTTORE ON/OFF ON/OFF SWITCH SCHEDA TECNICA ST1517/2009...
- Page 4 ACCESSIBILITY Picture 2. Picture 1 Take off water tank Picture 3. Picture 4. Take off drip tray Unscrew the 5 indicated screws and waste container (Torx T20) Picture 5 5.2 Unhook side panels 5.1 Remove back panel Page 1...
- Page 5 Picture 6 - TO REMOVE CONTROL PANEL 6.3 Unscrew the 4 indicated screws (2 on the back +2 on the sides) 6.2 Take off knob and frother 6.1 Take off plastic hook first Lift upper panel Take off cable Unscrew the 2 indicated screws. Then, lift with care the Control Panel Page 2...
- Page 6 Picture 7 - TO REMOVE COFFEE GRINDER Take off cables on the right Lift coffee grinder pushing side of the board it back with delicacy To separate coffee grinder unscrew the indicated screw. Take off cable and take out flowmeter Picture 8 - TO REMOVE FLOWMETER Page 3...
- Page 7 Take off pump Picture 9 - TO REMOVE PUMP Attention: After you have taken off cables, Take off the spring you will have to take off pump thermal protector. and then the tube Since it is glued, you will have to use a certain strength. Attention: Some water could come out Remember to glue it again when you will reassemble it from the tube, since the water circuit is...
- Page 8 11.1 Unscrew the 4 indicated screw you find on the rear of the motor Picture 11 - TO REMOVE MOTOR 11.2 take off the 2 cables and then take off the DC motor. Pay attention to polarity when replacing it Page 5...
- Page 9 12.1 Take off cables Picture 12 - TO REMOVE TAP STEAM/HOT WATER 12.2 Unscrew the 2 indicated screws 12.3 Take off microswitch Page 6...
- Page 10 13.3 Take off the spring indicated by the arrow and then the tube Picture 13 - TO REMOVE BOILER 13.2 Take off the tube Attention: to take off the boiler, push with delicacy the plastic panel 13.1 Take off the indicated 2 springs and the 4 screws.
- Page 11 Picture14 - TO REMOVE INFUSER KIT Figura 14.1 Open infuser box. Push the 2 buttons and take out the infuser Page 8...
- Page 12 15.1 Unscrew the 10 indicated screws Picture 15 - TO REMOVE TRANSMISSION KIT 15.2 Open infuser box 15.3 Unscrew the 2 indicated screws (Torx T20) and remove the slider 15.4 Take off the indicated screw Now the TRASMISSION KIT is free and can be removed Page 9...
- Page 13 15.5 To remoce the Feeler Board (hall Sensor) unscrew the 2 indicated screw to remove the Hall sensor 15.6 Pay attention, when you take off the plastic component, to the 2 indicated metal spacers (ATTENTION: about metal spacers see Technical Info IT0181) Page 10...
- Page 14 Picture 16 - TO REMOVE COFFEE SPOUT 16.1 Unscrew the 2 indicated screws and remove the coffee spout 16.2 Pay attention to the spring assembled with slider Pag. 11...
- Page 15 17.2 Picture 17 - TO REMOVE VALVE ASSEMBLY Unscrew the 2 indicated screws (ATTENTION: see Technical Info IT0181) using an Allen key (4) 17.1 Take off the 2 springs and then the tubes 17.3 Take off the spring and then the tube which goes from coffee spout to infuser...
- Page 16 Picture 18 - HOW TO ALIGN VALVE Lift the infuser up to to touch the valve, without pushing with strength: it has only to be aligned to the valve. Once you aligned it, fix the 2 screws (pic. 18.2) using an Allen key. 18.1 Screw the 2 indicated screws using an Allen key (4)
- Page 17 Picture 19 - MICROSWITCH AND WATER REED POSITION 19.1 Water Tank microswitch ATTENTION: please, pay attention to never bypass microswitch. If you should do it infuser motor would be on ATTENTION: Water Tank micro, Waste container micro and Steam tap micro beep 19.2 when are open Infuser...
-
Page 18: Water Circuit
WATER CIRCUIT VALVE BOILER INFUSER SAFETY VALVE EXPANSION PUMP CHAMBER DUMPER FLOWMETER DRIP TRAY WATER TANK FILTER... - Page 19 TEST PROCEDURE FOR ECAM23.420 INTENSA Pressing each icon below, we can TEST PROCEDURE manually check the devices: icon device Put Steam Tap on 0. Coffe Boiler ON Plug the machine ON. Press and hold: 1 Coffee + Steam buttons Grinder ON Motor UP, till “UPPER LIMIT...
- Page 20 DISPLAY TEST PROCEDURE FOR ECAM23.420 INTENSA Pressing each icon the display will show following message DISPLAY TEST PROCEDURE icon message BUTTON 1 To enter the DISPLAY test: Plug the machine ON. Press and hold: 1 Coffee + Steam buttons BUTTON 2...
- Page 21 ACCESSIBILITA’ Figura 2. Figura 1 Togliere serbatoio acqua Figura 3. Figura 4. Togliere il cassetto Svitare le 5 viti indicate reccolta fondi (Torx T20) Figura 5 Figura 5.2 Sganciare i fianchi 5.1 Sfilare lo schienale Pag. 1...
- Page 22 Figura 6 - SMONTAGGIO CRUSCOTTO 6.3 Togliere le viti laterali e posteriori (2+2) 6.2 Sfilare la manopola ed il cappuccinatore 6.1 Togliere innanzitutto la forcina in plastica Sfilare copertura superiore Sganciare la piattella Togliere le due viti del cruscotto. Sollevare quindi leggermente verso l’altro per sganciarlo Pag.
- Page 23 Figura 7 - SMONTAGGIO MACININO Sganciare i cavetti del motore Sollevare il macinino dal lato destro della scheda spostandolo lievemente verso la parte posteriore Per disassemblare il macinino togliere la vite indicata Sfilare il connettore ed estrarre verso l’esterno il flussimetro Figura 8 - SMONTAGGIO FLUSSIMETRO Pag.
- Page 24 Sfilare la pompa Figura 9 - SMONTAGGIO POMPA Togliere la forcina Attenzione: Dopo aver sganciato il cablaggio, di aggancio e quindi sfilare il klixon. Essendo incollato, esercitare sfilare il tubo una certa forze. Ricordarsi di incollarlo Attenzione: dal tubo potrebbe uscire nuovamente una piccola quantità...
- Page 25 11.1 Togliere le 4 viti di fissaggio del motore, raggiungibili dalla parte posteriore Figura 11 - SMONTAGGIO MOTORE 11.2 staccare i due cavetti e sfilare il motore a corrente continua. Fare attenzione alla polarità al momento della sostituzione Pag. 5...
- Page 26 12.1 Scollegare i cavi Figura 12 - SMONTAGGIO RUBINETTO 12.2 Togliere le viti indicate 12.3 Sfilare il micro Pag. 6...
- Page 27 13.3 Togliere la forcina indivata dalla freccia e sfilare il tubo Figura 13 - SMONTAGGIO CALDAIA 13.2 Stccare il tubo indicato Attenzione: per togliere la caldaia, spingere con delicatezza il pannello in plastica 13.1 Sfilare le 2 forcine e togliere le 4 viti 13.4 Una volta tolta la chiusura, svitare le viti indicate per...
- Page 28 Figura 14 - ESTRAZIONE INFUSORE Figura 14.1 Aprire il vano infusore. Premere i due tasti indicati ed estrarre l’infusore Pag. 8...
- Page 29 15.1 Togliere le 10 viti indicate Figura 15 - SMONTAGGIO GRUPPO MOVIMENTAZIONE 15.2 Aprire vano infusore 15.3 Togliere le 2 viti indicate (Torx T20) 15.4 Togliere la vite di fissaggio della slitta Ora il GRUPPO MOVIMENTAZIONE può essere estratto Pag. 9...
- Page 30 15.5 Togliere le 2 viti indicate per smontare la Scheda Sensore (cella di Hall) della slitta 15.6 Fare attenzione, nel momento in cui si toglie la slitta, ai 2 distanziali indicati nel disegno (ATTENZIONE: per i distanziali vedere info IT0181) Pag.
- Page 31 Figura 16 - SMONTAGGIO EROGATORE CAFFE’ Figura 16.1 Togliere le 2 viti indicate per smontare l’erogatore 16.2 Fare attenzione alla molla montata sul cursore Pag. 11...
- Page 32 17.2 Utilizzando una chiave a brugola (4) Figura 17 - SMONTAGGIO MECCANOVALVOLA togliere le due viti di fissaggio della (ATTENZIONE: vedere info IT0181) staffa 17.1 Togliere le 2 forcine e sfilare i tubi 17.3 Togliere la forcina e sfilare il tubo che dall’erogatore arriva all’infusore 17.4...
- Page 33 Figura 18 - ALLINEARE LA MECCANOVALVOLA Far salire l’infusore fino a farlo arrivare a contatto della meccanovalvola, senza esercitare pressione per farli entrare in contatto: devono solo essere allineati. Una volta completata l’operazione, fissare le due viti (fig. 18.2) con una chiave a brugola 18.1 Avviatare le 2 viti indicate con una chiave a brugola (4)
- Page 34 Figura 19. POSIZIONAMENTO MICROINTERRUTTORI E REED 19.1 Microinterruttore Tanica ATTENZIONE: fate attenzione a non bypassare il micro: se doveste farlo, il motore infusore resterebbe in funzione NOTA : I micro Tanica, Cassetto Fondi e Vapore emettono un beep quando sono aperti 19.2 Microint.
- Page 35 SCHEMA IDRAULICO MECCANOVALVOLA GENERATORE INFUSORE VALVOLA DI SICUREZZA CAMERA DI POMPA ESPANSIONE DUMPER FLUSSIMETRO VASCHETTA DI RACCOLTA SERBATOIO FILTRO...
- Page 36 PROCEDURA DI TEST PER LA ECAM23.420 INTENSA Premendo le varie icone, si PROCEDURA alimentano i seguenti dispositivi: icona dispositivo Chiudere il rubinetto vapore (pos. 0). Caldaia Caffè ON Attaccare il cavo di rete. Tenere premuti i tasti: 1 Tazza + Vapore Motore Macinino ON Motore, verso l’alto “Micro fine...
- Page 37 PROCEDURA DI TEST DISPLAY PER ECAM23.420 INTENSA Premendo su ciascuna icona, si PROCEDURA DI TEST DISPLAY visualizza il seguente messaggio icona messaggio BUTTON 1 Per entrare nella procedura di test: Attaccare il cavo di rete. Tenere premuti i tasti: 1 Tazza + Vapore...
Need help?
Do you have a question about the ECAM23.420 and is the answer not in the manual?
Questions and answers