Advertisement
manual
421-000-439
FLASHLIGHTS
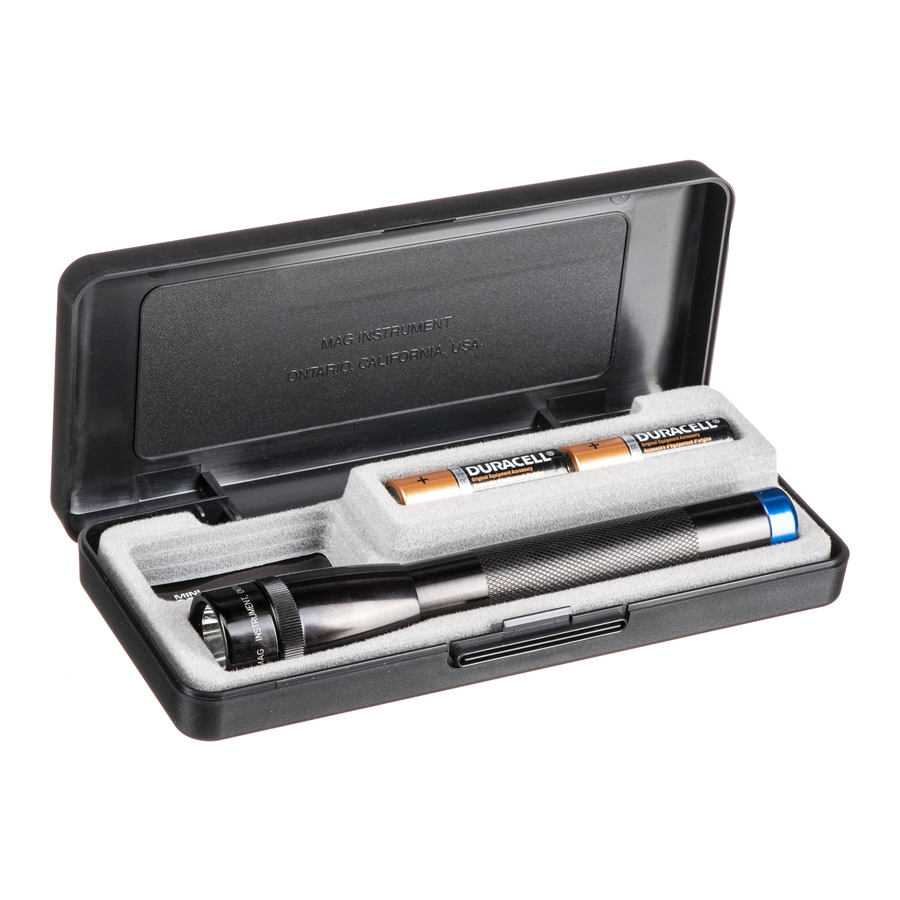
Mini Maglite
repair
AA/AAA
Flashlights
Repairs must be performed by Mag Instrument
certified warranty service personnel
IMPORTANT NOTICE
This copyrighted Manual, bearing Copy Control #_______________, is the property of
Mag Instrument, Inc., and must be returned to Mag Instrument upon demand. It is for use
only by factory-certified technicians performing authorized warranty service on the
Mini Maglite® Flashlight and/or other Mini Maglite® Flashlight components.
This Manual is a confidential document. It is not for sale and is not to be shown, lent or
otherwise disclosed to unauthorized personnel.
Copying of this document is not authorized. Copying would therefore constitute a violation
of the copyright laws. If additional copies are desired, they should be requested directly
from Mag Instrument, Inc.
®
1
MM Rev.1 8/03
Advertisement
Table of Contents

Related Manuals for MAG Mini Maglite SERIES


Summary of Contents for MAG Mini Maglite SERIES
- Page 1 IMPORTANT NOTICE This copyrighted Manual, bearing Copy Control #_______________, is the property of Mag Instrument, Inc., and must be returned to Mag Instrument upon demand. It is for use only by factory-certified technicians performing authorized warranty service on the Mini Maglite® Flashlight and/or other Mini Maglite® Flashlight components.
-
Page 2: Troubleshooting
1. FLASHLIGHT FAILURE: Check the lamp and the batteries with the meter. If the lamp has burned out, be sure to replace it with the correct size genuine Mag replacement lamp. Each battery should test at least 1.4 volts (see testing procedures on the following pages. - Page 3 BATTERY TEST - STEP 1 LAMP TEST - STEP 3 • Black Probe in COM port • Red Probe in VΩmA port Bad Lamp - If the lamp is bad the meter setting will not change and will stay at 1. •...
- Page 4 AA/AAA SWITCH REPLACEMENT Tools required to replace switches in Each tool has a long and short pin end. Solitaire ® , AAA/AA Mini Maglite ® The long pins remove the switch. The flashlights short pins are to install the switch (23). SCHEMATIC - FLASHLIGHT Items 10, 13, 14 and 15 are included in item 22 Parts List for Standard Black Mini Maglite...
- Page 5 Parts List for Standard Black Mini Maglite ® AA Flashlight ITEM NO QTY. PART NUMBER DESCRIPTION Head Sub-Assembly 203-000-004 Face cap, Black 108-000-045 'O' Ring, Face cap 108-000-046 Clear Lens 108-000-038 Reflector 108-000-041 'O' Ring, Head 203-000-273 Head, Black LM2A001 Bulb 108-000-252 Barrel &...
- Page 6 STEP 4 STEP 3 Insert the end of the SWITCH REPAIR TOOL Remove the LAMP (8) by pulling it straight (23) with the longest pin protrusion into the out of the receptacles. A spare LAMP (8) is bottom of the BARREL (12). Rotate the tool located in the TAIL CAP (20).
- Page 7 STEP 7 Slowly lift the BARREL (12) off of the TOOL (23), the LOWER INSULATOR (15) should be on the TOOL (23). If not, tap the BARREL Replacement SWITCHES will come (12) lightly and the LOWER INSULATOR (15) assembled. should fall out. Push down on the lower half of the SWITCH To separate the SWITCH ASSEMBLY prior ASSEMBLY (15), this will cause the UPPER...
- Page 8 STEP 8 *Note: make sure the SIDE CONTACT (14) and CENTER CONTACT (13) are in the switch. REPLACING SWITCH STEP 9 Place the LOWER INSULATOR (15) on the SHORT PIN TOOL (21) making sure the pins Insert the TOOL (23) with the LOWER of the TOOL (21) are in the holes of the INSULATOR (15) into the bottom of the LOWER INSULATOR (15).
- Page 9 LIP SEAL (21) and TAIL CAP (22). BATTERY LEAKAGE Mag Instrument’s flashlight warranty does not cover battery leakage unless the batteries involved are Rayovac, Eveready or Duracell. If the batteries are one of the three, the WSC may exchange the flashlight for a new replacement.
- Page 10 The distinctive shapes, styles and overall appearances of all Mag® flashlights, and the circumferential inscriptions extending around the heads of all Mag® flashlights are trademarks of Mag Instrument, Inc. The circumferential inscription on the head of every flashlight signifies that it is an original Mag® flashlight and part of the Mag® family of flashlights. U.S.
Need help?
Do you have a question about the Mini Maglite SERIES and is the answer not in the manual?
Questions and answers
Followed all instructions and it still doesn’t work!
If your Mini Maglite does not work despite following all instructions, follow these troubleshooting steps:
1. Check the Lamp and Batteries – Use a meter to test if the lamp is burned out or if the batteries are depleted. Replace them if necessary with genuine Mag replacement parts.
2. Inspect the Contacts – Ensure that the side contact and center contact are properly positioned within the switch.
3. Verify the Insulators – Make sure the upper and lower insulators are correctly aligned and securely in place.
4. Check the Seals and O-Rings – Confirm that all visible seals (items 6, 10, and 19) are intact and properly installed.
5. Reinstall the Lamp – Ensure the lamp is inserted correctly in the receptacles and is vertical and straight.
6. Clean the Lamp – Use a clean, soft cloth to remove moisture and oil from the lamp glass.
If the flashlight still does not work, repairs must be performed by Mag Instrument certified warranty service personnel.
This answer is automatically generated