Table of Contents
Advertisement
Advertisement
Table of Contents

Related Manuals for ATC LIFESTYLE 500


Summary of Contents for ATC LIFESTYLE 500
-
Page 1: Lifestyle
LIFESTYLE Digital Electric Radiators INSTRUCTIONS FOR USE & INSTALLATION... - Page 2 - This heating apparatus holds a specific amount of special oil. Repairs where it is necessary to open the oil tank must only be made by the manufacturer or ATC. ATC should be contacted in case of any oil leakage.
- Page 3 Pay particular attention when children and vulnerable people are present. - If the radiator is discarded, ensure it is recycled responsibly and follow any local provisions concerning recycling of oil. - A Safety Data Sheet is available from sales@atc.ie request.
- Page 4 For more detailed information on the collection systems available, contact the local collection facilities or the distributor where you made your purchase. Packing List: Lifestyle Radiator Metal Brackets Plastic Covers (top) Locking Plastic Covers Grey Wall plugs Hex-Head Fixings Please contact sales@atc.ie if any of the above are missing.
-
Page 5: Table Of Contents
INDEX LIFESTYLE ..........................1 INDEX ............................5 LIFESTYLE DIGITAL ELECTRIC HEATERS ................6 Location ............................6 Electrical Connection ........................ 7 Mounting ............................. 8 Operation ..........................10 Control panel: ......................10 Turning the heater on and off: ................... 10 Selecting the Operating mode: ....................11 COMFORT ........................ -
Page 6: Lifestyle Digital Electric Heaters
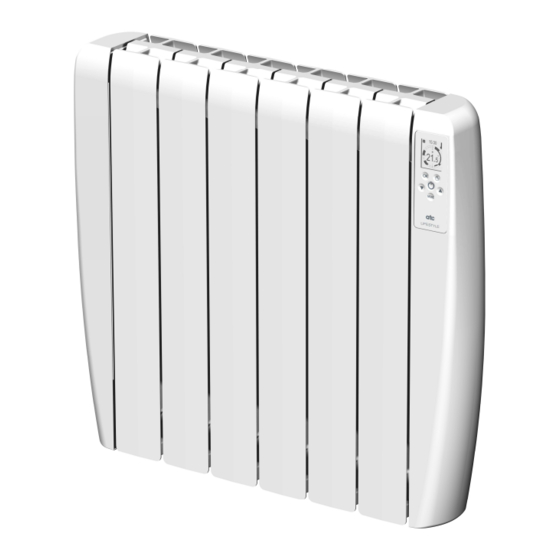
LIFESTYLE DIGITAL ELECTRIC HEATERS Thank you for choosing ATC LIFESTYLE heaters, with their modern design, state-of-the-art technology, great reliability and quality construction. ATC LIFESTYLE heaters and all the materials and components have passed strict controls to ensure their quality. Before installing and operating your heater, please read these instructions carefully as they will ensure the correct working order of the appliance. -
Page 7: Electrical Connection
Electrical Connection The Lifestyle radiator must be connected to the mains supply (230V~50Hz.). It is recommended to install a switched spur for each heater. In addition, the following warnings must be considered: -The electric radiator should not be located underneath a light switch where you need to stretch over the heater to reach or operate the switch. -
Page 8: Mounting
3. Mark the small hole in the metal brackets on the wall with a pencil. These two marked points determine the position of the two lower drill holes. Model A (mm) LIFESTYLE 500 LIFESTYLE 750 LIFESTYLE 1000 LIFESTYLE 1500 LIFESTYLE 1800 Table 1 4. - Page 9 7. Attach the plastic pieces to the metal brackets: STOP 8. Hang the heater as shown: 9. To detach the heater from the bracket: 1) Push the plastic bracket away from the metal bracket 2) Lift the plastic bracket and pull the base of the heater forward away from the metal bracket...
-
Page 10: Operation
If the radiator is in standby mode, to turn it on, touch and hold the ON / OFF key; a double beep will sound once the heater is on. The standby screen changes to show ATC and then the heater will start then in the previous operating mode. -
Page 11: Selecting The Operating Mode
When the Button Cell is depleted a small battery backup can save the day and time with disconnections up to 1 minute. However, with longer disconnections, you will need to re-enter the day and time according to page 15 of this manual. IMPORTANT: As there are live cables inside the casing we recommend you contact an authorised electrician to replace the button cell. -
Page 12: Anti-Frost
ANTI-FROST In this mode the temperature setting is 7°C and is factory set. Anti-frost is usually used as an off set point and for long periods of absence when you want to avoid freezing. PROGRAM In Program mode the radiator automatically switches on and off according to the daily and weekly program set by the user. - Page 13 Edit Program To enter or change the program, touch the OK key when the radiator is in Program mode. This will bring you to the program edit screen and allow the user to edit any half-hour section of any day of the week (Monday to Sunday). In the editing screen, the user chooses which day of the week the program is going to modify.
-
Page 14: Configuration
Copy Daily program If you want to copy the complete program of a particular day to the following day or consecutive days, touch and hold OK when selecting the day, and release OK when you have reached to the final day to be copied. For example, to copy the Monday program, to the 5 working days, hold OK when it shows Monday , and release the button when... -
Page 15: Setting The Time: Set Hour / Day
Setting the time: SET HOUR / DAY This menu is used to initially set the time and day, and also to change the time if required, for example during daylight saving. Use the keys to select either the day of the week, or (if the day is correct) the time to be modified. -
Page 16: Reset Default
6. Reset Default This menu is used to reset the heater back to the default factory settings. • Comfort set point is 20ºC, • Economy set point is 16.5ºC, • Program is set to Economy for all half-hour sections of all days, •... -
Page 17: Open Window Function
To enter Manual mode touch the hand key, then using the keys enter the amount of time you want to force the radiator on or off. First the number of days is selected; enter between 0 and 365 days and confirm with the OK key. -
Page 18: Adaptive Start Control Function
Adaptive start control function When the adaptive start function mode is enabled, in the configuration menu the system automatically switches on the radiator to ensure that the next on set-point is reached efficiently. The system analyses the next two hours, and if there is a set point higher than the current room temperature within that period, and knowing the heating speed of the unit, the software calculates when it needs to start heating. -
Page 19: Internal Parameter Configuration
INTERNAL PARAMETER CONFIGURATION There are two user configurable parameters in the Lifestyle heater. By design they are not meant to be changed often. To access the parameter selection menu, touch and hold the OK and MODE for 5 seconds until menu appears on the display. The first line shows the software version of the radiator, this information may be required if you need to contact technical support regarding your heater. -
Page 20: Easy Mode
EASY MODE Once the radiator is set into the Easy Mode the radiator will only allow the user to raise and lower the temperature setting. There is no access to the clock, mode or configuration changes and no keyboard lock, just the heating icon showing if the radiator is currently heating and the current room temperature. -
Page 21: Characteristics Table
CHARACTERISTICS TABLE Model LIFESTYLE 500 LIFESTYLE 750 LIFESTYLE 1000 LIFESTYLE 1500 LIFESTYLE 1800 Power (W) 1000 1500 1800 No. elements Width “A” (mm) 1028 1188 Weight (Kg) 12,9 16,3 21,7 25,8 Voltage (VAC) 230 V ~ 50 Hz Class Index of protection... -
Page 22: Ecodesign Table
Other control options: With adaptive start control ATC Electrical and Mechanical Head Office & Showrooms ATC House, Broomhill Drive, Tallaght, Dublin 24, Ireland. D24 EF99 IRL Tel: +353 (0)1 4625111 UK Tel: +44 (0)203 5649164 Fax: 353 (1) 452 0887... -
Page 23: Notes
NOTES... -
Page 24: Warranty
- The warranty is valid provided that normal maintenance operations described in the technical instructions provided with the equipment have been carried out. - The consumer must inform ATC of the lack of conformity of the goods, in a period of less than two months since they learned of it.
Need help?
Do you have a question about the LIFESTYLE 500 and is the answer not in the manual?
Questions and answers