Table of Contents
Advertisement
Advertisement
Table of Contents

Related Manuals for WANHAO DUPLICATOR 7


Summary of Contents for WANHAO DUPLICATOR 7
- Page 1 WANHAO DUPLICATOR 7 USER MANUAL...
- Page 3 If you experience any issues with this product, or it’s performance is not what you had expected, please contact us at WANHAO before returning the item to the store. It is likely that we can resolve any problems for you via phone or email.
-
Page 4: Warranty Details
The product is guaranteed to be free from defects in workmanship and mother board for a period of 12 months from the date of purchase. Printing with materials other than WANHAO resin which are different from those recommended on the website www.wanhao3dprinter. com, ,may cause ... -
Page 5: Safety Instructions
Before you get started, please read these important safety instructions. CAUTION: The WANHAO 3D Printer includes moving parts that can cause injury. Never reach inside of the WANHAO 3D Printer while it is in operation, and allow time for the printer to cool ... -
Page 6: Table Of Contents
Contents Warranty Details Safety Instructions Congratulations The principle behind your printer Safety Information Electrical power Disposal instructions Useful advice The box contains 7 Recommended items 7 Minimum computer requirements Installation & assembly instructions Prepare the Duplicator 7 for printing Cleaning the machine and your printed objects Detailed Creation workshop software instructions System Compatibility... -
Page 7: Congratulations
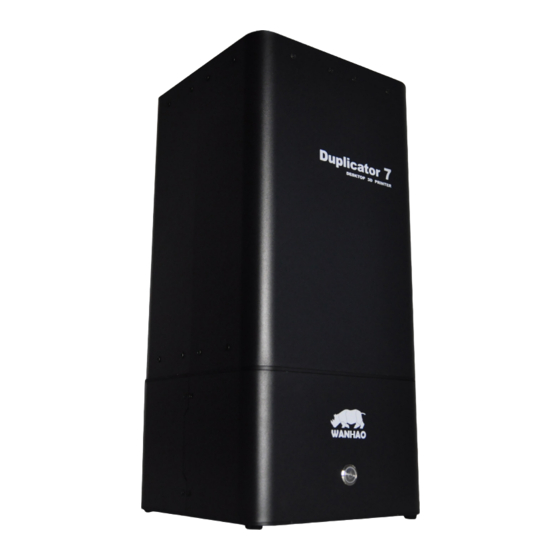
Congratulations You have just purchased a new type of 3D printer using Direct UV-light Printing (DUP) technology. This is a newly applied-for method of LCD image creation allow controlled UV light get through the LCD screen which hardens liquid with the light from an UV light source. -
Page 8: Electrical Power
Electrical power This 3D printer is connected to the electrical network with an INPUT of 110 or 240 VAC, 50/60 Hz, and has an operational voltage of 12 V. - Do not allow anything to rest on the power cord. Do not locate this product where ... -
Page 9: Useful Advice
The printer should be operated on a stable and level surface, preferably away from direct The box contains - Wanhao Duplicator 7 LCD printer with black hood and platform - Power supply for the printer (P.S.) ... -
Page 10: Installation & Assembly Instructions
Installation & assembly instructions 1. If you have not received a USB stick go to www.wanhao3dprinter.com and download the software and printer driver in “support”. The latest version of this is always online. ... -
Page 11: Prepare The Duplicator 7 For Printing
Prepare the Duplicator 7 for printing Now you have your printer installed and configured. Please read these software instructions to understand the different settings before starting. 1. - Page 12 The screen should look as follow: 4. Now click “3D View” and check that the object is correctly placed inside the printing area. Press the slice button to start the slicing operation. select the correct one.
- Page 13 6. Place the vat on top of the LCD screen and tighten the retaining Z brackets down to secure it. If you tighten it too much the LCD screen will go white at the edges. ...
-
Page 14: Cleaning The Machine And Your Printed Objects
Cleaning the machine and your printed objects These steps will reduce any resin spillage and keep your machine clean. 1. Go to “control” and move the platform up enough so the base of your object is clear of the vat. Remove the hood and loosen the top and side knobs completely on ... -
Page 15: Detailed Creation Workshop Software Instructions
Detailed Creation workshop software instructions System Compatibility Creation Workshop is a .NET 3.5 application written in C#. This is native to the Windows Operating System, but it also runs on many versions of Linux/Posix using the Mono Framework ... -
Page 16: Loading A Model
These three buttons start, pause and stop a print. These buttons only become active once you have sliced your object. Clicking this button allows you to view the 3D objects within their boundary box. -
Page 17: Scene View
2. Scene View The Scene View allows you to manipulate various aspects of the scene. Selecting You can select a model by double clicking on the model, or selecting it with the scene view Removing a Model You ... -
Page 18: Move View
4. Move View The Move function allows you to move objects on the build platform along the x:y:z axis by the distance entered. From left to right, the other tools are: The ‘Place on Platform’ button will position the bottom of the model to rest on the bottom of the build platform. -
Page 19: Rotating Objects
7. Rotating Objects Rotating a model works in a similar way to moving a model. Simply select the model you want to work with, and use the X/Y/ Z +/- buttons to rotate the model by your 8. -
Page 20: Working With Model Support Tools
9. Working with Model Support tools Using Supports Supports are sometime required to properly attach a model to the build space. Because of the nature of DPP the lower layers must be supported by the supports Adding a single Support A single support can be generated by clicking the manual support button. -
Page 21: Saving A Scene
Moving Supports After a manual or automatic support has been generated, individual supports can be moved around the x:y plane the same way models can be moved. Select the support by double clicking ... -
Page 22: Control
There are two buttons for each of the available options. In this setting we can see (as shown in the image) each successive layer of the generated "Slicing". With the lower bar we can scroll through the ... - Page 23 From this screen we will be able to control the motors of the printer (Note hood must be on the printer), which means displacing the build base over the Z axis, as well as controlling the LCD. In this section of the Control screen we have the buttons that will allow us to move ...
- Page 24 Setting up display devices Available Displays This shows you the available configured and connected displays on the system. You can click the Refresh button to refresh the list of displays. The ‘+’ button will add a display to the This area shows the displays that will be used for projection on the system.
- Page 25 The ones shown in the screen show are the ones suggested to start working with the LCD printer. Saving your changes After you have configured your machine profile, be sure to click the “Save Changes” button to save and apply the changes.
- Page 26 Slice Thickness: slices per mm) Exposure Time per Layer: image slice on a per-layer basis. Bottom Layer exposure time: In order to ensure the model is properly adhered to the bottom ...
-
Page 27: Slicing A Model
Build Direction: Top down or Bottom up. This value determines which direction the Lift occurs. For a bottom up machine, this is used to peel the model from the bottom of the build vat, sometimes in conjunction with a tilt/slide. -
Page 29: Repair And Refurbished Goods Or Parts Notice
If at any time you feel your repair is being handled unsatisfactorily, you may escalate your complaint. Please telephone us on 86-571-23290996 or write to us at: WANHAO Precision Casting Co.,Ltd 77, RENMING ROAD, JINHUA, CHINA WANHAO Help Desk 86-571-23290996 (Operating Hours: Mon -...
Need help?
Do you have a question about the DUPLICATOR 7 and is the answer not in the manual?
Questions and answers