Table of Contents
Advertisement
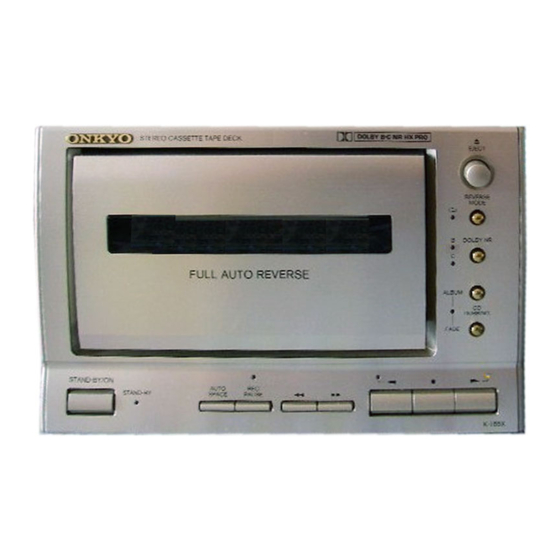
K-185X
Stereo Cassette T
Instruction Manual
Features ................................................ 2
Important safeguards ........................... 3
Precautions .......................................... 3
System connections ............................. 4
Power connections ............................... 6
Control positions and names ............... 7
To play a tape ...................................... 8
Recording .......................................... 10
Making good sound recordings ......... 11
ape D
Useful recording functions ................ 12
CD dubbing(System operation) ......... 13
(System operation) ............................. 16
Handling cassette tapes ...................... 17
Cassette deck maintenance ................ 18
Specifications .................................... 18
Troubleshooting guide ....................... 19
Advertisement
Table of Contents

Related Manuals for Onkyo K-185X


Summary of Contents for Onkyo K-185X
-
Page 1: Table Of Contents
K-185X ape D Stereo Cassette T Instruction Manual Features ..........2 Useful recording functions ....12 Important safeguards ......3 CD dubbing(System operation) ..13 Precautions .......... 3 CD/MD synchro recording System connections ......4 (System operation) ......16 Power connections ....... 6 Handling cassette tapes ...... -
Page 2: Features
DO NOT OPEN NE PAS OUVRIR GERMANY declare in own responsibility, that the ONKYO product described • The lightning flash with arrowhead symbol, within an in this instruction manual is in compliance with the corresponding equilateral triangle, is intended to alert the user to the technical standards such as EN55013, EN55020, EN61000-3-2, -3-3 presence of uninsulated “dangerous voltage”... -
Page 3: Important Safeguards
Precautions Important safeguards 1. Read Instructions — All the safety and operating instructions 1. Warranty Claim should be read before the appliance is operated. You can find the serial number on the rear panel of the unit. In 2. Retain Instructions — The safety and operating instructions should case of warranty claim, please report this number. -
Page 4: System Connections
You can set up the system so that recording from a CD or MD to a cassette tape will synchronize playback of the CD or MD. (Refer to page 16 of this instruction manual.) One-touch play Pressing the PLAY button of the K-185X automatically selects the "TAPE" input source on the CR-185X/CHR-185X CD receiver before playing the tape. - Page 5 System connections Connecting the unit with other devices: • Do not plug in the power cord until all connections have been made. • On each pair of input or output jacks, the lower jack (marked R) corresponds to the right channel, and the upper jack (marked L) to the left channel.
-
Page 6: Power Connections
Power connections Switching power on STAND-BY/ON 1. Plug the AC power cord into a wall outlet. STAND-BY To a wall outlet The STAND-BY indicator will light. 2. Press the STAND-BY/ON button. The STAND-BY indicator will go out. • If this unit is plugged into the amplifier's AC outlet, the amplifier's AC power cord must be plugged into a wall outlet and its power switched on... -
Page 7: Control Positions And Names
DUBBING FADE STAND-BY/ON AUTO STAND-BY SPACE PAUSE K-185X 1. Cassette holder [8] 7. Fast forward and Rewind buttons ( d , f ) [9] 2. CD DUBBING buttons and indicator (ALBUM/FADE) [13,14,15] 8. REC PAUSE button and indicator 3. DOLBY NR button and indicators... -
Page 8: To Play A Tape
To play a tape When this unit is properly connected to the CD reciever CR-185X/CHR-185X, pressing the s button swiches input selector of CR-185X/CHR-185X to “TAPE/MD” automatically. Note: To eject the tape in play, be sure to first press the STOP button to stop the tape transport before pressing the EJECT button. - Page 9 To play a tape Stopping playback Press the e button. The following explanation assumes that the tape direction is forward ( s ). Fast forward and rewind To fast forward the tape, press the f button. To rewind the tape, press the d button.
-
Page 10: Recording
Recording • Check to see if one or both of the cassette’s erasure prevention tabs have been removed. • Confirm that the cassette deck is properly connected to the amplifier. Procedure for recording Confirm that the amplifier is set up EJECT correctly for recording. -
Page 11: Making Good Sound Recordings
Recording 6. Press the s button on this unit. You can also use the CD Synchro Recording function if this unit is prop- erly connected to an ONKYO CD player bearing the symbol. (See page 16.) Stopping recording Press the e button. -
Page 12: Useful Recording Functions
Useful recording functions Inserting blank spaces between songs when editing tapes 1. Press the REC PAUSE button and the a or s button to begin recording. 2. Press the AUTO SPACE button at AUTO SPACE PAUSE any point during recording where you want to enter a blank space about five seconds long. -
Page 13: Cd Dubbing(System Operation)
CD dubbing (System operation) CD dubbing function When this unit is properly connected to the CD receiver CR-185X or CHR-185X and MD-185X, the following operations are performed. Recording Side A Erase CD dubbing modes The CD dubbing function has the following Erase four modes. - Page 14 In this case, do not fade-out or erase at the end of the tape but keep FADE recording to the end of the tape. Stopping CD dubbing CR-185X/CHR-185X K-185X Press the e button on the CD player or this unit.
- Page 15 CD CHANGER TUNER AMPLIFIER CD TUNER AMPLIFIER Continuous CD dubbing CR-185X 1. Stop the CD dubbing. Press the e button on the CD player or K-185X this unit. Note: After CD dubbing stops, do not operate CHR-185X this unit. (Otherwise, the continuous dubbing will be cancelled.)
-
Page 16: Cd/Md Synchro Recording (System Operation)
CD/MD synchro recording (System operation) Once the K-185X is connected to a CR-185X/CHR-185X or MD-185X, pressing the s button of the CD player or MD recorder will cause recording to start automatically on the K-185X. Synchronized recording 1. Insert the cassettes. -
Page 17: Handling Cassette Tapes
Handling cassette tapes Examine cassette tapes carefully before using them with the K-185X. Erasure prevention Cassette tapes are constructed with erasure prevention tabs to prevent accidental erasure of the tape. If you wish to protect a recording from accidental erasure, break off the tab(s) on the appropriate side(s). -
Page 18: Cassette Deck Maintenance
Cassette deck maintenance Specifications Track Format: 4-track, 2-channels Erasure System: AC erase Tape Speed: 4.8 cm/sec. (1-7/8 i.p.s.) Wow and Flutter: 0.07 % (WRMS) REC/PB head Frequency Response: 20 — 15,000 Hz (Normal) Erase head Capstans (30 — 14,000 Hz ± 3 dB) 20 —... -
Page 19: Troubleshooting Guide
Troubleshooting guide The following guide lists problems which do not require professional servicing. If, however, the problem cannot be remedied using this guide, contact an ONKYO authorized service center for assistance. • No power. • Tape squeal and skipping. Cause: Power cord plug is loose. - Page 20 Tel: 201-825-7950 Fax: 201-825-8150 E-mail: onkyo@onkyousa.com ONKYO EUROPE ELECTRONICS GmbH Industriestrasse 20, 82110 Germering, GERMANY Tel: 089 84 93 20 Fax: 089 84 93 226 E-mail: info@onkyo.de ONKYO EUROPE FRANCE BRANCH Domaine Technologique de Saclay 4, Rue René Razel, SACLAY-91892...
Need help?
Do you have a question about the K-185X and is the answer not in the manual?
Questions and answers