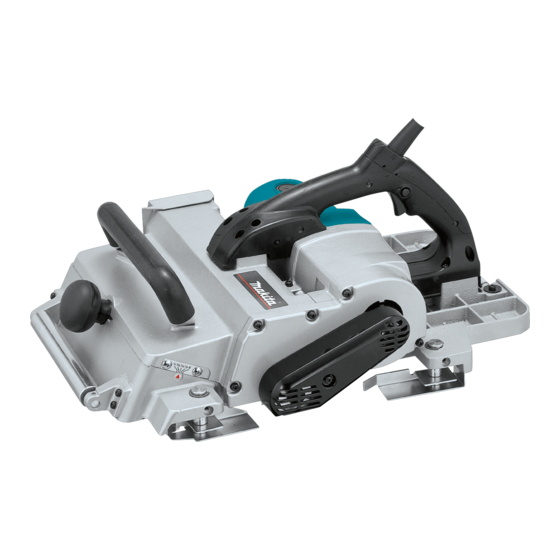
Makita KP312 Instruction Manual
Makita planer instruction manual kp312
Hide thumbs
Also See for KP312:
- Instruction manual (57 pages) ,
- Operating manual (8 pages) ,
- Parts breakdown (3 pages)
Table of Contents

Related Manuals for Makita KP312


Summary of Contents for Makita KP312
- Page 1 Planer MODEL KP312 I N S T R U C T I O N WARNING: For your personal safety, READ and UNDERSTAND before using. SAVE THESE INSTRUCTIONS FOR FUTURE REFERENCE. w w w . m a k i t a t o o l s . c o m...
-
Page 2: Specifications
3. Keep bystanders, children, and visitors away while operating a power tool. Dis- tractions can cause you to lose control. KP312 312 mm (12-1/4”) 0 - 3.5 mm (0 - 1/8”) 12,000/min. 551 mm (21-3/4”) 18 kg (39.7 lbs) -
Page 3: Personal Safety
5. Avoid body contact with grounded sur- faces such as pipes, radiators, ranges and refrigerators. There is an increased risk of electric shock if your body is grounded. 6. Do not expose power tools to rain or wet conditions. Water entering a power tool will increase the risk of electric shock. -
Page 4: Specific Safety Rules
Not More Than SPECIFIC SAFETY RULES DO NOT let comfort or familiarity with product (gained from repeated use) replace strict adherence to planer safety rules. If you use this tool unsafely or incorrectly, you can suffer serious personal injury. 1. Rags, cloth, cord, string and the like should never be left around the work area. - Page 5 16. Wait for complete run-down before put- ting the tool aside. 17. Use only Makita blades specified in this manual. 18. Some material contains chemicals which may be toxic. Take caution to prevent dust inhalation and skin contact.
-
Page 6: Functional Description
FUNCTIONAL DESCRIPTION 003869 1. Knob 2. Scale plate 003871 1. Switch trigger 2. Lock button CAUTION: • Always be sure that the tool is switched off and unplugged before adjusting or checking function on the tool. Adjusting depth of cut The depth of cut can be adjusted within a range of 0 - 3.5 mm (1/8”). - Page 7 1. Pins 2. Edge fence (Guide rule) 003874 1. Rear base 2. Foot 3. Planer blade 003875 1. Front base Edge fence (Guide rule) Edge fence is useful for minimizing a short run of cut by cut- ting in a uniform width. The edge fence (guide rule) is pro- vided on the side of the tool.
-
Page 8: Removing Or Installing Planer Blades
• Use only the Makita wrench provided to remove or install the blades. Failure to do so may result in overtightening or insufficient tightening of the installation bolts. This could cause an injury. - Page 9 And then, tighten all of the installation bolts securely. Install another blade in the same manner as above. For the correct planer blade setting Your planing surface will end up rough and uneven, unless the blade is set properly and securely. The blade must be mounted so that the cutting edge is absolutely level, that is, parallel to the surface of the rear base.
-
Page 10: Blade Height Adjustment
003879 1. Drum plate 2. Installation bolt 3. Set plate screw 4. Set plate 5. Planer blade 6. Adjusting screw 7. Drum 003882 1. Socket wrench 2. Wrench holder 3. Rear base Blade height adjustment Blade height adjustment is usually not necessary. However,... -
Page 11: Operation
The speed and depth of cut determine the kind of finish. The power planer keeps cutting at a speed that will not result in jamming by chips. For rough cutting, the depth of cut can be increased, while for a good finish you should reduce the depth of cut and advance the tool more slowly. -
Page 12: Maintenance
CAUTION: • These accessories or attachments are recommended for use with your Makita tool specified in this manual. The use of any other accessories or attachments might present a risk of injury to persons. Only use accessory or attachment for its stated purpose. - Page 13 First-Class Postage Required Post Office will not deliver without proper postage. Makita U.S.A., Inc. 14930 Northam Street La Mirada, CA 90638-5753 Fold...
- Page 14 Paste 3. How did you learn about this product: Magazine From Dealer Newspaper Store Display Catalog 4. Most favored points are: Design Features Size Price Makita Brand MODEL NO. YEAR SERIAL NO. PHONE 20-29 30-39 40-49 Paste Paste Radio Exhibition...
-
Page 15: Factory Service Centers
Date Purchased When you need service: Send complete tool (prepaid) to one Dealer’s Name & Address of the Makita Factory Service Centers listed, or to an Authorized Makita Service Center. Be sure to attach a letter to the outside of Model No. - Page 16 MAKITA LIMITED ONE YEAR WARRANTY Warranty Policy Every Makita tool is thoroughly inspected and tested before leaving the factory. It is warranted to be free of defects from workmanship and materials for the period of ONE YEAR from the date of original purchase.