NETGEAR ReadyDATA 5200 Installation Manual
Hide thumbs
Also See for ReadyDATA 5200:
- Installation manual (15 pages) ,
- Hardware manual (38 pages) ,
- Software manual (203 pages)

Related Manuals for NETGEAR ReadyDATA 5200


Summary of Contents for NETGEAR ReadyDATA 5200
- Page 1 ReadyDATA 5200 Installation Guide 350 East Plumeria Drive San Jose, CA 95134 May 2012 201-15135-02...
-
Page 2: Technical Support
© NETGEAR, Inc. All rights reserved. Technical Support Thank you for choosing NETGEAR. To register your product, get the latest product updates, get support online, or for more information about the topics covered in this manual, visit the Support website at http://support.netgear.com. -
Page 3: Installation Overview
Installation Overview Thank you for purchasing the NETGEAR ReadyDATA™ 5200. This installation guide includes the following topics: • Review the Package Contents • Prepare the Installation Site • Install Optional NICs • Install the System in a Rack • Attach Cables •... -
Page 4: Prepare The Installation Site
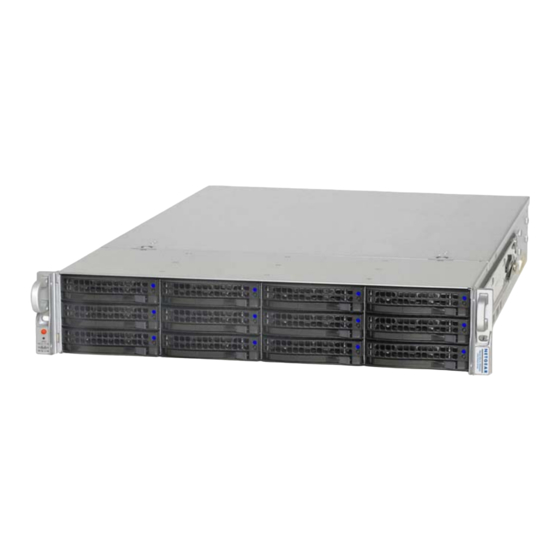
ReadyDATA 5200 Review the Package Contents Your ReadyDATA 5200 package includes the following items: • 5200 chassis • Power cables • Rack-mount hardware • Resource CD If you purchased an optional expansion disk array, the separate package contains the following items: •... - Page 5 Install Optional NICs The ReadyDATA 5200 comes with two 1 GbE NICs and one 10 GbE SFP+ NIC installed on the motherboard, so it can connect to your LAN or the Internet without optional additional NICs.
- Page 6 ReadyDATA 5200 Install the System in a Rack Use the rack-mount hardware included with your ReadyDATA 5200 or your expansion disk array to install it in a rack. Note that the left and right rails are not identical. The left rail is marked with a sticker bearing the letter L, and the right rail is marked with a sticker bearing the letter R.
-
Page 7: Rack Installation
ReadyDATA 5200 Rack Installation Read these instructions in their entirety before you begin. To install the system into a rack: Using the left rail, pull the inner rail out of the outer rail until it is fully extended. Press the locking tab down to release the inner rail and separate it from the outer and middle rails. - Page 8 ReadyDATA 5200 Place the inner rail firmly against the side of the system chassis, ensuring that the hooks on the chassis are straight and aligned with the holes in the inner rail. Slide the inner rail forward until it clicks into the locked position.
- Page 9 ReadyDATA 5200 Hang the hooks on the front of the left rail on the rack holes, and if necessary, secure with screws. Repeat with the back of the left rail, extending as necessary. Repeat Step 7 through Step 9 with the right rail.
- Page 10 ReadyDATA 5200 Using the left rail, pull the middle rail out of the front of the outer rail, ensuring that the ball bearing shuttle is locked at the front of the middle rail. Repeat Step 11 with the right rail.
- Page 11 ReadyDATA 5200 Hold the system chassis in front of the extended rails, aligning the inner rails with the middle rails, and push evenly on both sides of the chassis until it clicks into the fully extended position. Depress the locking tabs on both sides of the chassis at the same time and push the chassis all the way to the back of the rack.
-
Page 12: Attach Cables
ReadyDATA 5200 Attach Cables Before you power up your system, you must connect the power and network cables. If you have an optional expansion disk array, you must connect that while the ReadyDATA 5200 is powered down. To attach cables: Attach each of the two power cables to the power supply ports on the back of the unit. -
Page 13: Power Up The System
Iocal area network (LAN) as your ReadyDATA 5200. Note: If you are using Windows XP before SP2, disable the Internet connection firewall. Ensure that each power supply rocker switch on the back of the ReadyDATA 5200 is set to On and press the Power button. -
Page 14: Register Your Product
After installing your storage system, locate the serial number on the product label and use it to register your system at www.netgear.com/register. Registration is required before you can use the telephone support service. NETGEAR strongly recommends using this website to register your product.