Table of Contents
Advertisement
Quick Links
Advertisement
Table of Contents

Related Manuals for AEG SCS51810S0


Summary of Contents for AEG SCS51810S0
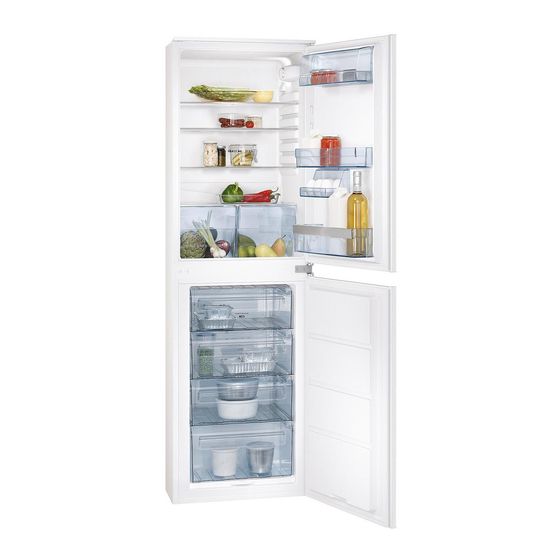
- Page 1 EN User manual SCS51810S0...
-
Page 2: Table Of Contents
10. ENVIRONMENT CONCERNS ..........23 FOR PERFECT RESULTS Thank you for choosing this AEG product. We have created it to give you impeccable performance for many years, with innovative technologies that help make life simpler –... -
Page 3: Safety Information
ENGLISH SAFETY INFORMATION In the interest of your safety and to en- 1.2 General safety sure the correct use, before installing WARNING! and first using the appliance, read this user manual carefully, including its hints and warnings. To avoid unnecessary mis- Keep ventilation openings, in the appli- takes and accidents, it is important to ance enclosure or in the built-in struc-... -
Page 4: Care And Cleaning
Make sure that the power plug is • Ice lollies can cause frost burns if con- not squashed or damaged by the sumed straight from the appliance. back of the appliance. A squashed or damaged power plug may 1.4 Care and cleaning overheat and cause a fire. -
Page 5: Operation
ENGLISH 1.6 Service ant circuit or insulation materials. The appliance shall not be dis- • Any electrical work required to do the carded together with the urban servicing of the appliance should be refuse and rubbish. The insula- carried out by a qualified electrician or tion foam contains flammable competent person. -
Page 6: Daily Use
2.4 Ambient Switch function If room temperature lower than +16° press the switch (A) to activate the Ambi- ent Switch function. The built-in light will turn on. 3. DAILY USE Place the food on the upper drawer 3.1 Before first use of the freezer compartment. -
Page 7: Movable Shelves
ENGLISH In the event of accidental de- 3.5 Ice-cube production frosting, for example due to a This appliance is equipped with one or power failure, if the power has more trays for the production of ice- been off for longer that the value cubes. -
Page 8: Helpful Hints And Tips
4. HELPFUL HINTS AND TIPS 4.1 Hints for energy saving 4.4 Hints for freezing • Do not open the door frequently or To help you make the most of the freez- leave it open longer than absolutely ing process, here are some important necessary. -
Page 9: Care And Cleaning
ENGLISH • do not exceed the storage period in- dicated by the food manufacturer. 5. CARE AND CLEANING CAUTION! Clean the condenser (black grill) and the Unplug the appliance before car- compressor at the back of the appliance rying out any maintenance oper- with a brush. -
Page 10: Defrosting Of The Refrigerator
10 www.aeg.com 5.2 Defrosting of the refrigerator Frost is automatically eliminated from the evaporator of the refrigerator com- partment every time the motor compres- sor stops, during normal use. The de- frost water drains out through a trough into a special container at the back of the appliance, over the motor compres- sor, where it evaporates. - Page 11 ENGLISH To remove the frost, follow the instruc- tions below: Switch off the appliance. Remove any stored food, wrap it in several layers of newspaper and put it in a cool place. CAUTION! Do not touch frozen goods with wet hands. Hands can freeze to the goods.
-
Page 12: What To Do If
12 www.aeg.com 6. WHAT TO DO IF… WARNING! There are some sounds during Before troubleshooting, discon- normal use (compressor, refriger- nect the mains plug from the ant circulation). mains socket. Only a qualified electrician or competent person must do the troubleshooting that is not in this manual. - Page 13 ENGLISH Problem Possible cause Solution Products prevent that wa- Make sure that products ter flows into the water do not touch the rear collector. plate. Water flows on the The melting water outlet Attach the melting water ground. does not flow in the evap- outlet to the evaporative orative tray above the tray.
-
Page 14: Installation
14 www.aeg.com 7. INSTALLATION WARNING! Read the "Safety Information" carefully for your safety and cor- rect operation of the appliance before installing the appliance. 7.1 Positioning Install this appliance at a location where the ambient temperature corresponds to the climate class indicated on the rating... -
Page 15: Door Reversibility
ENGLISH 13 amp ASTA approved (BS 1362) fuse WARNING! must be used. A cut off plug inserted into a 13 amp socket is a serious safety (shock) hazard. Ensure that it is disposed of safely. 7.3 Door reversibility The door of the appliance opens to the right. -
Page 16: Ventilation Requirements
16 www.aeg.com 7.4 Ventilation requirements The airflow behind the appliance must min. 5 cm be sufficient. 200 cm min. 200 cm 7.5 Installing the appliance Do these steps. CAUTION! Make sure that the mains cable can move freely. If necessary cut the adhesive sealing strip and then apply it to the appliance as shown in figure. - Page 17 ENGLISH Install the appliance in the niche. Push the appliance in the direction of the arrow (1) until the upper gap cover stops against the kitchen furniture. Push the appliance in the direction of the arrow (2) against the cupboard on the opposite side of the hinge.
- Page 18 18 www.aeg.com Remove the correct part from the hinge cover (E). Make sure to remove the part DX, in the case of right hinge, SX in op- posite case. Attach the covers (C, D) to the lugs and the hinge holes.
- Page 19 ENGLISH Disconnect the parts (Ha), (Hb), (Hc) and (Hd). Install the part (Ha) on the inner side of ca. 50 mm the kitchen furniture. 90° 21 mm 90° ca. 50 mm 21 mm Push the part (Hc) on the part (Ha).
- Page 20 20 www.aeg.com Open the appliance door and the kitch- en furniture door at an angle of 90°. 8 mm Insert the small square (Hb) into guide (Ha). Put together the appliance door and the furniture door and mark the holes.
-
Page 21: Noises
ENGLISH Press the part (Hd) on the part (Hb). Do a final check to make sure that: • The sealing strip is attached tightly to the cabinet. • All screws are tightened. • The door opens and closes correctly. 8. NOISES There are some sounds during normal running (compressor, refrigerant circula- tion). -
Page 22: Technical Data
22 www.aeg.com HISSS! HISSS! CRACK! CRACK! BLUBB! BLUBB! 9. TECHNICAL DATA Dimension of the recess Height 1780 mm Width 560 mm Depth 550 mm Rising Time 24 h Voltage 230-240 V Frequency 50 Hz The technical information are situated in the rating plate on the internal left side of the appliance and in the energy label. -
Page 23: Environment Concerns
ENGLISH 10. ENVIRONMENT CONCERNS Recycle the materials with the appliances. Do not dispose symbol . Put the packaging in appliances marked with the symbol applicable containers to recycle it. with the household waste. Return the Help protect the environment and product to your local recycling human health and to recycle waste facility or contact your municipal... - Page 24 www.aeg.com/shop...