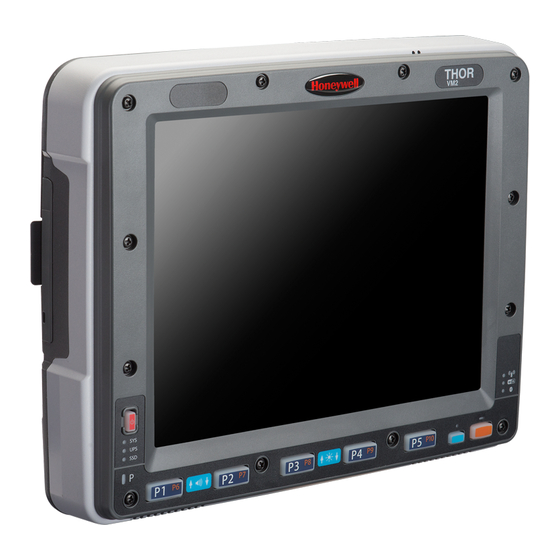
Honeywell Thor VM2 Quick Start Manual
Vehicle mount computer
Hide thumbs
Also See for Thor VM2:
- User manual (398 pages) ,
- Reference manual (196 pages) ,
- User manual (366 pages)
Table of Contents
Advertisement
Quick Links
Advertisement
Table of Contents

Summary of Contents for Honeywell Thor VM2
- Page 1 Thor™ VM2 Vehicle-Mount Computer Quick Start Guide VM2-QS Rev A 10/12...
- Page 2 Thor VM2: Network ID (SSID) of the Access Point WEP key or LEAP authentication credentials 1. Connect the Thor VM2 to an external power source. 2. Press the Power button. 3. It may be desirable to attach a USB keyboard during the setup process.
- Page 3 Bluetooth and Thor VM2 Please refer to the Thor VM2 Reference Guide for information when using the Thor VM2 with Bluetooth. ActiveSync (CE 6.0 only) Installing ActiveSync on Desktop/Laptop ActiveSync (version 4.5 or higher for Windows XP desktop/laptop computers) must be resident on the host (desktop/laptop) computer.
- Page 4 ActiveSync using USB-Client Connection The only connection type is USB Client. 1. Connect the Thor VM2 end of the USB cable to the USB port on the back of the Thor VM2 Quick Mount Smart Dock. 2. Connect the USB type A connector on the I/O cable to a USB port on a PC or laptop.
-
Page 5: Setting Up The Radio
(WEP, LEAP, etc.), your radio must use the same authentication. Please contact your IT department for WEP keys or LEAP credentials. Please refer to the Thor VM2 Reference Guide for information on using WPA. 1. Tap Start > Programs > Summit > SCU OR tap the Summit Client Utility icon on the desktop. - Page 6 13. Tap the Main tab. Wait for a radio connected message. 14. Tap the Admin Logout button when finished. 15. Reboot the Thor VM2. Please refer to the Radio Mode parameter in the Thor VM2 Reference Guide. It is important that this parameter setting corresponds to the Access Point to which the Thor VM2 connects.
- Page 7 Setting Up AppLock (CE 6.0 only) Thor VM2 devices are shipped to boot in Administration mode. In this mode, the user has full access to the device and no password is needed. After the administrator completes the process below, the Thor VM2 switches to end-user mode and restricts access to only the specified application(s).
- Page 8 1. Make sure the mobile client network settings are properly configured. If you are connecting via WLAN (802.11x), make sure your Thor VM2 is connected to the network. 2. Launch RFTerm by tapping the RFTerm icon on the desktop.
- Page 9 8. Upon a successful connection, the host application screen is displayed. To change options (e.g., Display, Colors, Cursor, Barcode), please refer to the RFTerm Reference Guide for descriptions of these and other features.
-
Page 10: Rebooting The Thor Vm2
To reboot the VM1 Thor with Windows Embedded Standard: 1. Select Start > Shutdown > Restart to reboot. When the Thor VM2 is booting, there may be small delays while the wireless client connects, applications launch, remote management completes and Bluetooth... - Page 11 Disclaimer Honeywell International Inc. (“HII”) reserves the right to make changes in specifications and other information contained in this document without prior notice, and the reader should in all cases consult HII to determine whether any such changes have been made.
-
Page 12: Technical Assistance
Technical Assistance Contact information for technical support, product service, and repair can be found at www.honeywellaidc.com. Limited Warranty Refer to www.honeywellaidc.com/warranty_ information for your product’s warranty information. User Documentation To download the Thor VM2 user documentation go to www.honeywellaidc.com.


