Cisco DX80 Installation Manual
Hide thumbs
Also See for DX80:
- User manual (40 pages) ,
- Quick reference manual (3 pages) ,
- Reference manual (202 pages)

Related Manuals for Cisco DX80


Summary of Contents for Cisco DX80
- Page 1 Cisco DX80 INSTALLATION GUIDE 78-100265-02 A0 | MAY 2014 © 2014 Cisco Systems, Inc. All rights reserved.
-
Page 2: Optional Accessories
User Guides For user guides and compliance and safety information for this product, go to: http://www.cisco.com/go/dx-docs Room Setup For more information on how to set up your room for the best video experience, visit the Project Workplace tool at http://www.cisco.com/go/projectworkplace... -
Page 3: Connect Cables
Connect Cables 1. Place the DX80 face down on a flat surface to connect the cables. Do not exert force on the camera as this may damage it. 2. Flip the connector cover up to access the connector panel and lead the cables under the strain relief bar. -
Page 4: Start The System
Start the System 1. Push the power button to start up the DX80. The power button’s LED lights up when the device starts up. 2. Follow the on-screen instructions to set up the system. For more information on how to set up the system, see the Administrator Guide at http://www.cisco.com/go/dx-docs... -
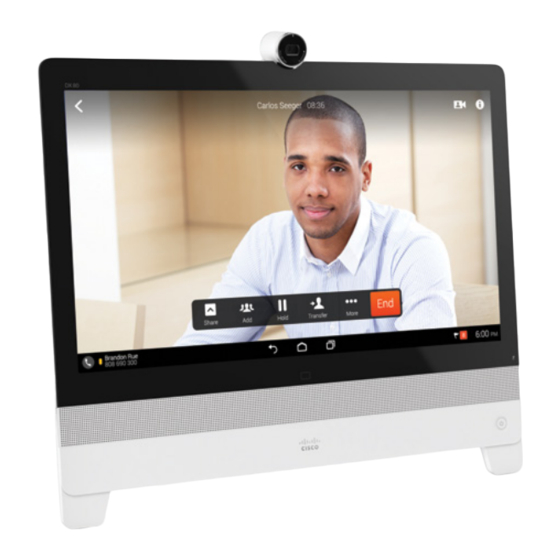
Page 5: Front And Side Panels
Turn the privacy shutter to switch the camera on and off. Use the Source button to show and hide your computer screen when a computer is connected to the DX80. Adjust Camera and Stand You can tilt the camera to adjust the camera angle and to activate the document camera feature. - Page 6 170 West Tasman Dr. San Jose, CA 95134 USA Cisco and the Cisco logo are trademarks or registered trademarks of Cisco and/or its affiliates in the U.S. and other countries. To view a list of Cisco trademarks, go to this URL: www.cisco.com/go/trademarks. Third-party trademarks mentioned are the property of their respective owners.