Table of Contents
Advertisement
Quick Links
Smart 216 / 232 – Quick Start Guide
1. Introduction
To take advantage of the Smart 216 / 232 full range of features, we recommend
you read the softcopy User Guide after performing the Quick Start procedure. It's
in PDF format on the supplied CD or on our website www.minicom.com in the
Support section.
All references throughout this guide to the Smart 216 refer equally to the Smart
232. The two units are functionally the same. The Smart 216 has 16 Server ports
and the Smart 232 has 32 Server ports.
The Smart 216 extends your KVM (keyboard, video, and mouse) from servers with
PS/2 or USB interfaces up to 30m/100ft away. 2 users can control, monitor and
manage up to 16 servers simultaneously. You can connect a Power Distribution
Unit (PDU) for power management.
2. System components
The system consists of:
1 Smart 216 (p/n 1SU22090) or 1 Smart 232 (p/n 1SU22091)
Rack mounting set (p/n 5AC20247)
ROCs - PS/2, USB
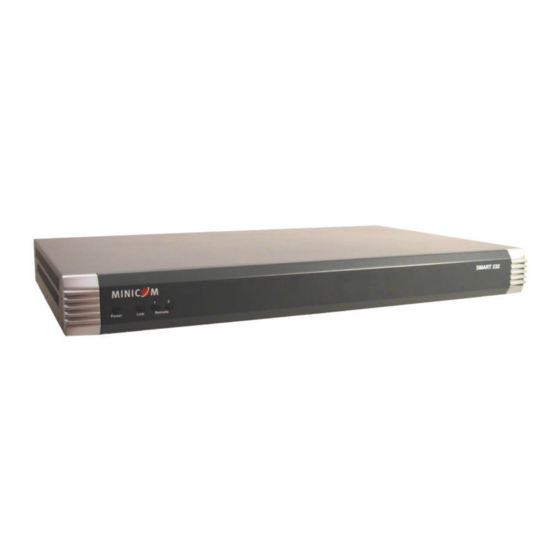
3. The Smart 216 unit
Figure 1 illustrates the front panel of the Smart 216.
MINICOM
1
2
Power
Link
Remote
1111 W. 35th Street, Chicago, IL 60609 USA
Copyright ©2012 Tripp Lite. All rights reserved.
Figure 1 Smart 216 ports – side 1
www.tripplite.com/support
SMART 216 A
Advertisement
Table of Contents

Related Manuals for Tripp Lite Minicom Smart 232


Summary of Contents for Tripp Lite Minicom Smart 232
-
Page 1: System Components
Unit (PDU) for power management. 2. System components The system consists of: 1 Smart 216 (p/n 1SU22090) or 1 Smart 232 (p/n 1SU22091) Rack mounting set (p/n 5AC20247) ROCs - PS/2, USB 3. The Smart 216 unit Figure 1 illustrates the front panel of the Smart 216. -
Page 2: Led And Button Table
SMART 216 / 232 3.1 LED and button table Function Power Power Indicator Link Unit is connected to the network Remote 1 and 2 Illuminates when the respective user connects to a server Remote Power Monitor Monitor Switch (RPS) port USER 2 USER 1 POWER... -
Page 3: The Rocs
QUICK START GUIDE User 1 User 2 Keyboard, monitor and Keyboard, monitor and mouse connected to mouse connected to KVM User 2 ports KVM User 1 ports USER 2 USER 1 POWER SERVER 100-240 VAC 50/60 Hz PDU connected to RPS port To servers ROCs... - Page 4 SMART 216 / 232 To computer’s Video card To computer’s keyboard port To computer’s mouse port Figure 4 ROC PS/2 To computer’s Video Card To computer’s USB Port Figure 5 ROC USB 5.1.1 Connecting a ROC PS/2 1. Switch off the server. 2.
-
Page 5: Connecting A Roc Usb
QUICK START GUIDE To Keyboard port To Mouse port ROC PS/2 CAT5 cable to switch Server port To Video port SCSI PCI 33Mx32b PCI 33Mx32b PCI 33Mx32b PCI 33Mx32b Figure 6 ROC PS/2 connections 5.1.2 Connecting a ROC USB The ROC USB supports Windows 98 SE and later, MAC, SUN and SGI, and all modern Linux distributions. -
Page 6: Connecting The Two Kvm Consoles
SMART 216 / 232 5.3 Connecting the two KVM consoles Connect a keyboard, monitor and mouse to each of the User 1 and User 2 ports as follows: 1. Connect the monitor connectors to the Monitor ports. 2. Connect the USB keyboard connectors to the USB Keyboard ports. 3. -
Page 7: Logging Into The Web Configuration
QUICK START GUIDE In the Settings window you navigate downwards using the Tab key. At the bottom of the window, press tab to go to the top of the window. Change settings by typing in the selected area or by pressing the spacebar – whichever is relevant. 8. -
Page 8: Operating The System Via The Osd
SMART 216 / 232 9. Operating the system via the OSD To display the OSD: 1. From the local keyboard, press the left Shift key twice. The OSD Main window appears. See Figure 10. Server status: Port number appears here Server status: Instruction keys...