Honeywell RTH2510, RTH2410 Series - Programmable Thermostat Manual
- Quick installation manual (60 pages) ,
- Operating manual (52 pages) ,
- Operating instructions manual (48 pages)
Advertisement
- 1 Turn Off Power to Heating/Cooling System
- 2 Remove Old Thermostat
- 3 Label Wires with Tags
- 4 Separate Wallplate from New Thermostat
- 5 Mount Wallplate
- 6 Connect Wires
- 7 Install Batteries
- 8 Set Fan Operation Switch
- 9 Install Thermostat Onto Wallplate
- 10 Turn Power Back On
- 11 If Your System Type is...
- 12 Advanced Installation
- 13 About Your New Thermostat
- 14 Thermostat Controls
- 15 DISPLAY SCREEN
- 16 Set the Time and Day
- 17 Program Schedule
- 18 To Adjust Program Schedules (RTH2510)
- 19 To Adjust Program Schedules (RTH2410)
- 20 Program Schedule Override (Temporary)
- 21 Program Schedule Override (Permanent)
- 22 Built-In Compressor Protection
- 23 Early Start
- 24 Change Filter
- 25 Battery Replacement
- 26 Troubleshooting
- 27 Customer Assistance
- 28 Documents / Resources
Turn Off Power to Heating/Cooling System

Remove Old Thermostat
Remove old thermostat but leave wallplate with wires attached.
 If you have an older thermostat with a sealed mercury tube.

Label Wires with Tags
Label the wires using the supplied wire labels as you disconnect them.

Separate Wallplate from New Thermostat
Remove wallplate from the new thermostat and mount onto wall.

Mount Wallplate
Mount the new wallplate using the included screws and anchors.

Drill 3/16-in. holes for drywall
Drill 3/32-in. holes for plaster
Connect Wires
Simply match wire labels.
If labels do not match letters on the thermostat, check "Alternate Wiring (Conventional Systems)" and connect to terminal as shown (see notes, below).

Maximum load: 1 A @ 24 Vac, 50/60HZ per output.
We are here to help. Call 1-800-468-1502 for wiring assistance.
Alternate Wiring (Conventional Systems)
If labels do not match letters on the thermostat, check the chart below and connect to terminal as shown here (see notes, below).
")
- If wires will be connected to both R and Rc terminals, remove metal jumper.
- Do not use C or X. Wrap bare end of wire with electrical tape.
- If you have a heat pump without auxiliary/backup heat connect O or B, not both.
Alternate Wiring (Heat Pump)
If labels do not match letters on thermostat.
")
Alternate wiring (for heat pumps with auxiliary or backup heat only)
If labels do not match letters on the thermostat, check the chart below and connect to terminal as shown here (see notes, below).
")
- Leave metal jumper in place, connecting R & Rc terminals.
- If your old thermostat had both V and VR wires, stop now and contact a qualified contractor for help.
- If your old thermostat had separate O and B wires, wrap the B wire in electrical tape and do not connect.
- If your old thermostat had Y1, W1 and W2 wires, stop now and contact a qualified contractor for help.
- Do not use C or X wire. Do not use B wire if you already have O wire. Wrap bare end of wire with electrical tape.
- Do not use L wire. Wrap bare end of wire with electrical tape.
If your old thermostat had E and Aux wires (or alternate wires), connect both wires to Aux terminal.
Install Batteries
Install two AAA alkaline batteries.

Set Fan Operation Switch
Move the switch to the proper setting:
Gas or Oil: For gas or oil heating systems, leave the fan operation switch in this factory-set position (for systems that control the fan in a call for heat).

Electric or Heat Pump: Change the switch to this setting for heat pump or electric heat systems. (This setting is for systems that allow the thermostat to control the fan in a call for heat, if a fan wire is connected to the G terminal.)
Install Thermostat Onto Wallplate
Install thermostat onto the wallplate on the wall.

Turn Power Back On
Turn the power back on to the heating/cooling system.

If Your System Type is...
If your system type is:
- Single Stage Heat and Cool
- Heat Only or Cool Only
Congratulations, you're done!
If your system type is:
- Heat Pump* with Backup Heat
Continue with Advanced Installation to match your thermostat to your system type.
*Heat Pump—an air conditioner that provides cooling in the summer, and also runs in reverse in the winter to provide heating.
If you are not sure of your system type or if you have other questions, call us toll-free at 1-800-468-1502.
This thermostat works on 24 volt or 750 mV systems. It will NOT work on multistage conventional systems.
Advanced Installation
Enter System Setup
To enter system setup, press and hold both the  and
and  buttons until the display changes (approximately 5 seconds).

Changing Settings

- Press the
![]() or
or ![]() button to change the setting.
button to change the setting. - Press the
![]() and
and ![]() buttons simultaneously for one second to advance to the next function.
buttons simultaneously for one second to advance to the next function. - Press the RUN button to exit and save settings.
NOTE: If you do not press any button for 60 seconds while you are in the setup menu, the thermostat automatically saves any changes made and exits the menu.
| Function | Description Press the or button to | Setting |
| 1 | select system type |
|
| 5 | select your heating system and optimize its operation | 5 Gas or oil furnace: Use this setting if you have a standard gas or oil furnace that is less than 90% efficient. 6 Electric furnace: Use this setting if you have any type of electric heating system. 3 Heat pump, hot water or high-efficiency furnace: Use this setting if you have a hot water system or a gas furnace of greater than 90% efficiency. 2 Gas/oil steam or gravity system: Use this setting if you have a steam or gravity heat system. |
| 13 | select Early Start | 1 On 0 Off |
| 14 | select Fahrenheit or Celsius temperature display | 0 Fahrenheit temperature display (°F) 1 Celsius temperature display (°C) |
| 15* | select Compressor Protection settings | 1 On 0 Off |
| 20 | select clock display | 0 12-hour display 1 24-hour display |
| 21 | select Change Filter Timer | 0 Off 3 6 months 1 30 days 4 9 months 2 90 days 5 1 year |
| 40 | restore program schedule to default settings | 0 Off 1 On: Program schedule default settings are listed. |
* Compressor Protection: This feature forces the compressor to wait approximately 5 minutes before restarting, to prevent equipment damage. During the wait time, the message "Cool On" or "Heat On" is displayed on screen.
About Your New Thermostat
Your new Resideo thermostat has been designed to give you many years of reliable service and easy-to-use, push-button climate control.
- Backlit display is easy to read
- Displays ambient (measured) temperature at all times
- One-touch access to setpoint temperature
- Preset program settings
- Temporary and permanent override of schedule
- Early start ensures the right temperature at the right time
- Built-in compressor protection
Thermostat Controls

Set: Press to set time/day/ schedule.
Hold: Press to override programmed temperature control.
Run: Press to resume program schedule.
Temperature adjustment
Press the up or down buttons until you reach the desired temperature.
NOTE: Make sure the SYSTEM switch is set to the system M33612 you want to control
System Switch is used to control your heating or cooling system.
- Heat: Heating system control.
- Off: All systems off.
- Cool: Cooling system control.
Fan Switch is used to control your fan.
In "Auto" mode, the fan runs only when the heating or cooling system is on.
If set to "On," the fan runs continuously.
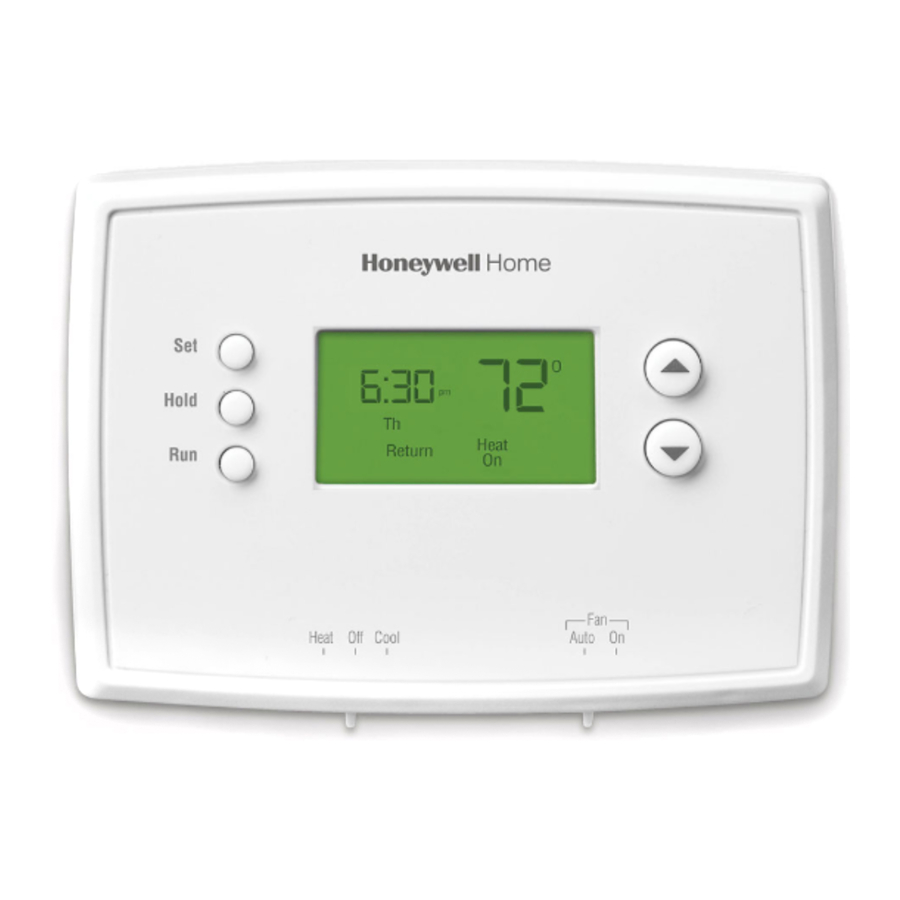
DISPLAY SCREEN

Setpoint indicator
Appears when the setpoint temperature is displayed.
Current program period
Wake/Leave/Return/Sleep
System status
Cool on: Cooling system is on.
Heat on: Heating system is on.
When Cool On is flashing, compressor protection is engaged.
Temperature
The ambient (measured) temperature is normally displayed. To view the setpoint temperature, press the Up or Down button once. The setpoint temperature will appear for five seconds.
Set the Time and Day
- Press the SET button, then press
![]() or
or ![]() to set the clock time.
to set the clock time.

- Press the SET button, then press
![]() or
or ![]() to select the day of the week.
to select the day of the week. - Press RUN to save & exit.

NOTE: If the clock flashes, the thermostat will follow your settings for the Monday "Wake" time period until you reset the time and day.

Program Schedule
You can program four time periods each day, with different settings for weekdays and weekends. We recommend the pre-set settings (shown in the table below), since they can reduce your heating/cooling expenses.

Wake - Set to the time you awaken and the temperature you want during the morning, until you leave for the day.
Leave - Set to the time you leave home and the temperature you want while you are away (usually an energysaving level).
Return - Set to the time you return home and the temperature you want during the evening, until bedtime.
Sleep - Set to the time you go to bed and the temperature you want overnight (usually an energy-saving level).
NOTE: Leave and Return periods can be canceled on weekends.
To Adjust Program Schedules (RTH2510)
- Press SET until Set Schedule is displayed.
")
- Press
![]() or
or ![]() to set your Wake time for the day displayed, then press SET.
to set your Wake time for the day displayed, then press SET. - Press
![]() or
or ![]() to set the M33600 temperature for this time period, then press SET.
to set the M33600 temperature for this time period, then press SET. - Set time and temperature for the next time period (Leave). Repeat steps 2 and 3 for each day's time period.
- Press RUN to save & exit.
")
NOTE: Make sure the thermostat is set to the system you want to program (Heat or Cool).
To Adjust Program Schedules (RTH2410)
- Press SET until Set Schedule is displayed.
")
- Press
![]() or
or ![]() to set your weekday Wake time (Mo-Fr), then press SET.
to set your weekday Wake time (Mo-Fr), then press SET. - Press
![]() or
or ![]() to set the temperature for this time period, then press SET.
to set the temperature for this time period, then press SET. - Set time and temperature for the next time period (Leave). Repeat steps 2 and 3 for each weekday time period.
- Press SET to set weekend time periods (Sa & Su), then press RUN to save & exit.
")
NOTE: Make sure the thermostat is set to the system you want to program (Heat or Cool).
Program Schedule Override (Temporary)
Press or to immediately adjust the temperature. This will temporarily override the temperature setting for the current time period.
 - Step 1")
"Temporary" will appear on the display and the current program period will flash.
The new temperature will be maintained only until the next programmed time period begins.
 - Step 2")
To cancel the temporary setting at any time, press RUN.
NOTE: Make sure the thermostat is set to the system you want to control (heat or cool).
Program Schedule Override (Permanent)
Press HOLD to permanently adjust the temperature. This will override the temperature settings for all time periods.
 - Step 1")
The "Hold" feature turns off the program schedule and allows you to adjust the thermostat manually, as needed.
Whatever temperature you set will be maintained 24 hours a day, until you manually change it, or press RUN to cancel "Hold" and resume the program schedule.
 - Step 2")
NOTE: Make sure the thermostat is set to the system you want to control (heat or cool).
Built-In Compressor Protection
This feature helps prevent damage to the compressor in your air conditioning or heat pump system.
Damage can occur if the compressor is restarted too soon after shutdown. This feature forces the compressor to wait 5 minutes before restarting.
During the wait time, the display will flash the message Cool On (or Heat On if you have a heat pump). When the safe wait time has elapsed, the message stops flashing and the compressor turns on.

Early Start

This feature allows the heating or cooling to turn on before the program start time, so the temperature is reached at the time you set. For example: Set the Wake time to 6 am, and the temperature to 70°. The heat will come on before 6 am, so the temperature is 70° by the time
you wake at 6. The next time period is displayed when the system is activated before a scheduled time period.
Change Filter
If the filter reminder is turned on during installation, the words Change Filter will flash on the screen when the filter needs to be replaced. After you replace the air filter, press and hold the RUN button for 3 seconds to reset the alert.

Battery Replacement
Install two fresh AAA batteries when Lo Batt flashes on the screen. Lo Batt appears for 60 days before the batteries are depleted.
Replace batteries once a year, or when you will be away for more than a month.
Most settings are stored in nonvolatile (permanent) memory. Only the clock and the day must be set after you replace the batteries.
Pull at bottom to remove thermostat from wallplate.

Set the System switch to Off before removing the batteries. Otherwise, the heating/cooling system could remain activated even when batteries are removed.
Turn thermostat over, insert fresh AAA alkaline batteries, then reinstall thermostat.

Troubleshooting
If you have difficulty with your thermostat, please try the following suggestions. Most problems can be corrected quickly and easily.
| Display is blank |
|
| Heating or cooling system does not respond |
|
| Temperature settings do not change | Make sure heating and cooling temperatures are set to acceptable ranges:
|
| "Cool On" or "Heat On" is flashing |
|
| "Heat On" is not displayed |
|
| "Cool On" is not displayed |
|
For assistance with this product, please visit honeywellhome.com or call Resideo Customer Care toll-free at 1-800-468-1502.

MERCURY NOTICE
If this product is replacing a control that contains mercury in a sealed tube, do not place the old control in the trash. Contact your local waste management authority for instructions regarding recycling and proper disposal.
ELECTRONIC WASTE NOTICE
The product should not be disposed of with
FCC statement at: https://customer.resideo.com/en-US/support/residential/codes-and-standards/FCC15105/Pages/default.aspx

To avoid possible compressor damage, do not run air conditioner if the outside temperature drops below 50°F (10°C).
Customer Assistance
For assistance with this product, please visit honeywellhome.com.
Or call Resideo Customer Care toll-free at 1-800-468-1502.
To save time, please note your model number and date code before calling.
Pull at bottom to remove thermostat from wallplate.
Turn thermostat over to find model number and date code.


Documents / Resources
References
Support & Resources for Residential Professionals | Resideo
FCC Rules Part 15: Residential Codes & Standards | Resideo
Download manual
Here you can download full pdf version of manual, it may contain additional safety instructions, warranty information, FCC rules, etc.
Download Honeywell RTH2510, RTH2410 Series - Programmable Thermostat Manual
Advertisement
Thank you! Your question has been received!


Need Assistance?
Do you have a question about the RTH2510 Series that isn't answered in the manual? Leave your question here.