Honeywell Lyric T6R-HW Smart Thermostat Install Guide
- User manual (11 pages) ,
- User manual (2 pages) ,
- User manual (2 pages)
Advertisement
Introduction
Compatible with Sundial Y- and S-plan stored hot water systems with zone valves. Also compatible with 24-230V on/off appliances such as gas boilers, combi-boilers and heat pump.
Manufactured for and on behalf of the Environmental and Energy Solutions Division of Honeywell Technologies Sàrl, ACS-ECC EMEA, Z.A. La Pièce 16, 1180 Rolle, Switzerland by its Authorised Representative Honeywell Inc.

Need help? For assistance please visit: getconnected.honeywell.com
Honeywell Control Systems Ltd., Skimped Hill Lane, Bracknell, Berkshire, RG12 1EB
Approvals
Conforms to protection requirements of the following directives: EMC: 2014/30/EU, LVD: 2014/35/EU and RED: 2014/53/EU. Hereby, Honeywell, declares that this thermostat is in compliance with the essential requirements and other relevant provisions of Directive 2014/53/EU. The full text of the EU Declaration of Conformity is available at the following Internet address: http://hwll.co/DoC
RF (868MHz): Receiver Category 2, Max RF Power 25mW, 868–868.6MHz (868.3MHz)
Wi-Fi (2.4GHz): Max Power 100mW, 2.4–2.458Ghz
ErP: Class VI (+4%), (EU) 811/2013

 Must be installed by a competent person!
Read these instructions carefully. Failure to follow these instructions can damage the product or cause a hazardous condition.
Turn OFF the power and remove the old thermostat
To ensure your safety, always make sure mains power is switched OFF before accessing wiring.
In case of removing the old thermostat be aware that the existing wiring will no longer be used.

The T6R-HW thermostat should not be placed near draughts, in direct sunlight or near heat sources.

WEEE Directive 2012/19/EC Waste Electrical and Electronic Equipment directive
At the end of the product life dispose of the packaging and product in a corresponding recycling centre. Do not dispose of the unit with the usual domestic refuse. Do not burn the product.
Prepare Receiver Box for installation
Before installation of the Receiver Box
Find a suitable location near to the boiler. Leave at least 30cm distance from any metal objects including wallboxes and boiler housing.

Loosen the front screw to remove cover or tighten it when the cover is back in place.
Needed during installation:
- Cable with 2 wires from the boiler to Receiver Box.
- The Receiver Box requires 230V power
Install the Receiver Box
Please refer to the wiring diagrams over the page
- Wall box or Rear Wiring
Hinge open the terminal block flap to access the cables and wall box screw holes.

- Surface wiring
Use the cable clamps to secure the surface wiring.

- Replace the cover
Locate the hinges at the top of the cover and wall plate, close the cover and secure with the screw.
![]()


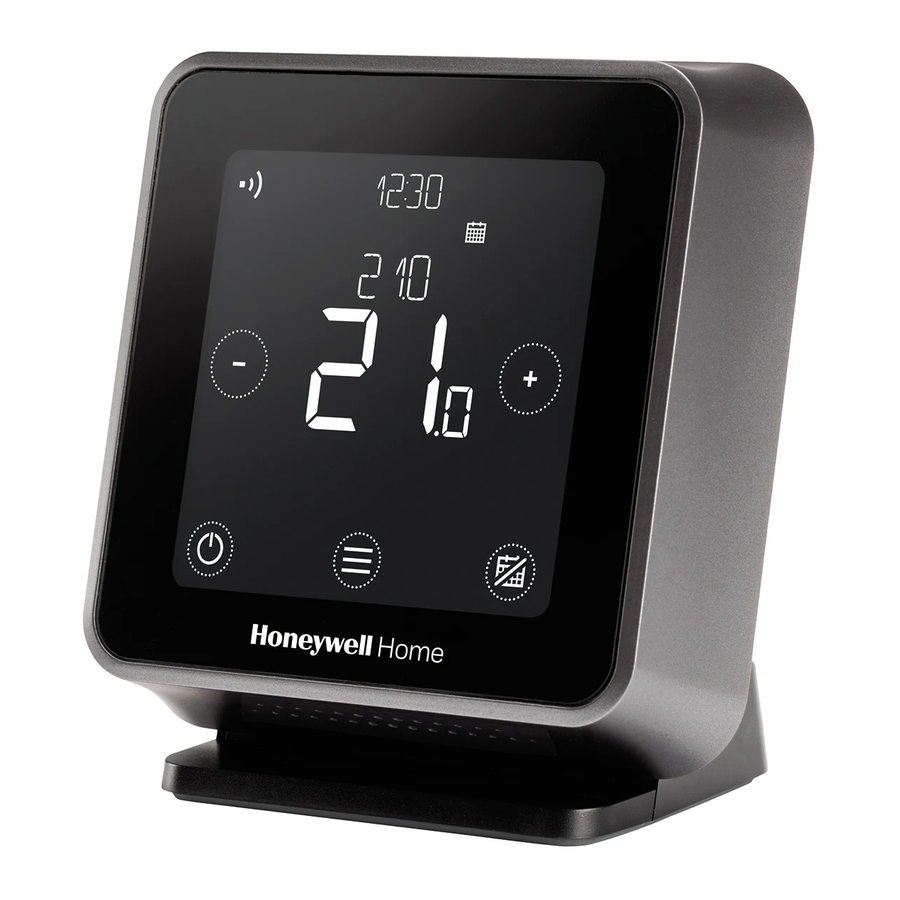
Install the Lyric T6R HW thermostat

Choose the appropriate plug.
Place the thermostat on an even, horizontal surface and plug it in.
Complete installation
Turn ON mains power to the Heating Appliance and Receiver Box.

To rebind the units, reset the Receiver box, then press the button for 3 seconds. The LED on the receiver box will blink yellow to indicate the box is in binding mode. On the thermostat press  for 5 seconds to enter the advanced menu. Navigate to Binding, clear the current binding then bind the device again.
Set Up and configuration
- Touch
![]() to begin setting up the thermostat.
to begin setting up the thermostat.
![]()
 to begin
- Select your language.
![]()

- Set the clock format, time and date.
![]()

- Touch
![]() to finalise setup.
to finalise setup.
(![]() to setup using the App is currently unsupported)
to setup using the App is currently unsupported)
![]()
 to finalise setup.

Once setup is completed, if you need to change more settings go to the advanced menu. To access the advanced menu press for 5 seconds.

In the advanced menu the following settings can be adjusted:
| Menu Item | Default | Options |
| LANGUAGE | English | 0 = English, 1 = Français, 2 = Español 3 = Deutsch, 4 = Nederlands, 5 = Italiano |
| SYSTEM TYPE | Heat+HW | Heating only, Heating + Hot Water, Heating + Cooling |
| OPENTHERM | - | OpenTherm boiler data when available |
| CYCLE RATE | 6 | 3, 6, 9 or 12 |
| MINIMUM ON TIME | 1 minute | 1, 2, 3, 4 or 5 minutes |
| HEAT RANGE | Min = 5.0ºC Max = 35.0ºC | Min: 5ºC to 21ºC, Max: 21ºC to 35ºC |
| SCHEDULE OPTIONS | Daily | 1 = Daily schedule, 2 = 5+2 days schedule |
| OPTIMISE | Opt. start OFF Opt. stop OFF | Opt. start: 0 = off, 1 = on, 2 = Delayed start Opt. stop: 0 = off, 1 = on |
| CLOCK | Format: 24h Time: --:-- Date: 01/09/16 | Clock format: 1 = 12h, 2 = 24h Setup time and date |
| LOW LOAD CONTROL | ON | 0 = off, 1 = on |
| TEMPERATURE OFFSET | 0.0ºC | 1.5 ºC to 1.5ºC |
| BINDING | - | Bind, check RF and clear bind. |
| RESET | - | Factory, schedule, WiFi and HomeKit reset |
| FAILSAFE | OFF | 0 = off, 1 = on |
Wiring Diagrams
 (*For security reasons: route this wiring through conduit or in the wall so it is not accessible.)
* See boiler specifications for correct terminals

Documents / Resources
References
Download manual
Here you can download full pdf version of manual, it may contain additional safety instructions, warranty information, FCC rules, etc.
Download Honeywell Lyric T6R-HW Smart Thermostat Install Guide
Advertisement
Thank you! Your question has been received!


Need Assistance?
Do you have a question about the Lyric T6R-HW that isn't answered in the manual? Leave your question here.