Table of Contents
Advertisement
Quick Links
Advertisement
Table of Contents

Related Manuals for Makita LC06ZW


Summary of Contents for Makita LC06ZW
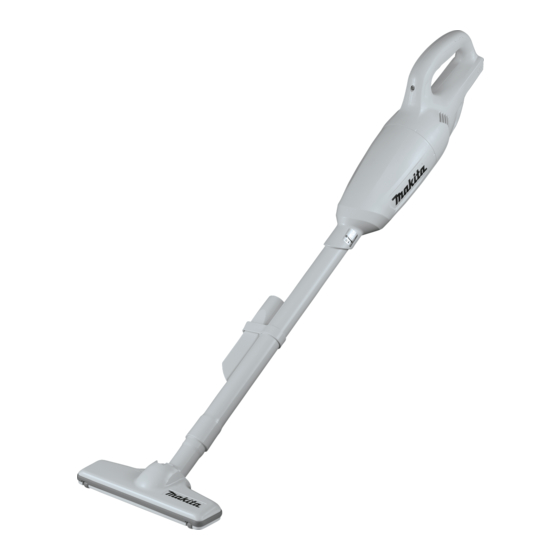
- Page 1 INSTRUCTION MANUAL Cordless Cleaner LC06 IMPORTANT: Read Before Using.
-
Page 2: Specifications
ENGLISH (Original instructions) SPECIFICATIONS Model: LC06 Capacity 600 mL Continuous use (with battery BL1016) Approx. 16 min Overall length 958 mm (37-3/4") Rated voltage D.C. 10.8 V - 12 V max Standard battery cartridge BL1016, BL1021B BL1041B Net weight 1.0 kg (2.2 lbs) 1.1 kg (2.5 lbs) •... -
Page 3: Additional Safety Rules
Do not charge the battery outdoors. Wet dirt, water, oil or the like • Use power tools only with specifi- Hard pieces with sharp edges, such • cally designated battery packs. Use as wood chips, metals, stones, of any other battery packs may create glasses, nails, pins or razors a risk of injury and fire. -
Page 4: Functional Description
CAUTION: Only use genuine Makita batteries. Use of non-genuine Makita batteries, or batteries that have been altered, may result in the battery bursting causing fires, personal injury and damage. It will also void the Makita warranty for the Makita tool and charger. - Page 5 Press the check button on the battery cartridge to indi- cate the remaining battery capacity. The indicator lamps light up for few seconds. Indicator lamps Remaining capacity Lighted 75% to 100% 50% to 75% 25% to 50% ► 1 . Red indicator 2. Button 3. Battery cartridge 0% to 25% To remove the battery cartridge, slide it from the tool while sliding the button on the front of the cartridge. NOTE: Depending on the conditions of use and the To install the battery cartridge, align the tongue on the ambient temperature, the indication may differ slightly...
- Page 6 ► 1 . Lamp 2. Switch trigger ► 1 . Capsule 2. Suction inlet NOTE: Be sure to set a garbage bag beneath the capsule, as dust may spill out when the capsule is ASSEMBLY opened. Remove accumulated dust from inside of the capsule and off of the prefilter.
- Page 7 ► 1 . Filter 2. Prefilter ► 1 . Prefilter 2. Securing lip Reassembly Put on the filter fully in position on the cleaner unit. Install the capsule. Align the mark on the capsule with the mark near the handle and then firmly twist the cap- sule in direction of the arrow until it is secured. ► 1 . Filter NOTICE: Make sure the filter is put on straight without being peeled back. If the filter is put on incorrectly as illustrated, dust will get into the motor housing, and cause a motor failure.
-
Page 8: Operation
Problem Examples Example 1: Only the prefilter has been loaded (no filter) ► 1 . Securing lip 2. Prefilter 3. Groove of cleaner housing ► 1 . Prefilter Example 2: Only the filter has been loaded (no prefilter) OPERATION CAUTION: To connect attachments, such as nozzle, twist and insert the attachment in direction of the arrow to secure the connection during use. -
Page 9: Maintenance
Corner nozzle +Extension wand Cleaning (Suction) (Straight pipe) Nozzle In tight quarters where the cleaner itself cannot squeeze in, or in high places hard to reach, use this Attach the nozzle to clean off tables, desks, furniture, arrangement. etc. The nozzle slips on easily. ► 1 . Corner nozzle 2. Extension wand 3. Cleaner body ►... -
Page 10: Troubleshooting
Is the battery cartridge exhausted ? Charge the battery cartridge. CAUTION: Do not attempt to repair the cleaner by yourself. To maintain product SAFETY and RELIABILITY, repairs, any other maintenance or adjustment should be performed by Makita Authorized or Factory Service Centers, always using Makita replacement parts. If you need any assistance for more details regard- OPTIONAL ing these accessories, ask your local Makita Service Center. ACCESSORIES •...