Table of Contents
Advertisement
Quick Links
Advertisement
Table of Contents

Related Manuals for AEG FFE72731PM


Summary of Contents for AEG FFE72731PM
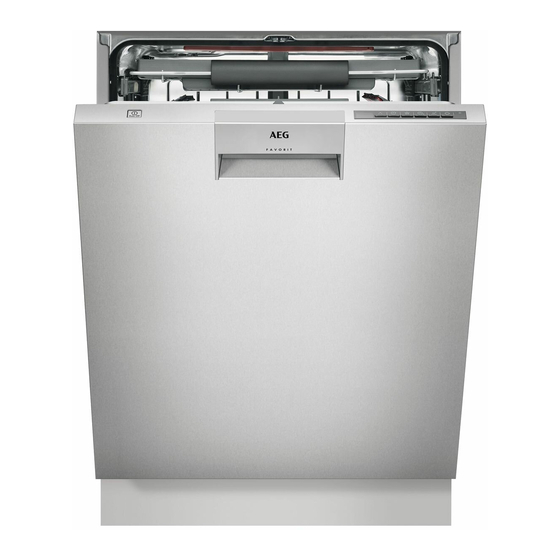
- Page 1 FFE72731PM User Manual Dishwasher USER MANUAL...
-
Page 2: Table Of Contents
Products must be used, installed and operated in accordance with this manual. You may not be able to claim on the AEG manufacturer’s warranty in the event that your product fault is due to failure to adhere to this manual. -
Page 3: Safety Information
ENGLISH Environmental information Subject to change without notice. SAFETY INFORMATION Before the installation and use of the appliance, carefully read the supplied instructions. The manufacturer is not responsible for any injuries or damage that are the result of incorrect installation or usage. -
Page 4: Safety Instructions
& breakfast and – other residential type environments. Do not change the specification of this appliance. • The operating water pressure (minimum and • maximum) must be between 0.5 (50) / 8 (800) bar (kPa) Obey the maximum number of 15 place settings. - Page 5 ENGLISH • Do not install or use the appliance where the temperature is less than 0 °C. • Install the appliance in a safe and suitable place that meets installation requirements. 2.2 Electrical connection WARNING! Risk of fire and electric shock.
-
Page 6: Product Description
• Remove the door catch to prevent children and pets to get closed in the appliance. 3. PRODUCT DESCRIPTION Ceiling spray arm Rinse aid dispenser Upper spray arm Detergent dispenser Lower spray arm Lower basket Filters Upper basket Rating plate... -
Page 7: Control Panel
ENGLISH 4. CONTROL PANEL TimeSaver button On/off button Display XtraDry button Program button ExtraHygiene button Delay button Indicators MyFavourite button 4.1 Indicators Indicator Description Rinse aid indicator. It is on when the rinse aid dispenser needs refilling. 5. PROGRAMMES The numbering of the programmes in The order of the programmes in the the table (P1, P2, etc.) reflects their table may not reflect their sequence on... - Page 8 Programme Degree of soil Programme phases Options Type of load • Normal or light • Wash 45 °C • XtraDry soil • Rinses • Delicate crock- • Dry ery and glass- ware • Fresh soil • Wash 60 °C •...
-
Page 9: Settings
ENGLISH Water Energy Duration Programme (kWh) (min) 9.4 - 11.4 0.54 - 0.67 27 - 33 4.2 - 5.2 0.01 14 - 17 11.6 - 14.2 0.78 - 0.95 208 - 254 1) The pressure and the temperature of the water, the variations of the mains supply, the options and the quantity of dishes can change the values. - Page 10 If the drying 2. Press repeatedly to change the results are satisfactory while using multi- setting. tablets only, it is possible to deactivate 3. Press the on/off button to confirm the notification for refilling rinse aid.
-
Page 11: Options
ENGLISH • The display shows the current During the drying phase, the setting. door opens automatically – = AirDry is deactivated. and remains ajar. – = AirDry is activated. CAUTION! 2. Press to change the setting. Do not try to close the 3. -
Page 12: Before First Use
XtraDry is a permanent option for all This option increases the pressure and the temperature of the water. The programmes other than . It is washing and the drying phases are automatically activated in next cycles. shorter. This configuration can be changed at any time. -
Page 13: Daily Use
ENGLISH 2. Fill the dispenser (B) until the rinse CAUTION! aid reaches the marking ''MAX''. Only use rinse aid designed 3. Remove the spilled rinse aid with an specifically for dishwashers. absorbent cloth to prevent excessive foam formation. 1. Open the lid (C). 4. -
Page 14: Hints And Tips
Cancelling the delay start while 5. Close the appliance door to start the programme. the countdown operates Starting a programme with When you cancel the delay start you have to set the programme and options delay start again. 1. Set a programme. -
Page 15: Care And Cleaning
ENGLISH 10.2 Using rinse aid and • Make sure that the spray arms can move freely before you start a detergent programme. • Only use rinse aid and detergent for 10.4 Before starting a dishwasher. Other products can cause damage to the appliance. programme •... - Page 16 5. Make sure that there are no residues of food or soil in or around the edge 1. Turn the filter (B) counterclockwise of the sump. and remove it. 6. Put back in place the flat filter (A). Make sure that it is correctly positioned under the 2 guides.
-
Page 17: Troubleshooting
ENGLISH 11.2 Cleaning the upper spray simultaneously turn it counterclockwise until it locks into place. We recommend to clean the upper spray arm regularly to prevent soil from clogging the holes. Clogged holes can cause unsatisfactory washing results. 1. Pull out the upper basket. 2. - Page 18 With some problems, the display to contact an Authorised Service shows an alarm code. Centre. The majority of problems that can occur can be solved without the need Problem and alarm code Possible solution You cannot activate the ap- •...
- Page 19 ENGLISH Problem and alarm code Possible solution The appliance door is diffi- • The appliance is not levelled. Loosen or tighten the ad- cult to close. justable feet (if applicable). • Parts of the tableware are protruding from the baskets. Rattling/knocking sounds •...
-
Page 20: Technical Information
Problem Possible cause and solution The dishes are wet. • For the best drying performance activate the option XtraDry and set AirDry . • The programme does not have a drying phase or has a drying phase with low temperature. -
Page 21: Installation
ENGLISH Voltage (V) 200 - 240 Electrical connection Frequency (Hz) 50 - 60 Wattage (W) 1550-2200 Water supply pressure bar (minimum and maximum) 0.5 - 8 kPa (minimum and maximum) 50 - 800 Water supply Cold water min 5 °C Capacity Place settings 1) Refer to the rating plate for other values. - Page 22 For best washing performance it is recommended to connect the appliance to a cold water supply. Energy savings can be made by connecting the appliance to a Solar water system and using economy options, however the water temperature must not exceed 60° C.
-
Page 23: Warranty
This document sets out the terms and Zealand; conditions of the product warranties e) ‘Warranty Period’ means the for AEG Appliances. It is an important period specified in clause 3 of document. Please keep it with your this warranty; proof of purchase documents in a safe ‘you’... - Page 24 4. Repair or replace warranty: During – incomplete or improper the Warranty Period, Electrolux or its installation; ASC will, at no extra charge if your – incorrect, improper or Appliance is readily accessible for inappropriate operation; service, without special equipment –...
- Page 25 Important Notice Before calling for service, please ensure that the steps listed in clause 8 above have been followed. SERVICE AUSTRALIA aeg.com/au FOR SERVICE FOR SPARE PARTS or to find the address of your nearest au- or to find the address of your nearest spare...
- Page 26 www.aeg.com...
- Page 27 ENGLISH...
- Page 28 www.aeg.com/au...