Table of Contents
Advertisement
Quick Links
Advertisement
Table of Contents

Related Manuals for Smeg AS73CES


Summary of Contents for Smeg AS73CES
- Page 1 AS73CES Dryer Asciugatrice Secadora...
- Page 2 Read this manual prior to initial operation of the product! Dear Customer, We hope that your product, which has been manufactured in modern facilities and passed through a strict quality control procedure, will give you very good results. We advise you to read through this manual carefully before using your product and keep it for future reference.
-
Page 3: Important Safety Information
Important safety information This section includes safety information that will help protection from risks of personal injuries or materialistic damages. Failure to follow these instructions shall cause any warranty and reliability commitment to become void. General safety • Never place the machine on a carpet- covered floor, otherwise, lack of airflow beneath the machine may cause electrical parts to overheat. -
Page 4: Intended Use
places where it will be exposed to outdoor conditions. • Do not tamper with the controls. • Do not perform any repair or part replacing procedures on the product even if you know or have the ability to perform unless it is clearly suggested in the operating instructions or the published service manual. -
Page 5: Appropriate Installation Location
Installation Refer to the nearest Authorised Service Agent for installation of your product. Preparation of location and electrical installation for the product is under customer’s responsibility. Installation and electrical connections must be carried out by a qualified personnel. Prior to installation, visually check if the product has any defects on it. - Page 6 The ventilation hose should not be connected to the chimney of a stove or a fireplace. Do not operate your product at the same time with heaters such as a coal or gas stove. Airflow may cause the chimney to flare up. Connection to water drain (Products with a condenser);...
-
Page 7: Electrical Connection
on the machine. Otherwise, the “tank full” light of your machine will illuminate and stop the programme. If the dryer is mounted on the washing machine by means of a bracket, use of the water drain hose is recommended. The drain hose should be directed downwards as shown in the figure. -
Page 8: Transportation Of The Machine
Transportation of the machine 1. Unplug the machine from the mains. 2. Remove the water drain (if any) and chimney connections. 3. Drain water remained in the machine completely before transportation. Disposing of the old machine Dispose of your old machine in an environmentally friendly manner. -
Page 9: Initial Preparations For Drying
Initial preparations for drying Things to be done for energy saving: • Make sure that you operate the product at its full capacity but pay attention to not exceeding it. • Spin your laundry at the highest speed possible when washing them. Thus, the drying time is shortened and energy consumption is decreased. - Page 10 • Do not dry items cleaned with industrial chemicals in the dryer. • Do not dry your unwashed laundry in the dryer. • Items soiled with cooking oils, acetone, alcohol, fuel oil, kerosene, stain remover, turpentine, paraffin and paraffin removers must be washed in hot water with plenty of detergent before being dried in the dryer.
- Page 11 Following weights are given as examples. Home articles Cotton quit covers (double) Cotton quit covers (single) Bed sheets (double) Bed sheets (single) Large tablecloths Small tablecloths Tea napkins Bath towels Hand towels Garments Blouses Cotton shirts Shirts Cotton dresses Dresses Jeans Handkerchiefs (10 pieces) T-Shirts...
-
Page 12: Selecting A Programme And Operating Your Machine
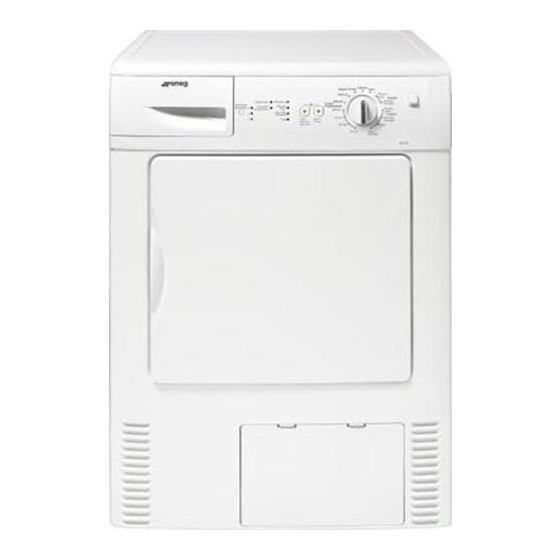
Selecting a Programme and Operating Your Machine Control panel 1. Filter cleaning warning light Warning light turns on when the filter is full. 2. Program follow-up indicator Used to follow-up the progress of the current programme. 3. Cancel audio warning Used to cancel the audio warning given at the end of the programme. -
Page 13: Preparing The Machine
Preparing the machine 1. Plug in your machine. 2. Place the laundry in the machine. 3. Press the “On/Off” button. Pressing the “On/Off” button does not necessarily mean that the programme has started. Press "Start/Pause/Cancel" button of the machine to start the programme. -
Page 14: Program Selection And Consumption Table
Program selection and consumption table Programs Ready to Wear Ready to Wear + Ready to Iron Mini Shirt Jeans Synthetics Ready to Wear Delicates Ready to Wear Energy consumption values Programs Cottons linen Ready to wear* Cottons Ready to iron Synthetics Ready to wear * : Energy Label standard program (EN 61121:2005) All values given in the table have been fixed according to EN 61121:2005 Standard. -
Page 15: Warning Indicators
Auxiliary function Cancel audio warning Your dryer will give an audio warning when the programme comes to an end. If you do not want to hear the audio warning, press “Cancel Audio Warning” button. The relevant light will turn on when this button is pressed and an audio warning will not be given when the programme comes to an end. -
Page 16: Childproof Lock
Changing the programme after it has started You can use this feature to dry your clothes under higher or lower temperatures after your dryer has started. For example; 1. Press and hold the “Start/Pause/Cancel” button for about 3 seconds to “Cancel” the programme in order to select “Extra Dry”... -
Page 17: Finishing By Canceling The Programme
selection knob to its previous position, the programme will be terminated since the position of the programme selection knob is changed. The drying light turns on and the machine remains on hold until a new programme is selected and the “Start/Pause/Cancel” button is pressed. -
Page 18: Maintenance And Cleaning
Maintenance and cleaning Cover filter Lint and fibres released from the laundry to the air during the drying cycle are collected in the “Cover Filter”. Such fibre and lint are generally formed during wearing and washing. Always clean the filter after each drying process. - Page 19 3. If there is lint accumulation in the water tank cover, clean it and press to close. 4. Place the water tank into its seat. For the condenser (products with a condenser) Hot and humid air in the condenser is cooled with the cold air from the room.
-
Page 20: Solution Suggestions For Problems
Solution suggestions for problems Drying process takes too much time • Meshes of the filter may be clogged. Wash with water. Laundry come out wet at the end of drying. • Meshes of the filter may be clogged. Wash with water. •... - Page 21 BUILT UNDER KIT ASSEMBLY INSTRUCTIONS 2) Remove the 4 support bracket (If exist) ( B ) by unscrewing the screws shown in the figure. 4) Put the foam seal to the built under kit as shown in the picture. DRYER 1) Remove 3 screw ( A ) and Pull out the top plate.