Advertisement
Advertisement
Table of Contents

Related Manuals for Smeg 129316


Summary of Contents for Smeg 129316
- Page 1 Instructions for Use Tumble Dryer...
-
Page 2: Table Of Contents
Thank you for your trust and for buying our tumble drier. We congratulate you on your wise decision. This appliance is designed for drying clothes for home use only. The dryer enables quick drying of your laundry, leaving it soft and tender without affecting its shape. -
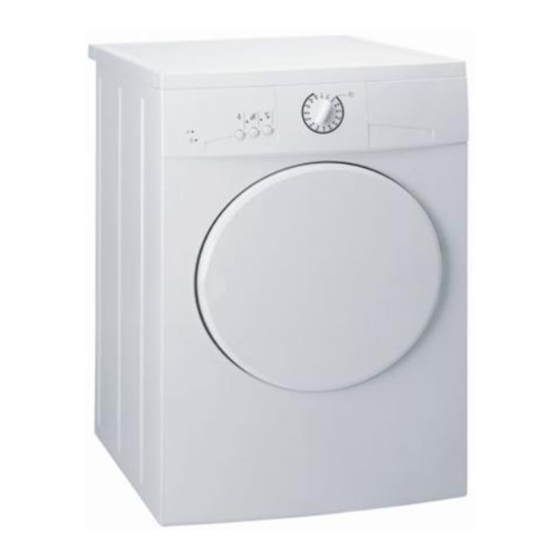
Page 3: Appliance Description
Appliance description 1. Front panel 2. Drying program button 3 Water container 4. Door Technical data (depending on model) 5. Condenser 6. Evacuation slots 7. Cooling air slot 8. Legs Dimensions of the appliance (w x d x h): 600 mm x 600 mm x 850 mm Weight (net): evacuation dryer 34 kg, condensation dryer 42 kg Nominal voltage: 230 V, 50 Hz... -
Page 4: Warnings
Warnings • Use the dryer to dry only the laundry washed with water. Do not attempt to dry the laundry, washed or cleaned with fl ammable detergents or solutions (gasoline, trichloroethylene etc.), as it may cause explosion. • Do not let the children play with the appliance. Prevent your children or pets to enter the dryer drum. - Page 5 softener instructions. • The fi nal part of a tumble dryer cycle occurs without heat (cool down cycle) to ensure that the items are left at a temperature that ensures that the items will not be damaged. Before connecting the appliance read these instructions carefully.
-
Page 6: Installation And Connection
Installation and connection Removing wrapping Selecting the appropriate location of the appliance • Packaging materials are environmentally friendly: they can either be recycled, safely disposed of or destroyed without any threat to the environment. • To be able to do this effectively all materials are marked accordingly. - Page 7 Installation • Appliance can either stand on its own or can be placed on top of a washing machine of the same dimensions - minimum width 517 mm, depth 476 mm. The surface for placing the dryer must be clean and fl at. Use supplied vacuum feet to prevent sliding of the appliance.
- Page 8 Moist air outlet 1 Lid 2 Evacuation tube A - Evacuation dryer • There are two openings for the evacuation of humid air. One of them should be closed with the supplied lid, while the other should be connected to the evacuation tube. The distance between the dryer and the moist air outlet (ventilation shaft, window) should not exceed 2 meters, otherwise...
- Page 9 Power connection • Use the power cord to connect the dryer to the power supply via wall socket. • Rated voltage and other characteristics are indicated on the name plate, located under the door frame of the appliance. The wall socket should always be within reach.
-
Page 10: Operation
Operation A - program selection jog B - lower temperature button C - heater off key D - START/PAUSE button E - ON/OFF LED F - fi lter alarm/water container alarm LED Drying procedure - Open the dryer door by pushing the left-hand side of the door towards the appliance (make sure the drum is empty). - Page 11 Operating the dryer - Insert the laundry into the drum (prior making sure that the drum is empty). - Close the dryer door. - Select drying time • By turning the drying time selector, set the preferred drying period, according to the type and quantity of laundry and washing machine spin rpm (see drying program chart).
- Page 12 Drying procedure • Press the START/PAUSE button (D) - LED E is on, appliance starts to operate (after a 2 second pause). • 10 minutes prior the end of drying program the machine starts the cooling cycle (heater is off), which prevents excessive creasing.
- Page 13 Interruptions • By the user After drying be careful when extracting laundry from the appliance, as it may be hot! Suspending the operation by pressing the START/PAUSE button. In case you press the START/PAUSE button (D) during the drying procedure, the drying program is suspended, and with the next press of the same button the program is resumed where it had been interrupted.
- Page 14 • Water container is full (condenser appliance only) When the container is full, signal lamps (E) and (F) are fl ashing. The drying program is interrupted. When the container is emptied, press the START/PAUSE button (D) to reactivate the drying program.
-
Page 15: Tips For Drying And For Economic Use Of The Dryer
Tips for drying and for economic use of the dryer • Drying is economically most effective if you dry the recommended quantity of laundry per one charge (see Program Chart). • Do not dry the laundry made of especially sensitive fi bers (wool, silk), which may shrink or lose shape. -
Page 16: Cleaning And Maintenance
Cleaning and maintenance Cleaning the fi lter Cleaning the condensation dryer • After every drying clean the fi lter, located in the inner part of the door. • Lift the fi lter lid (Fig.). • Pull your fi ngers over the fi lter to remove fi bers and threads lining. - Page 17 Cleaning of evacuation drier Cleaning the water condensation device Strictly switch the appliance off prior cleaning (unplug the power cord from the wall socket, or turn the selector jog to the position “0”). • Clean the casing and drum interior with soft cloth and mild detergent.
- Page 18 After fi ve drying cycles you need to do the following (condenser appliances only): • remove, clean/wash and refi t the fi lters on the interior side of the door and the bottom side of door opening; • remove, clean/wash and refi t water condenser; •...
-
Page 19: Troubles
Troubles Trouble Appliance does not work: There is current in the socket, but the drum is not rolling: Laundry is not dry: The condensation is inadequate: Interferences from the ambient (for example electrical wiring) could induce signalization of different faults. In such cases: - switch the appliance off, and wait for a few seconds;... - Page 20 Unevenly dried laundry: The machine signals errors or failures in operation by fl ashing signal LED's. Record number of fl ashes representing the failure, shut the machine off and call nearest authoriyed service. If a failure occurs due to incorrect installation or inappropriate use of the appliance, the guarantee is void, and the repair bill shall be settled by the user.
-
Page 21: Tables
Tables Program chart Type of laundry 6kg 7kg Cotton dry for storage iron dry Synthetics dry for storage iron dry Delicate dry for storage Ventilation ventilation of dry laundry possible compulsory Extra functions 1200 rpm Eva. 6kg 7kg 6kg 7kg 6kg 7kg 6kg 7kg 1000 rpm Note: Indicated drying time corresponds to the laundry... - Page 22 Table of consumption values Rounds/ min Remaining moisture 6 kg 7 kg 1000 1200 1400 1600 Table of textile symbols For illustration the chart gives values for 6/7 kg of testing laundry (measured by the EN61121 standard) on different RPM of fi nal spin in washing machine (program dry for storage).
- Page 23 SP PG1 OEM 129316/en (07-07)