Makita DJV184 Instruction Manual
Hide thumbs
Also See for DJV184:
- Instruction manual (95 pages) ,
- Instruction manual (81 pages) ,
- Instruction manual (92 pages)
Table of Contents
Advertisement
Quick Links
Advertisement
Table of Contents

Related Manuals for Makita DJV184


Summary of Contents for Makita DJV184
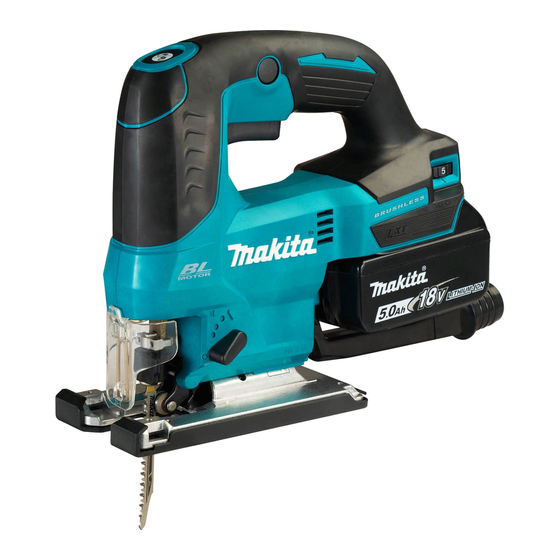
- Page 1 INSTRUCTION MANUAL Cordless Jig Saw DJV184 Read before use.
-
Page 2: Specifications
SPECIFICATIONS Model: DJV184 Length of stroke 23 mm Strokes per minute 0 - 3,000 min Blade type B type Max. cutting capacities Wood 135 mm Mild steel 10 mm Aluminum 20 mm Overall length 259 mm Rated voltage D.C. 18 V Net weight 2.1 - 2.4 kg... -
Page 3: Ec Declaration Of Conformity
Save all warnings and instruc- WARNING: Wear ear protection. tions for future reference. WARNING: The noise emission during actual The term "power tool" in the warnings refers to your use of the power tool can differ from the declared mains-operated (corded) power tool or battery-operated value(s) depending on the ways in which the (cordless) power tool. - Page 4 Remove any adjusting key or wrench before Maintain power tools and accessories. Check turning the power tool on. A wrench or a key left for misalignment or binding of moving parts, breakage of parts and any other condition that attached to a rotating part of the power tool may may affect the power tool’s operation.
- Page 5 Follow your local regulations relating to serious personal injury. disposal of battery. 12. Use the batteries only with the products specified by Makita. Installing the batteries to non-compliant products may result in a fire, exces- sive heat, explosion, or leak of electrolyte. 5 ENGLISH...
-
Page 6: Functional Description
Only use genuine Makita batteries. Use of non-genuine Makita batteries, or batteries that have been altered, may result in the battery bursting causing fires, personal injury and damage. It will also void the Makita warranty for the Makita tool and charger. Tips for maintaining maximum battery life Charge the battery cartridge before completely discharged. -
Page 7: Overload Protection
Turn the tool off, and then turn it on again to restart. Charge the battery(ies) or replace it/them with recharged battery(ies). Let the tool and battery(ies) cool down. If no improvement can be found by restoring protection system, then contact your local Makita Service Center. Indicating the remaining battery Fig.3 capacity ► 1 . Cutting action changing lever Only for battery cartridges with the indicator This tool can be operated with an orbital or a straight line (up and down) cutting action. The orbital cutting... - Page 8 To change the cutting action, just turn the cutting action Lighting up the front lamp changing lever to the desired cutting action position. Refer to the table to select the appropriate cutting CAUTION: action. Do not look in the light or see the source of light directly. Position Cutting action Applications To turn on the lamp, press the lock/unlock button.
-
Page 9: Electronic Function
Electric brake This tool is equipped with an electric brake. If the tool consistently fails to quickly stop after the switch trigger is released, have the tool serviced at a Makita service Fig.7 center. ► 1 . Jig saw blade holder 2. Blade clamp lever (released position) 3. Blade clamp lever (fixed... -
Page 10: Operation
Hex wrench storage When not in use, store the hex wrench as shown in the figure to keep it from being lost. Fig.10 ► 1 . Hex wrench OPERATION Fig.8 ► 1 . Jig saw blade holder 2. Jig saw blade 3. Roller CAUTION: Always hold the base flush with the workpiece. Failure to do so may cause jig saw CAUTION: If the blade clamp lever does not... -
Page 11: Bevel Cutting
Bevel cutting Front flush cuts CAUTION: Always be sure that the tool is switched off and the battery cartridge is removed before tilting the base. With the base tilted, you can make bevel cuts at any angle between 0° and 45° (left or right). Fig.15 ► 1 . Hex wrench 2. Bolt 3. Base Loosen the bolt on the back of the base with the hex wrench and slide the base all the way back. -
Page 12: Plunge Cutting
Plunge cutting Dust extraction Installing or removing the dust cover Optional accessory Install the dust cover as shown in the figure. Fig.17 You need not bore a starting hole or make a lead-in cut if you carefully do as follows. Tilt the tool up on the front edge of the base with the jig saw blade point positioned just above the work- piece surface. -
Page 13: Rip Fence
► 1 . Dust cover Installing or removing the dust nozzle Country specific Fig.23 You can connect this tool to a Makita vacuum cleaner by attaching the dust nozzle. Rip fence Insert the dust nozzle all the way into the tool. Optional accessory... -
Page 14: Cover Plate
To install, insert the rip fence into the rectangular hole Slide the rip fence to the desired cutting radius, on the side of the base with the fence guide facing and tighten the bolt to secure it in place. Then move the down. -
Page 15: Optional Accessories
These accessories or attachments the production of fast and clean cuts. To install the guide rail are recommended for use with your Makita tool adapter, insert the rule bar into the square hole of the base specified in this manual. The use of any other as far as it goes. - Page 16 Makita Europe N.V. Jan-Baptist Vinkstraat 2, 3070 Kortenberg, Belgium Makita Corporation 3-11-8, Sumiyoshi-cho, Anjo, Aichi 446-8502 Japan 885957-220 www.makita.com 20211102...