Table of Contents
Advertisement
Advertisement
Table of Contents

Related Manuals for Bosch ACS 251


Summary of Contents for Bosch ACS 251
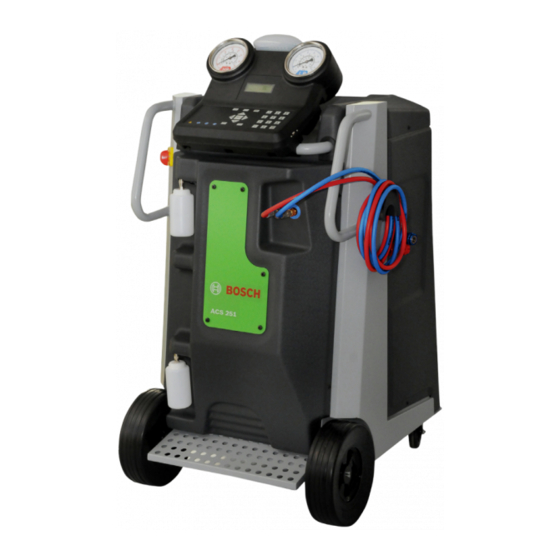
- Page 1 ACS 251 en Original instructions A/C service unit...
-
Page 3: Table Of Contents
6.3.2 Editing vehicle details in the custom database 6.3.3 Deleting vehicle details from the custom database 6.3.4 Viewing custom database information 14 6.3.5 Transferring the custom database from one ACS 251 to another Bosch Limited F 002 DG9 425 2014-03-20... -
Page 4: Symbols Used
4 | ACS 251 | Symbols used Symbols used On the product In the documentation Observe all warning notices on products and ensure 1.1.1 Warning notices - Structure and meaning they remain legible. Warning notices warn of dangers to the user or people in the vicinity. -
Page 5: User Information
Bosch. eyes do not hurt. Warranty Before the ACS 251 is connected to the vehicle A/C Any use of non-approved hardware and software will system or to an external refrigerant tank, ensure that result in a modification to our product and thus to the quick couplers do not leak. -
Page 6: Safety Devices
30 mA There are no additional safety provisions for protect- Tripping curve ing the ACS 251 unit against damage in the event of natural calamities like earthquakes, fires, floods etc. Safety devices Except for maintenance work, do not remove any... -
Page 7: Product Description
A/C systems in manual or automatic mode: Refrigerant recovery Oil recharge Vacuuming and leak tests Refrigerant recharge The ACS 251 should be used with car A/C systems that use R134a. Delivery specification Description ACS 251 Hose - HP... -
Page 8: Human Machine Interface (Hmi)
8 | ACS 251 | Product description Keypad - The selection of service menu options and service parameters can be done via the keypad. The alphanumeric input keys can be used to enter letters and special characters in input fields. In an input... -
Page 9: Oil Bottles
To detach the fresh oil bottle, pull the connector 3.3.5 Brakes (Fig. 3, Pos. 1) slightly downwards and pull down the The ACS 251 can be prevented from rolling away by ap- bottle. plying brakes (Fig. 2, Pos. 6) on the rear wheels. 3.3.6... -
Page 10: Commissioning
1. Remove the transport packaging. 2. Remove the components placed beneath the ACS 251. 3. Move the ACS 251 out of the packaging palette. 4. Disconnect the power cable from the power inlet. Do not disconnect electrical connections or tamper with the internal components. -
Page 11: Powering On The Acs 251
5. Turn on the master switch. " The self test is initiated. The software version, business logic version and the serial number of the ACS 251 are displayed. Upon completion of the self test, the main menu is displayed. Fig. 7:... -
Page 12: Viewing System Information
4. Connect the adapter to the connection on the external refrigerant tank. 5. Connect the HP quick coupler of the ACS 251 to the connecting adapter on the external refrigerant tank. 6. Open shut off valves on the external refrigerant tank. -
Page 13: Troubleshooting
5007 R134A RECHARGE - Perform Perform vacuuming. Vacuuming R Allow the unit to cool for 30 minutes and switch on the ACS 251. Try recovery/ 7100 Safety Switch - SS shutdown hose drain. R Check if the blue knob on the refrigerant tank is closed. Open the blue knob If it is closed. -
Page 14: Program Description
2. Select the required vehicle and press E. 3. Edit the vehicle details. 4. Press E to confirm. The ACS 251 should not be used for servicing a vehi- " cle A/C system that has been repaired with a chemi- The vehicle details are edited. -
Page 15: Accessing The Custom Database
Program description | ACS 251 | 15 Accessing the custom database Press to start draining refrigerant from the hoses. Once the refrigerant is drained, a summary 1. In the main menu, select "A/C Services" and press E. Alternatively, press the AUTO button on the screen is displayed. -
Page 16: Manual Mode
16 | ACS 251 | Program description Manual mode The quantity of oil added to the vehicle A/C system corresponds to the quantity drawn during the recov- 6.6.1 Overview of manual mode ery phase. When filling a vehicle A/C system for the... -
Page 17: Additional Services
Program description | ACS 251 | 17 9. Turn the HP/LP quick couplers in the counterclock- 6.8.2 Hose drain wise direction and disconnect from the service con- After every recharge / top up, some quantity of refriger- nections on the vehicle A/C system. -
Page 18: Maintenance
F 002 DG1 544 5. Disconnect the power cable from the power inlet. 6. Disconnect the fresh oil bottle and the used oil bottle. Contact your local Bosch dealer for ordering spare 7. Open the front panel. and wearing parts. -
Page 19: Replacing The Filter Drier
7. Cut the cable ties (Fig. 9, Pos. 3, 4) that bind the The filter drier removes the moisture and suspended filter drier to the bracket of the ACS 251. particulate matter from the refrigerant. It is recom- mended to change the filter drier after the specified Use a suitable spanner to unfasten or fasten the duration of usage. -
Page 20: Self Test
9. Connect the HP and LP hoses to the inline filters. " You have successfully replaced the inline filters. Self test When the ACS 251 is powered on, a self test is initiated automatically. It is also possible to trigger the self test manually. ¶... -
Page 21: Resetting Factory Settings
Maintenance | ACS 251 | 21 Decommissioning Resetting factory settings Use this option to change the system default. Disposal of electronic items 1. In the main menu, select "ACS Maintenance" >> "Maintenance". Press E. 2. Select "Factory Settings". Press E This product is subject to European guidelines 3. - Page 24 Bosch Limited P.B. No.3000, Hosur Road, Bangalore 560 030 INDIA www.boschindia.com Mailbox.service2@in.bosch.com Technical hotline number (Only for India): 1800-108-108-1 F 002 DG9 425 | 2014-03-20...