Table of Contents
Advertisement
Quick Links
Advertisement
Table of Contents

Summary of Contents for Makita M3701
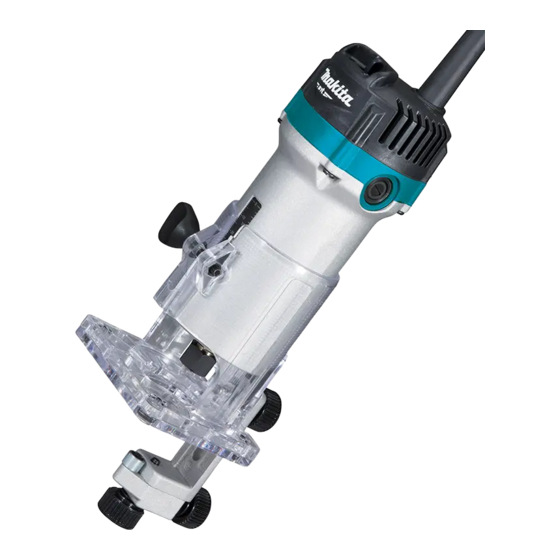
- Page 1 INSTRUCTION MANUAL Trimmer M3701 Read before use.
-
Page 2: Specifications
SPECIFICATIONS Model M3701 Collet chuck capacity 6.35 mm (1/4") or 6.0 mm No load speed (min 35,000 Overall length 199 mm Net weight 1.6 kg Safety class Class I • Due to our continuing program of research and development, the specifications herein are subject to change without notice. • Specifications may differ from country to country. • Weight according to EPTA-Procedure 01/2014... - Page 3 14. Remove any adjusting key or wrench before TRIMMER SAFETY WARNINGS turning the power tool on. A wrench or a key left attached to a rotating part of the power tool may Hold power tool by insulated gripping sur- result in personal injury. faces, because the cutter may contact its own 15.
-
Page 4: Functional Description
FUNCTIONAL ASSEMBLY DESCRIPTION CAUTION: • Always be sure that the tool is switched off and CAUTION: unplugged before carrying out any work on the • Always be sure that the tool is switched off and tool. unplugged before adjusting or checking function Installing or removing trimmer bit on the tool. Adjusting bit protrusion ► 1 . Loosen 2. Tighten 3. Hold ► 1 . Base 2. Scale 3. Bit protrusion 4. Clamping screw CAUTION: To adjust the bit protrusion, loosen the clamping screw •... - Page 5 NOTE: • Moving the tool forward too fast may cause a poor quality of cut, or damage to the bit or motor. Moving the tool forward too slowly may burn and mar the cut. The proper feed rate will depend on the bit size, the kind of workpiece and depth of cut.
- Page 6 Straight guide (Accessory) Circular work The straight guide is effectively used for straight cuts when chamfering or grooving. Attach the guide plate to the straight guide with the bolt and the wing nut. ► 1 . Wing nut 2. Guide plate 3. Straight guide 4. Center hole 5. Bolt Circular work may be accomplished if you assemble the straight guide and guide plate as shown in the figures.
-
Page 7: Maintenance
Align the center hole in the straight guide with the center When cutting, move the tool with the guide roller riding of the circle to be cut. Drive a nail less than 6 mm in diam- the side of the workpiece. eter into the center hole to secure the straight guide. -
Page 8: Optional Accessories
"U"Grooving bit ► 1 . Brush holder cap 2. Screwdriver To maintain product SAFETY and RELIABILITY, repairs, any other maintenance or adjustment should be per- formed by Makita Authorized Service Centers, always using Makita replacement parts. 1/4" "V"Grooving bit OPTIONAL ACCESSORIES Router bits Straight bit 1/4" Drill point flush trimming bit 1/4"... - Page 9 Drill point double flush trimming bit Chamfering bit 1/4" Corner rounding bit Cove beading bit 1/4" 1/4" Ball bearing flush trimming bit 1/4" 9 ENGLISH...
- Page 10 Ball bearing corner rounding bit Ball bearing beading bit 1/4" Ball bearing cove beading bit Ball bearing chamfering bit 1/4" 10 ENGLISH...
- Page 11 Ball bearing roman ogee bit NOTE: • Some items in the list may be included in the tool package as standard accessories. They may differ from country to country. 11 ENGLISH...
- Page 12 Makita Corporation 3-11-8, Sumiyoshi-cho, Anjo, Aichi 446-8502 Japan 885592-921 www.makita.com 20201009...


