Honeywell Performance Series Quick Installation Manual
Tdn 1080p low-light box camera
Hide thumbs
Also See for Performance Series:
- User manual (276 pages) ,
- Owner's manual (22 pages) ,
- Installation instructions manual (16 pages)
Advertisement
Quick Links
Performance Series Cameras
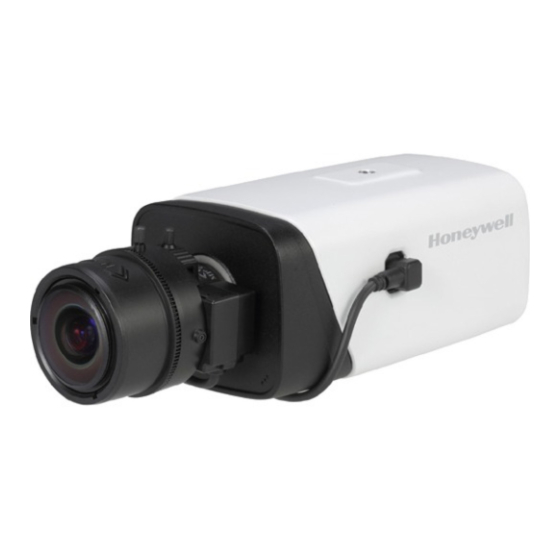
HC2HD2 TDN 1080p Low-Light Box Camera
Quick Installation Guide
Document 800-23319 - Rev A - 06/2017
Thank you for purchasing a Honeywell Performance
Series HQA camera. Follow the instructions in this
guide to install and log in to your camera. If you
require additional assistance, call the number listed
for your region on the back cover.
Warnings and Cautions
THIS SYMBOL INDICATES THAT
CAUTION
DANGEROUS VOLTAGE
RISK OF ELECTRIC
CONSTITUTING A RISK OF
SHOCK
ELECTRIC SHOCK IS PRESENT
DO NOT OPEN
WITHIN THE UNIT.
CAUTION: TO REDUCE THE RISK OF ELECTRIC
THIS SYMBOL INDICATES THAT
SHOCK, DO NOT REMOVE THE COVER.
IMPORTANT OPERATING AND
NO USER-SERVICEABLE PARTS INSIDE.
MAINTENANCE INSTRUCTIONS
REFER SERVICING TO QUALIFIED SERVICE
ACCOMPANY THIS UNIT.
PERSONNEL.
WARNING
To prevent the risk of fire or electric shock hazard, do not expose this camera to rain
or moisture.
WARNING
The use of an NRTL-approved Class 2 power adapter is required to ensure
compliance with electrical safety standards.
Important Safeguards
• Read and keep these instructions.
• Confirm the installation surface can support at least three times the weight of the camera.
• Do not apply power to the camera before completing installation.
• Do not aim the camera at a bright light source for extended periods to prevent damage to the imager.
• Avoid operating the unit under or close to unstable light sources (may cause flickering), or close to
fluorescent lamps or objects reflecting light.
• Do not touch the camera lens.
• Do not drop the camera or subject it to physical shock.
• Do not use a strong or abrasive detergent when cleaning the camera.
• Do not operate the camera outside the recommended range of -22°F to 140°F (-30°C to 60°C).
• Ensure adequate ventilation when operating in high temperature environments.
Before You Begin
Before you begin, check that you have received all of the parts listed below. If any parts are missing or
damaged, contact your dealer immediately.
• Camera
• C/CS mount adapter
CAUTION
Installation and servicing should be performed only by qualified and experienced
technicians to conform to all local codes and to maintain your warranty.
Installing the Lens
1. Remove the lens mount cap (if present).
2. Twist the lens clockwise onto the lens mount.
Note
If you are using a C-mount lens, you will need to attach the C/CS mount adapter first.
3. Connect the lens cable to the connector interface on the side of the camera.
Connecting the Camera
1. Connect a coaxial video cable to either the HQA (HD) or CVBS (SD) connector.
2. Optionally, make the following I/O connections:
A B
IN1 IN2
G
OUT D/N
G
A
RS485-A port
OUT
B
RS485-B port
D/N
IN1
Alarm input 1
G
IN2
Alarm input 2
G
Alarm input ground
Note
Alarm inputs are active when shorted to ground. Alarm output is open collector,
controlled by alarm in. Maximum alarm out values are 12 VDC and 200 mA.
3. Connect a 12 VDC or 24 VAC power source to the AC24/DC12 power input.
Alarm output
External trigger day/night switch
Alarm output and external trigger
day/night switch ground
Advertisement

Related Manuals for Honeywell Performance Series


Summary of Contents for Honeywell Performance Series
- Page 1 • Camera Document 800-23319 - Rev A - 06/2017 • C/CS mount adapter Thank you for purchasing a Honeywell Performance CAUTION Installation and servicing should be performed only by qualified and experienced Series HQA camera. Follow the instructions in this technicians to conform to all local codes and to maintain your warranty.
- Page 2 © 2017 Honeywell International Inc. All rights reserved. No part of this publication may be reproduced by any means without written permission from Honeywell. The information in this publication is believed to be accurate in all respects.