Advertisement
Quick Links
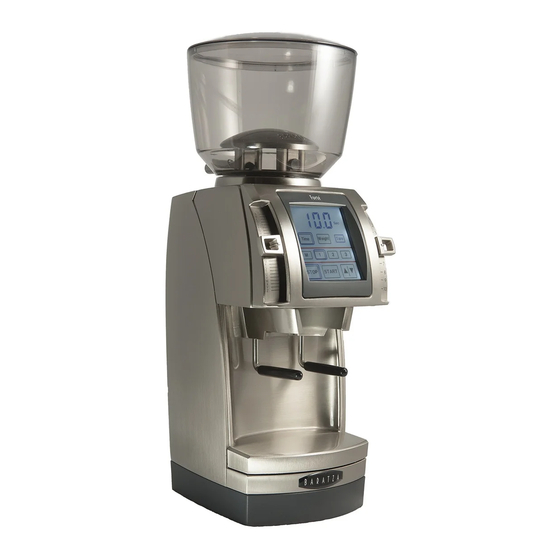
Forté Power Board Replacement
*** Be sure to have a soft work surface like a towel to prevent the polished casing from being scratched***
*** Read entire document before removing motor***
Tools Required:
Standard Phillips screw driver, Offset ratchet Phillips screw driver, Baratza calibration tool or 2mm Allen
wrench
Procedure:
-Case Removal-
1. Clear beans out of the hopper and run the unit briefly to clear any leftover beans from between
the burrs.
2. UNPLUG GRINDER
3. RAISE BOTH LEVER ARMS ALL THE WAY TO THE TOP
4. Remove the 2mm case screw on the top rear of the casing, using our calibration tool
5. Invert the grinder. Using side cutters, remove the rear two feet (ONLY THE REAR FEET)
1
Advertisement

Related Manuals for Baratza Forté


Summary of Contents for Baratza Forté
- Page 1 *** Be sure to have a soft work surface like a towel to prevent the polished casing from being scratched*** *** Read entire document before removing motor*** Tools Required: Standard Phillips screw driver, Offset ratchet Phillips screw driver, Baratza calibration tool or 2mm Allen wrench Procedure: -Case Removal- 1.
- Page 2 6. Remove the Philips self-tapping screws from beneath the rear two feet.
- Page 3 7. Place the grinder right side up and pull the case off from the rear. -Motor Removal- 1. Mark the motor tension screw and motor tension plate with a light colored paint pen for rotation reference. This step is crucial for achieving proper belt tension after re-installation. 2.
- Page 4 3. Loosen the motor tension screw, but do not remove it from the tension mount. 4. Remove the two Phillips motor mount screws (#1291) holding the motor in place using the offset Phillips ratchet. 5. Unplug the motor from the main power board. 6.
- Page 5 7. Remove the four, gold screws that retain the circuit board. You may find it necessary to pull up on the big blue box with one hand, while unscrewing the screws with the other. 8. Once the screws are removed, pull the circuit board out, fix the issue or replace. 9.
- Page 6 (finger nail polish can be substituted for locktite.) 5. Tighten the two Phillps motor mounting screws completely. 6. Reinstall the case. If you have any questions or concerns, please email support@baratza.com or call at 425-641-1245.