Advertisement
Quick Links
Advertisement

Related Manuals for Honeywell XNX Universal Transmitter


Summary of Contents for Honeywell XNX Universal Transmitter
- Page 1 Installation Guide XNX Universal Transmitter Relay Board...
-
Page 2: Electrostatic Sensitive Device (Esd)
Electrostatic Sensitive Device (ESD) Electrostatic discharge (ESD) is the transfer, between bodies, of an electrostatic charge caused by direct contact or induced by an electrostatic field. The most common cause of ESD is physical contact. Touching an object can cause a discharge of electrostatic energy—ESD! If the charge is sufficient and occurs near electronic components, it can damage or destroy those components. -
Page 3: Relay Option Board
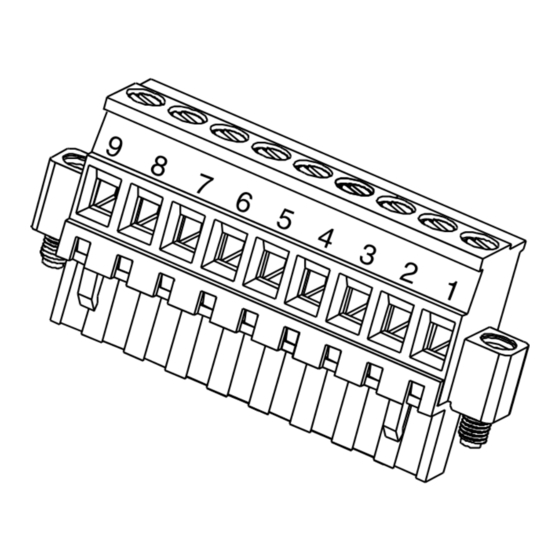
1 Relay Option Board The relay option (XNX-Relay) provides 3 form “C” contacts for alarm and fault indication. A remote reset is provided to silence alarms. Note This option is not available with the Modbus or Foundation Fieldbus options. ® Wiring for the relays is through an available cable/conduit entry to terminal block TB3. -
Page 4: Option Board Installation
2 Option Board Installation WarNiNg If you are retrofitting an option board into a previously installed unit, remove power from the XNX unit to prevent potential electric shock Release the cover locking screw with the provided 2mm hex key. Unscrew, remove the cover and set it aside. Using the handle provided, carefully slide the POD from the inside of the XNX Transmitter housing. -
Page 5: Option Board Connector
Lift the back cover off the POD revealing the personality board and components inside. Personality Board Main Board Option Board Connector Remove the option board from its packaging. Install the option board onto the main board by carefully inserting the pins on the back of the option board into the connector on the main board. - Page 6 Slide the POD back into the XNX housing and replace the cover. Note: Before replacing the cover on the transmitter housing, coat the threads with anti-seize compound to prevent corrosion buildup. When the XNX completes the startup routine, as it attempts to enter monitoring mode, the XNX will show Fault 152 signifying that the XNX must be configured to recognize the new option board.
- Page 7 Figure 1. Updating The XNX for Option Boards Added or Removed XNX Relay Board Installation Guide...
- Page 8 Lincolnshire, IL 60069 Tel: +1 847 955 8200 Toll free: +1 800 538 0363 Fax: +1 847 955 8210 detectgas@honeywell.com Asia Pacific Honeywell Analytics Asia Pacific #508, Kolon Science Valley (I) 187-10 Guro-Dong, Guro-Gu Seoul, 152-050 Korea Tel: +82 (0)2 2025 0300...