Makita DUB363 Instruction Manual
Cordless blower
Hide thumbs
Also See for DUB363:
- Instruction manual (108 pages) ,
- Instruction manual (77 pages) ,
- Instruction manual (77 pages)
Table of Contents
Advertisement
Quick Links
Advertisement
Table of Contents

Related Manuals for Makita DUB363


Summary of Contents for Makita DUB363
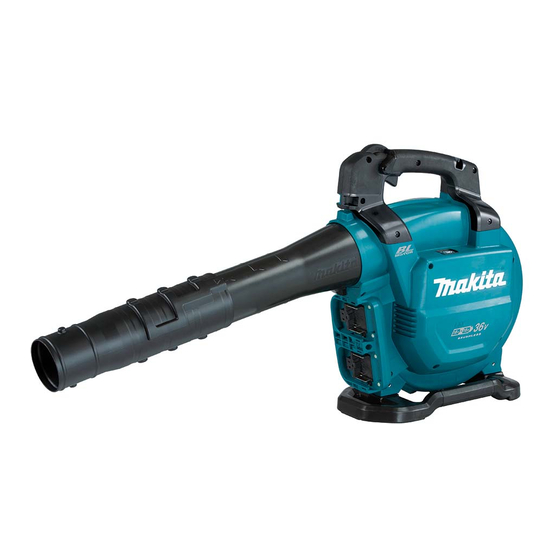
- Page 1 INSTRUCTION MANUAL Cordless Blower DUB363 Read before use.
-
Page 2: Specifications
SPECIFICATIONS Model: DUB363 Capacities Air volume 0 - 13.4 m /min Air speed (average) 0 - 54 m/s Air speed (max.) 0 - 65 m/s Dimensions (L x W x H) *1 341 mm x 193 mm x 415 mm Rated voltage D.C. -
Page 3: Ec Declaration Of Conformity
Preparation Vibration Always wear substantial footwear and long trousers while operating the machine. The vibration total value (tri-axial vector sum) deter- Do not wear loose clothing or jewellery that mined according to EN50636-2-100: can be drawn into the air inlet. Keep long hair Work mode: operation without load (blowing) away from the air inlets. - Page 4 130 °C may cause explosion. machine. If the machine is damaged, ask Follow all charging instructions and do not Makita Authorized Service Centers for repair. charge the battery pack or tool outside the 16. Do not insert fingers or other objects into temperature range specified in the instruc- suction inlet or blower outlet.
- Page 5 Use of non-genuine Makita batteries, or batteries that have been altered, may result in the battery bursting causing fires, personal injury and damage. It will also void the Makita warranty for the Makita tool and ► 1. Bolt 2. Blower pipe charger.
- Page 6 Installing or removing flat nozzle or Align the protrusion on the blower pipe with the groove on the end nozzle, then attach the end nozzle to extension nozzle the blower pipe, and then turn the end nozzle to lock it into place.
-
Page 7: Attaching Shoulder Strap
Attaching shoulder strap Assembly for vacuuming CAUTION: Be sure to attach the hooks of Installing or removing suction pipe and nozzle the shoulder strap to the machine securely. If the hooks are attached incompletely, they may come off Optional accessory and cause an injury. - Page 8 Installing or removing elbow pipe and dust bag Turn the suction pipe clockwise so that the bolt on the pipe is aligned with the hole on the main unit, Optional accessory and then fasten the bolt firmly using the hex wrench to secure the pipe to the main unit.
-
Page 9: Functional Description
Attach the hook of the dust bag to the shoulder strap, and then attach the hooks of the shoulder strap to the main unit as shown in the figure. ► 1. Red indicator 2. Button 3. Battery cartridge To remove the battery cartridge, slide it from the machine while sliding the button on the front of the cartridge. - Page 10 You can use the machine in the vacuuming mode. In the NOTE: Depending on the conditions of use and the vacuuming mode, the suction volume becomes smaller ambient temperature, the indication may differ slightly than in the normal mode. from the actual capacity. When you turn on the machine, the machine starts up in the normal mode.
-
Page 11: Operation
Cruise control function OPERATION The cruise control function allows the operator to main- tain a constant speed without pulling the trigger. To CAUTION: Do not place the machine on the increase the speed, turn the control lever forward. To ground while it is switched on. Sand or dust may enter decrease the speed, turn the control lever backward. -
Page 12: Maintenance
To maintain product SAFETY and RELIABILITY, repairs, any other maintenance or adjustment should be performed by Makita Authorized or Factory Service Centers, always using Makita replacement parts. Cleaning the machine Clean the machine by wiping off dust with a dry cloth or one dipped in soapy water and wrung out. -
Page 13: Troubleshooting
Before asking for repairs, conduct your own inspection first. If you find a problem that is not explained in the man- ual, do not attempt to dismantle the machine. Instead, ask Makita Authorized Service Centers, always using Makita replacement parts for repairs. - Page 16 Makita Europe N.V. Jan-Baptist Vinkstraat 2, 3070 Kortenberg, Belgium Makita Corporation 3-11-8, Sumiyoshi-cho, Anjo, Aichi 446-8502 Japan 885762-225 www.makita.com 20190927...